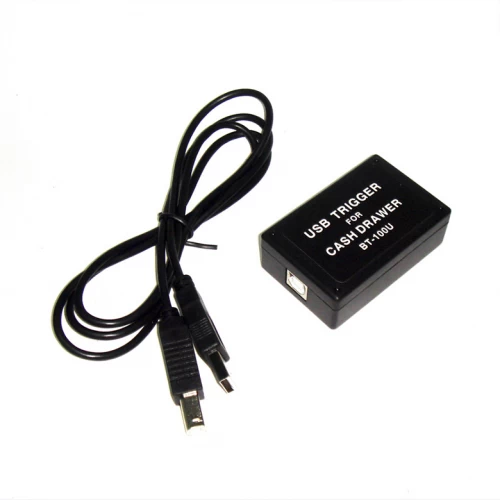
In order to configure the cash drawer with a terminal the usb trigger device should be used to get it to work. The example of this usb trigger device is following:
Please follow these steps in order to configure the automatic opening of the cash drawer when receipts are printing via terminal:
- Connect the usb trigger device to your computer.
- Log into POS → Settings → Printing Configuration → Enable “Try printing using go microservices”.
- Go to Wizard → Select Pos id → Choose Printer → Click Continue.
- Toggle Golang printing microservice → open the Golang microservice to see the list of printers.
- Save the printer settings → Go to micro-service manager (Note: NO NEED TO CONNECT THE ACTUAL PRINTER ITSELF, ONLY CONFIGURE IN WIZARD).
- Make sure logLevel is DEBUG and the port name "CashDrawerSerialPortName" is correct.
- “ExternalCashDrawer" should be true: "ExternalCashDrawer": true.
- Save new configuration.
- Click Start.
- Go back to POS.
- In order to test the configuration click the “Cash Drawer” button on the POS grid.
Important to know
The cash drawer setup with the terminal stops working when the printing micro-service has been stopped. If to start the micro-service again then the setup that was performed following the steps above needs to be configured again from the start.