Hardware Setup
You must ensure the printer is connected to your network, use the following instructions for that.
Connect to the network.
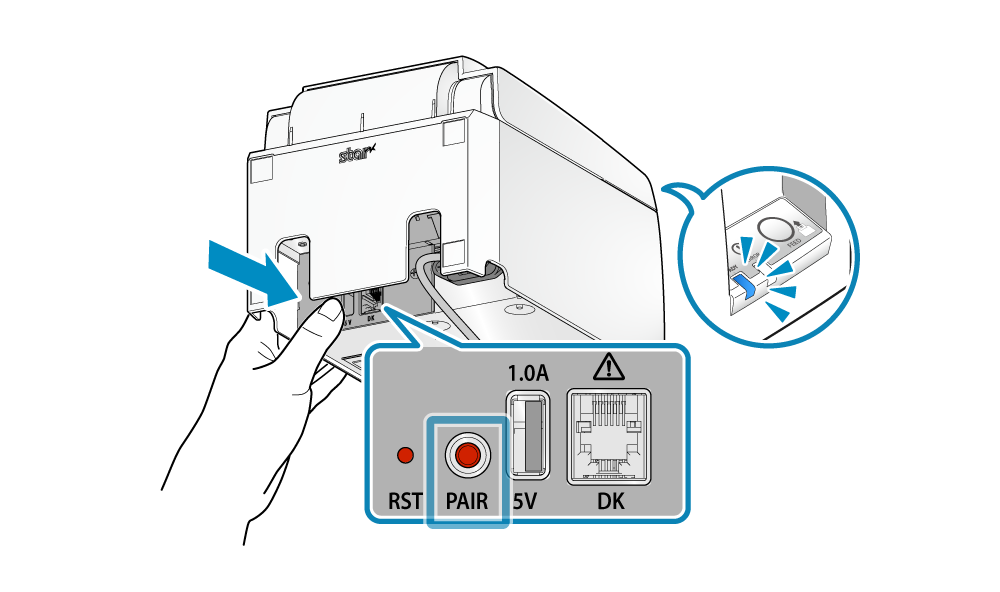
On the back of your printer locate the PAIR button, press and hold this button until the LED (blue) light in the front of the printer blinks.
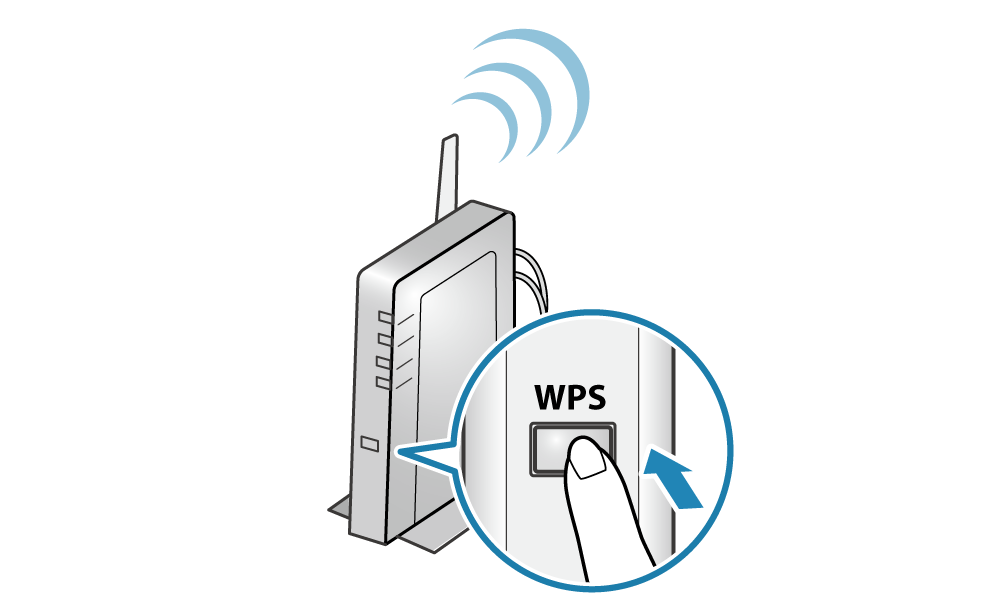
Navigate to the WPS button on your network router, press this button to ensure your printer is connected to the network. To verify the printer is connected to the network the blue LED in the front of the printer will stop blinking and stay lit.
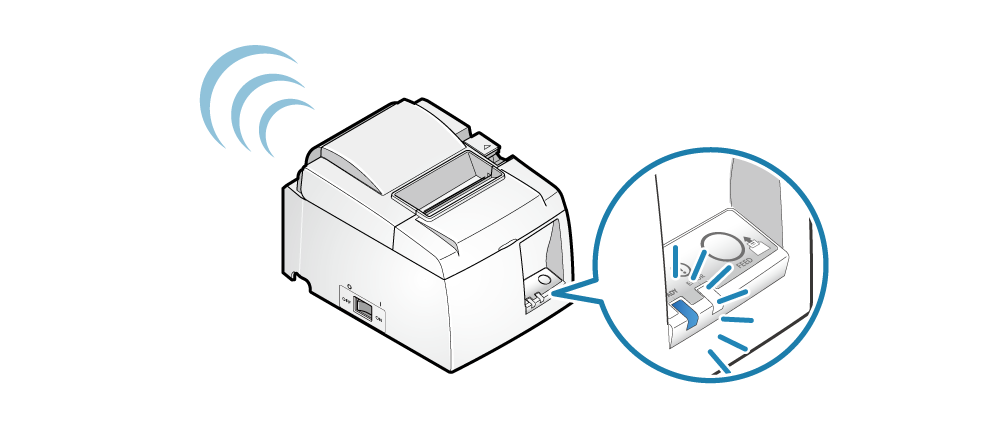
When a network connection is established, print out the connection details by powering off the printe. While powered off press and hold the FEED button and power it on. A receipt with important information regarding the printer’s network settings will print out, including MAC Address and IP address. You may use this information to connect to a printer in later steps.
For any additional information in the setup of the printer, you may contact Star for any problems or questions you may have.
Software Setup
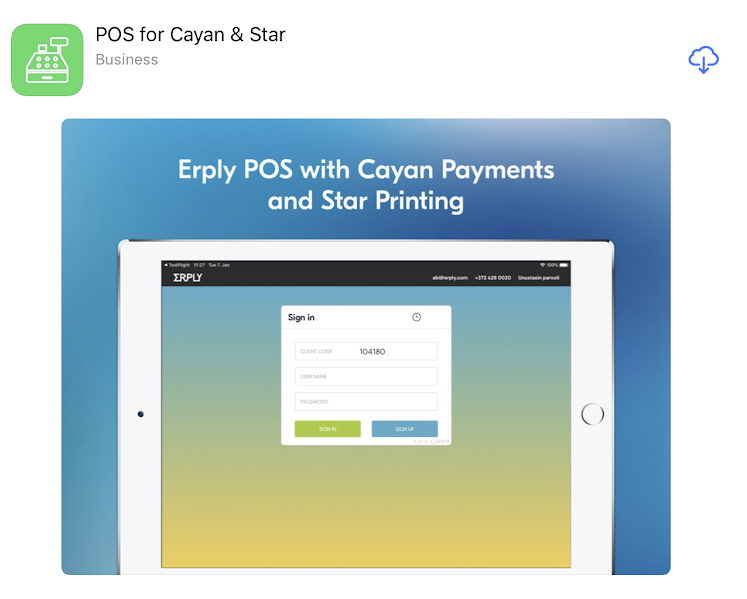
First, you will need to install both of these applications from the app store.
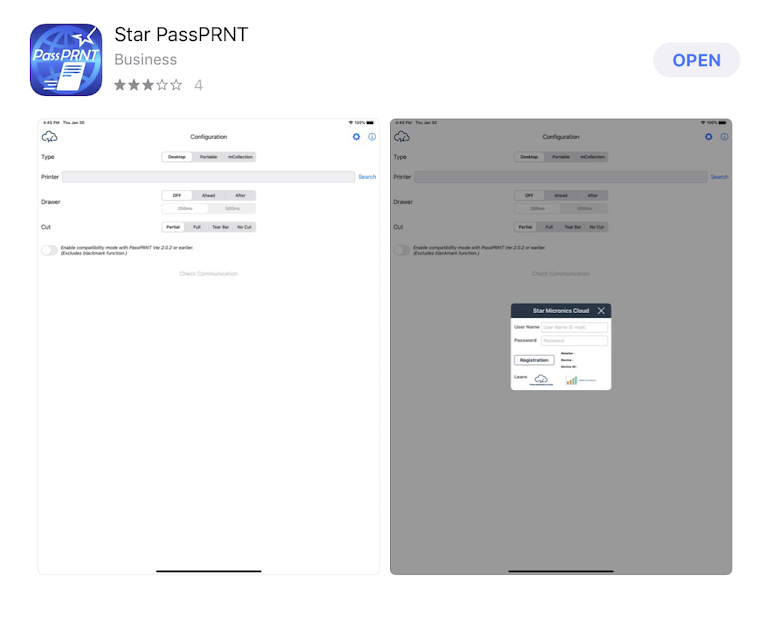
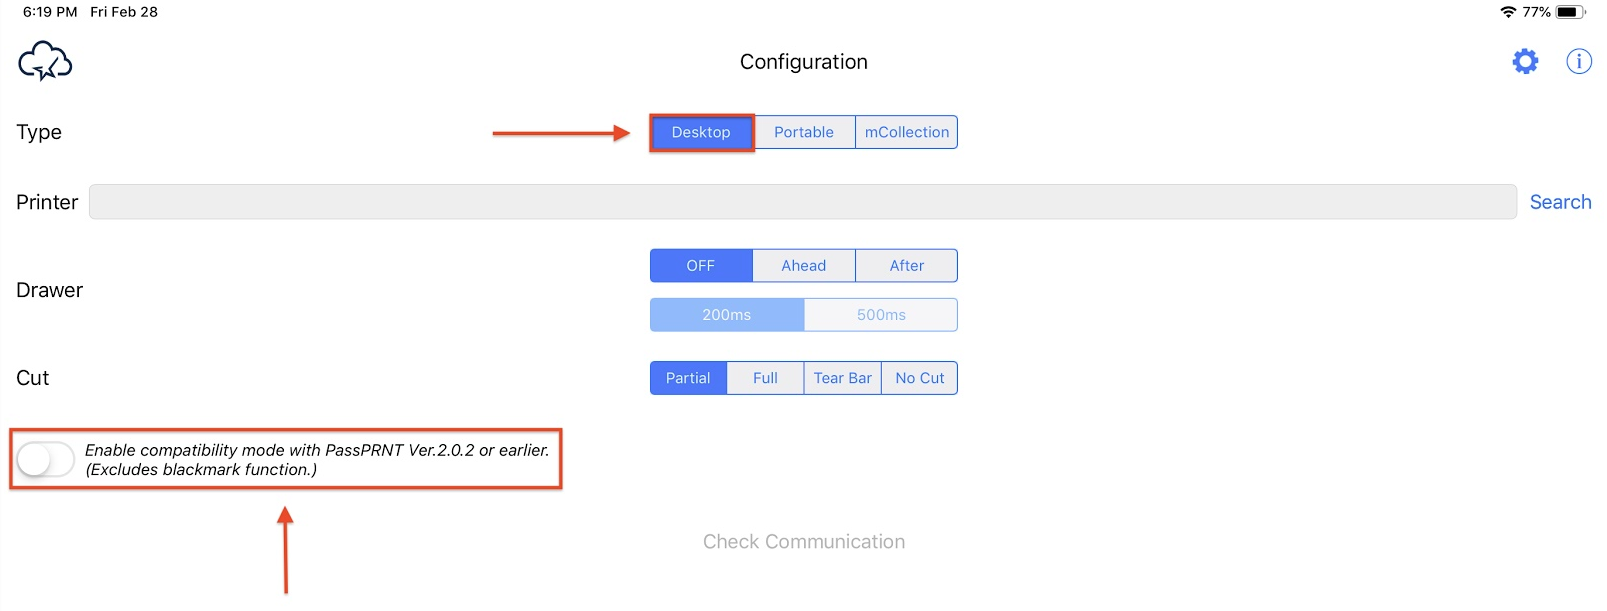
Once these applications are downloaded you may open PassPRNT. Upon opening PassPRNT ensure the type is set to Desktop, and Enable compatibility mode with PassPRNT is disabled.
After these settings are established, press the Search button on the far right. Select All to view all the star printers on your network. Select your Star printer via IP address and select the Check Communication button on the bottom to confirm your connection with the printer.
Open the POS for Cayan & Star app and navigate to POS Settings -> Configuration -> Printing -> Erply point of sale integrator (EPSI) print and enable the setting.
After that, navigate to POS Settings -> Configuration -> Printing Configuration -> Try Printing by Wrapper and enable that setting.
Upon enabling these settings, you will now be able to successfully print. To ensure the proper printer settings are enabled, establish a test print by returning to the POS, and selecting Receipt or Last receipt, this will print out the receipt from a previous sale established. Alternatively, you may select Recent Sales to view a list of all recently made sales, you can print a receipt from the icon on the right side.