Connect the terminal
Supported terminal by Erply with Verifone FI integration is Yomani terminal.
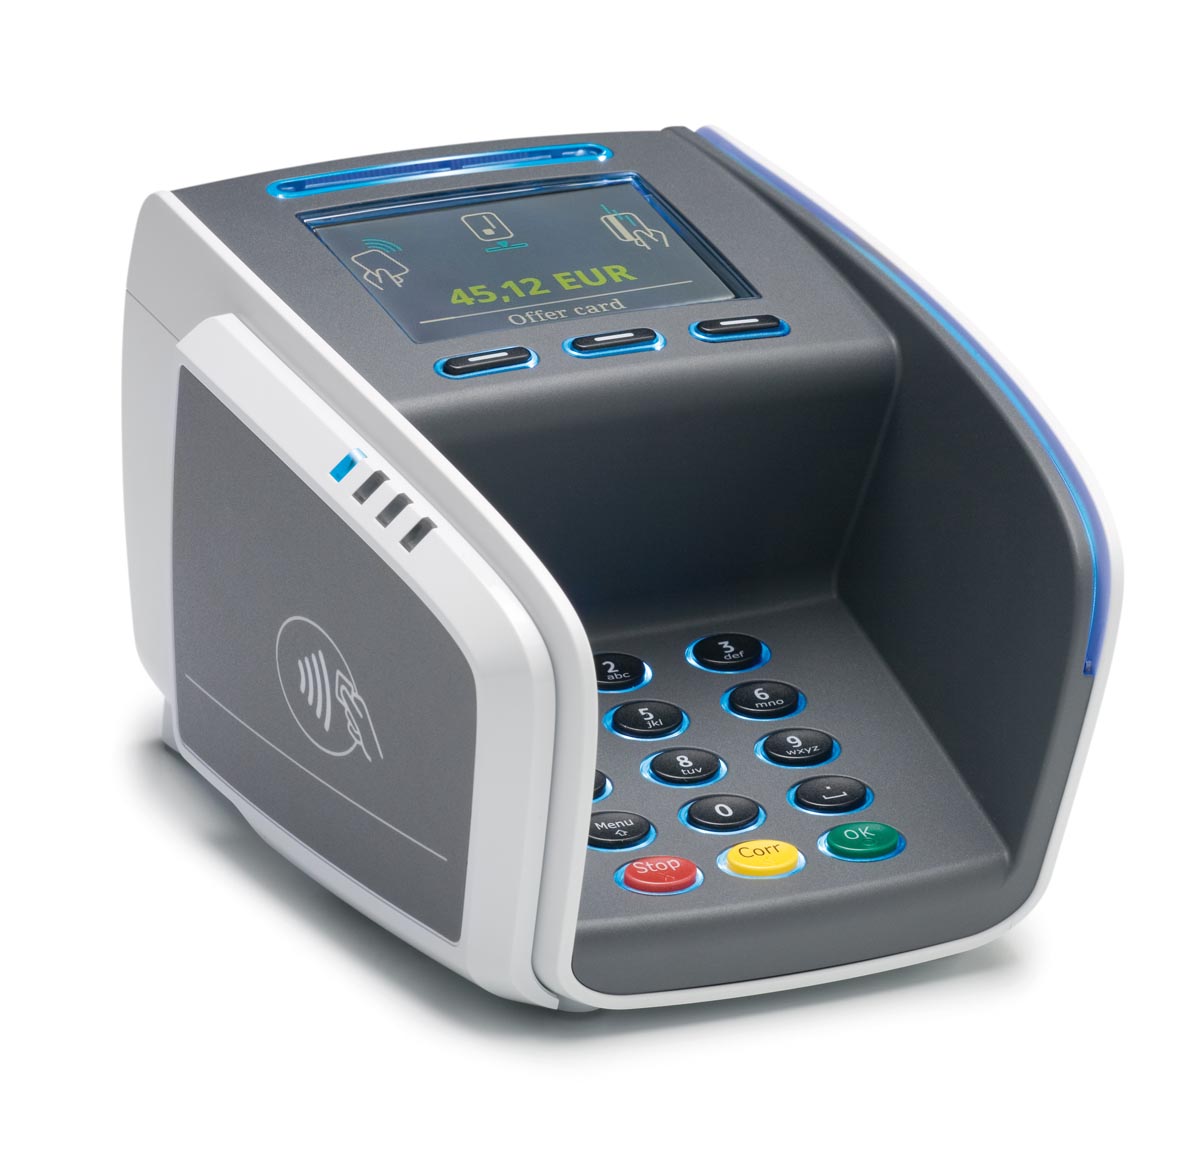
Connect the terminal to the computer. Plug in the USB to the PC and connect the terminal with the Ethernet cable. Make sure the terminal is in the same network as your local computer.
Install the Installer
Please refer to the following article to install the Installer App on your computer.
Setup payments
Step 1. Check the terminal port on Windows device
On your Windows computer type “Device manager” into the seraching field.
From the list of devices find the “Ports (COM&LPT)" and click on the arrow to expand the list.
Find the correct device and check the COM port that is written in brackets (should be COM+number, ex. COM8). Remember it or write it down somewhere.
Step 2. Check terminal Bits per second on Windows device
On your Windows computer type “Device manager” into the seraching field.
From the list of devices find the “Ports (COM&LPT)" and click on the arrow to expand the list.
Point to the connected terminal device line and do a right mouse click. Then click on the “properties” - Properties are opened in a separate window.
Click on the “Port Settings”.
Check the “Bits per line” value (ex. 9600). Remember it or write it down somewhere.
Step 3. Install the microservice in Wizard
If you are not in the Wizard yet, please navigate to the Wizard https://posow.erply.com/ and login using Erply credentials (client code, username, password).
Navigate to the Hardware -> Installer App -> (debug)Micro-service manager.
From the ADD NEW MICRO-SERVICE list find the “Verifone '' and click on it.
Click ‘Continue’.
Press blue button ‘Install latest’.
In the “New configuration” box change the following values:
| Default configuration (made for Linux OS) | Custom configuration for your current setup |
| { "logLevel": "ERROR", "logTarget": "FILE", "logFormat": "JSON", "Port": 7878, "SSLEnable": true, "SSLKeyPath": "cert/star_localhost_erply_com.key", "SSLCertPath": "cert/star_localhost_erply_com.crt", "production": true, "websocket": false, "logSentryDuration": "", "TerminalPort": "/dev/ttyACM0", "TerminalBaudRate": 19200, "Timeout": 60 } | { "logLevel": "DEBUG", (set to “DEBUG” to record microservice logs) "logTarget": "FILE", "logFormat": "JSON", "Port": 7878, "SSLEnable": true, "SSLKeyPath": "cert/star_localhost_erply_com.key", "SSLCertPath": "cert/star_localhost_erply_com.crt", "production": true, "websocket": false, "logSentryDuration": "", "TerminalPort": " , e enter the value that was checked in step 2. (ex.9600)nter the value that was checked in step 1. (ex.COM8) "TerminalBaudRate": 19200, "Timeout": 60 } |
Click on the ‘Start’ (green button).
Configure payment integration in the POS
Login to the epos.erply.com using Erply credentials (client code, username, password).
Click on the ‘cog’ button (POS Settings) -> Payment configuration.
Click on the “Setup payment gateways”.
From the “Select current integration” find the “Verifone FI” and click on it.
Click on the “Test connection” button. If the connection is successful there will be a message green message "succeed”.
Save configuration.