Work Orders
Creating Work Orders allows to build out a service request to be fulfilled and provided to customers. Within the Work Order can build out what services are being provided or products being sold as part of the invoice.
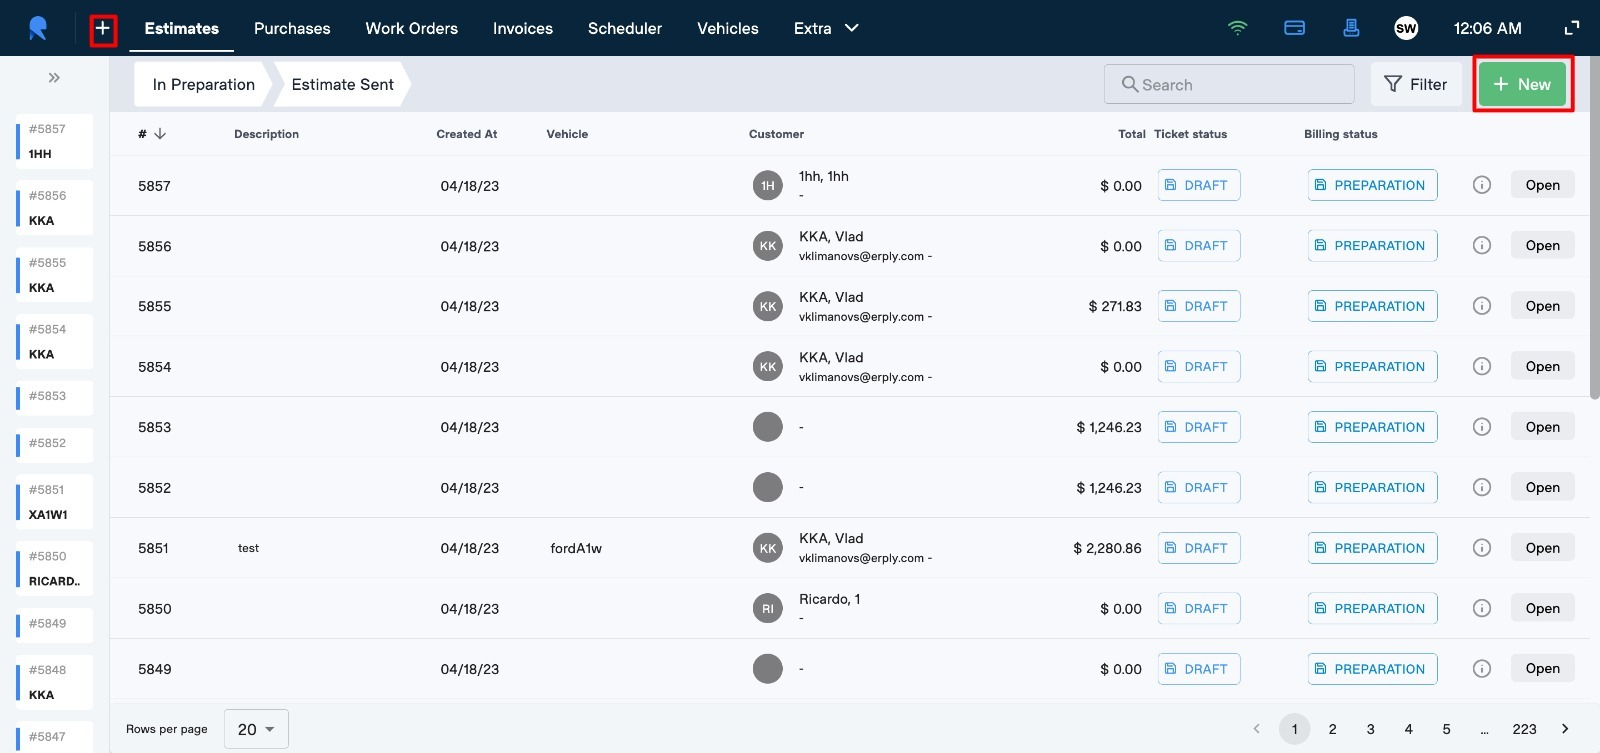
Creating a work order starts by either clicking on the “+” located in the top left hand corner or "+ New" on the top right corner on the ticket centre
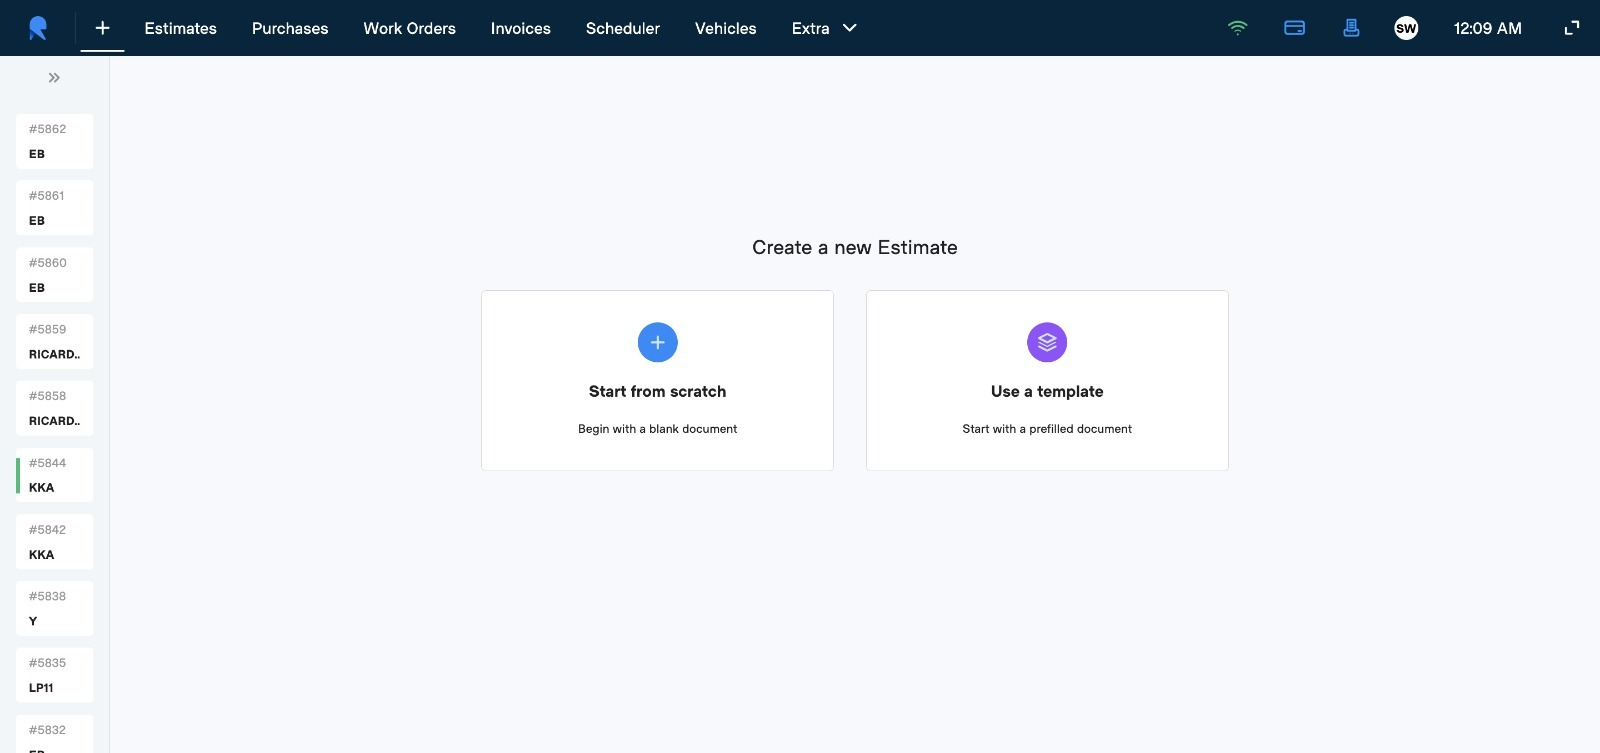
Select either to start from sctrach or to choose from a template.
Let's say we start from scratch.
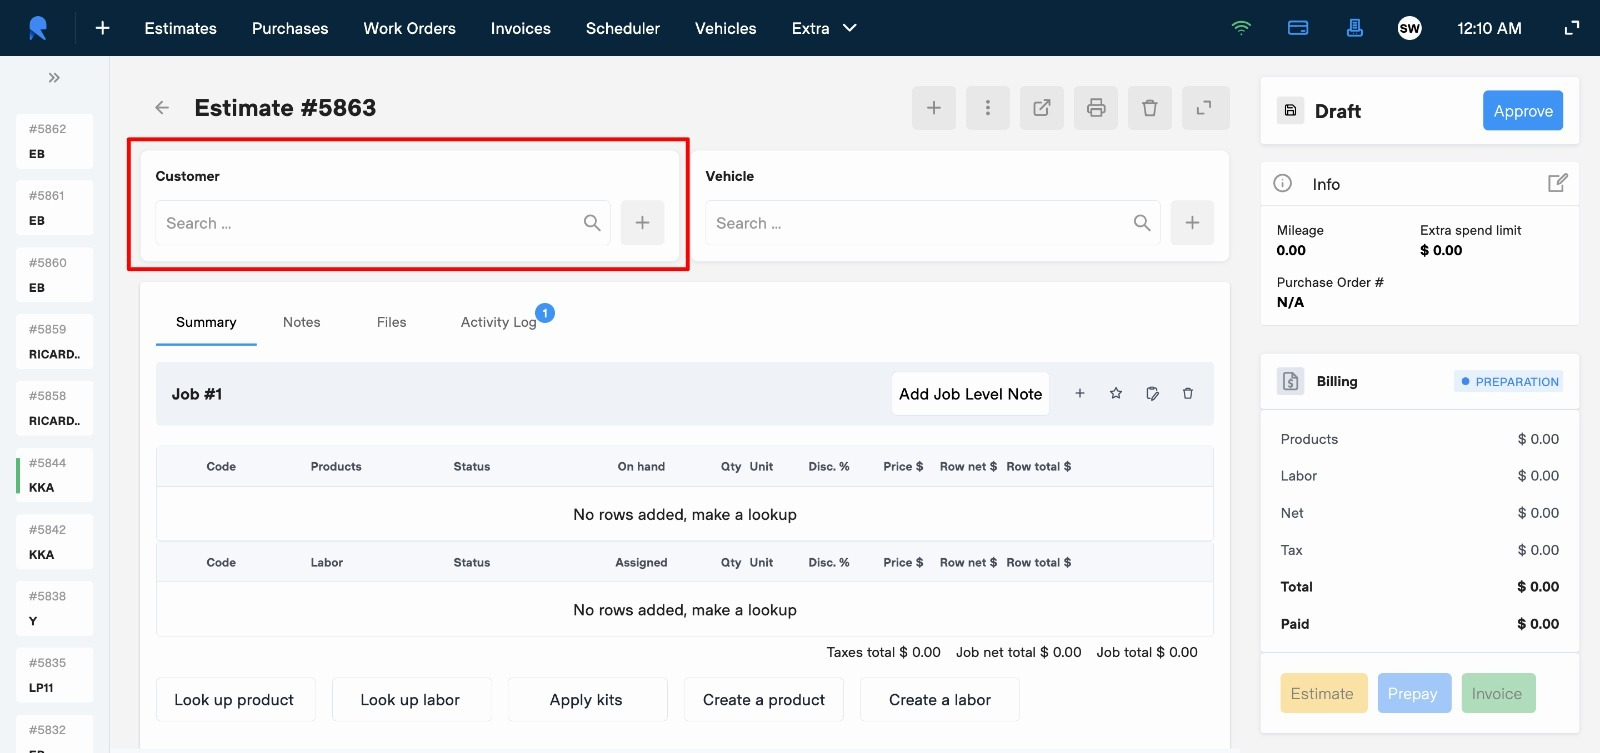
Search for the Customer
First search for the customer to start the process.
Click in the search bar under Customer.
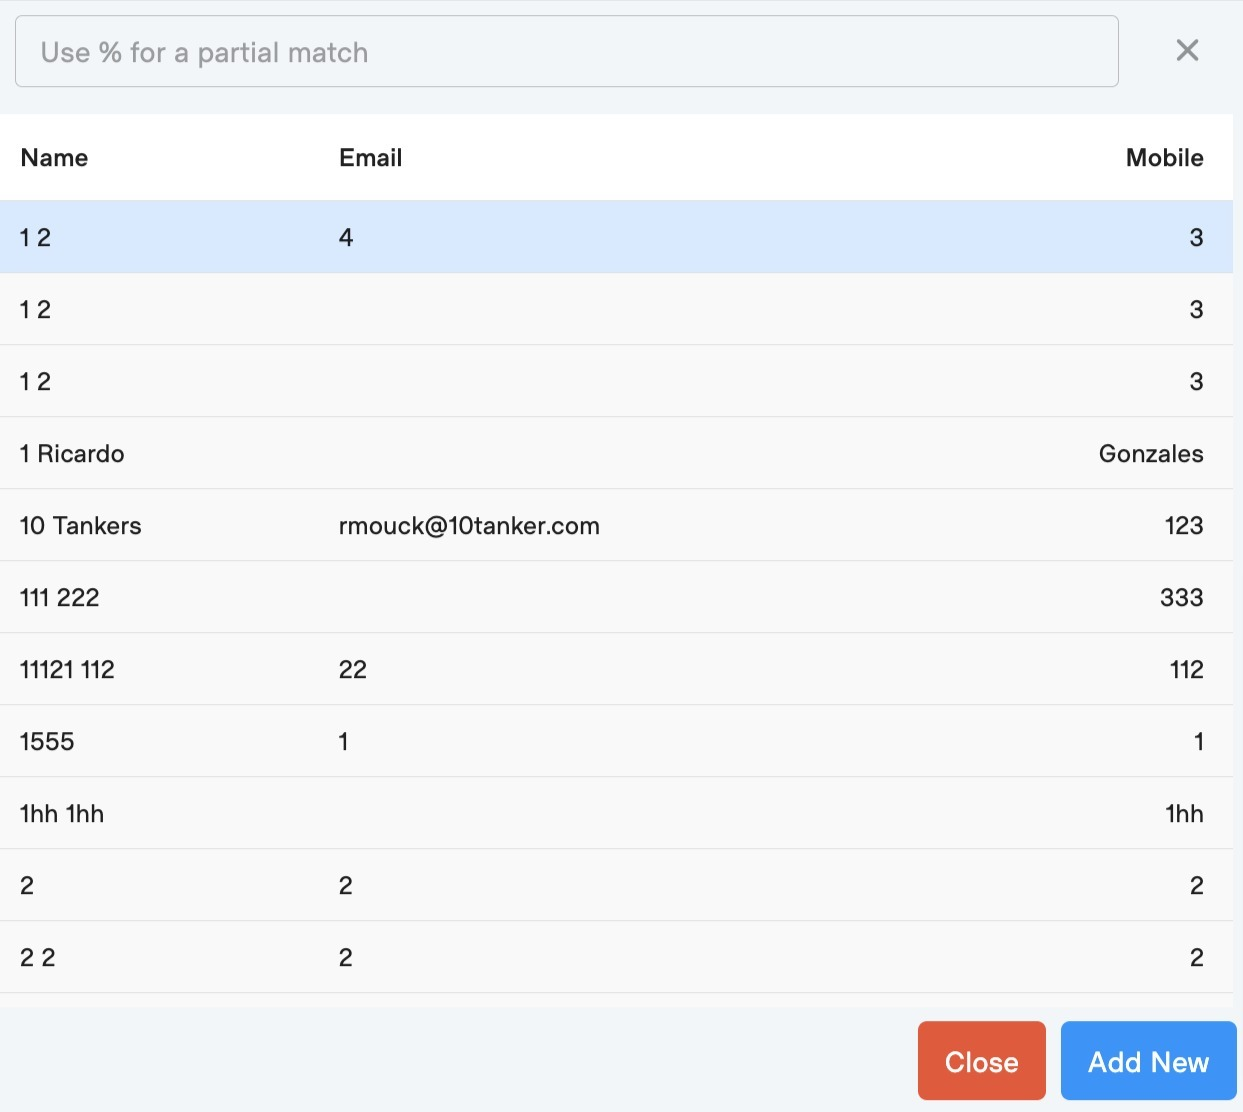
A list of existing customers will be displayed or new customer can be added.
Search for the Vehicle
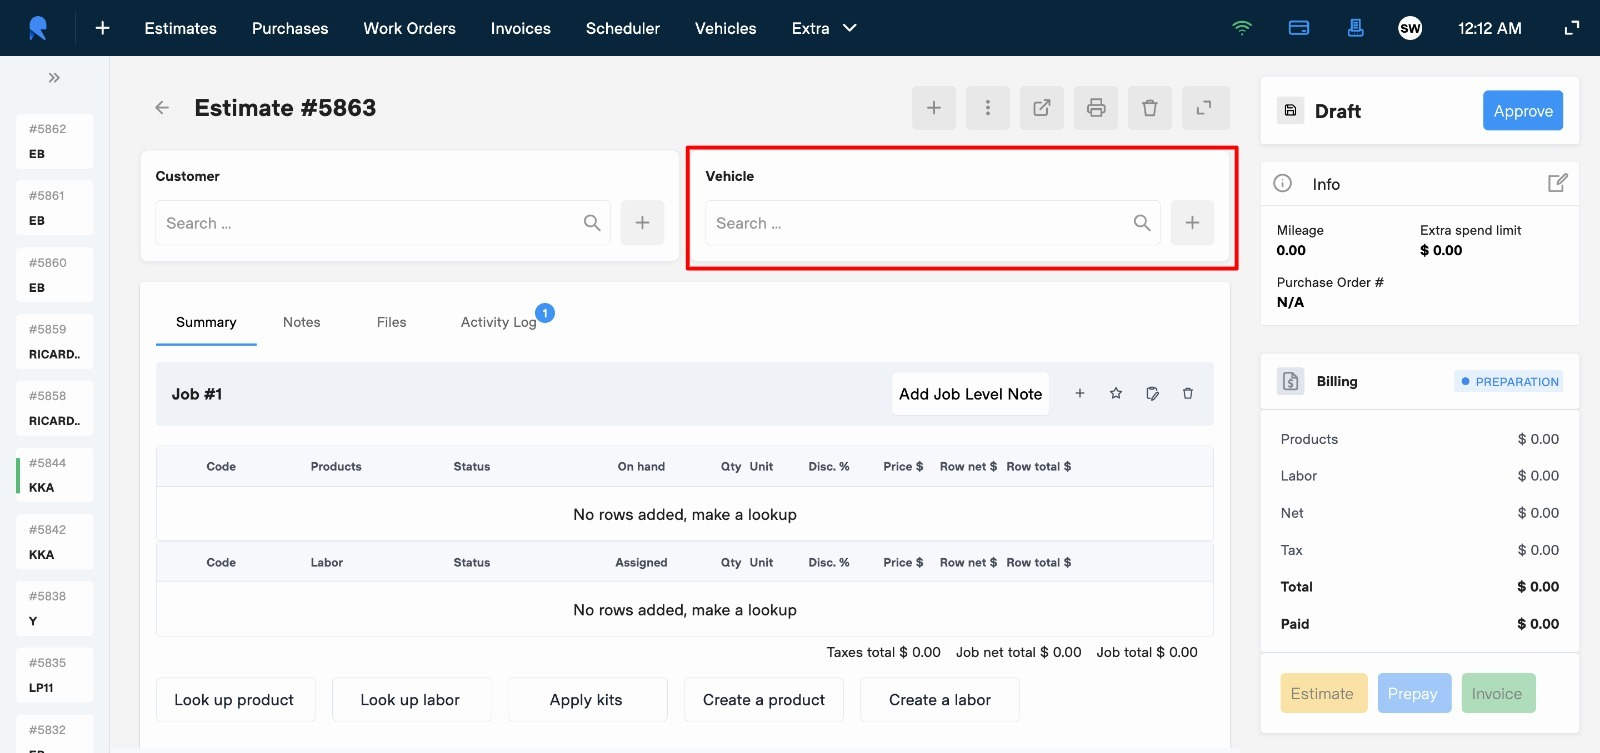
Search for an existing Vehicle Record by clicking into the search box and start typing data related to start populating records to select from.
Other option is to create a new Vehicle record by clicking on the “+” on the right of the Vehicle section.
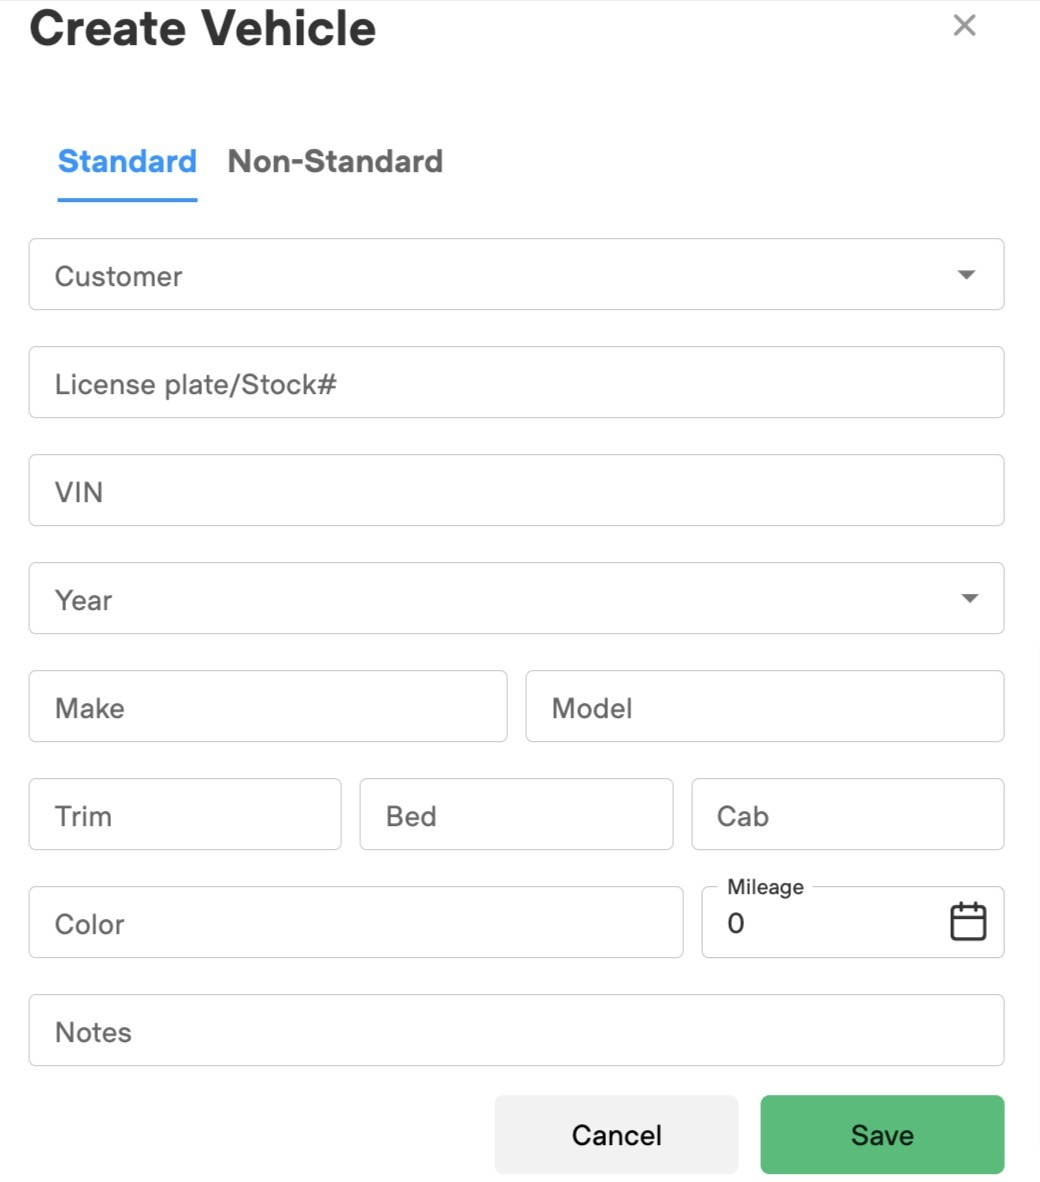
“Add Vehicle” modal is opened in the right view and the following fields are visible:
- Search existing customer
- License plate/Stock#
- VIN/Description
- Make
- Model
- Trim
- Year
- Bed
- Cab
- Notes
- Mileage
- Cancel button
- Save button
Job #1
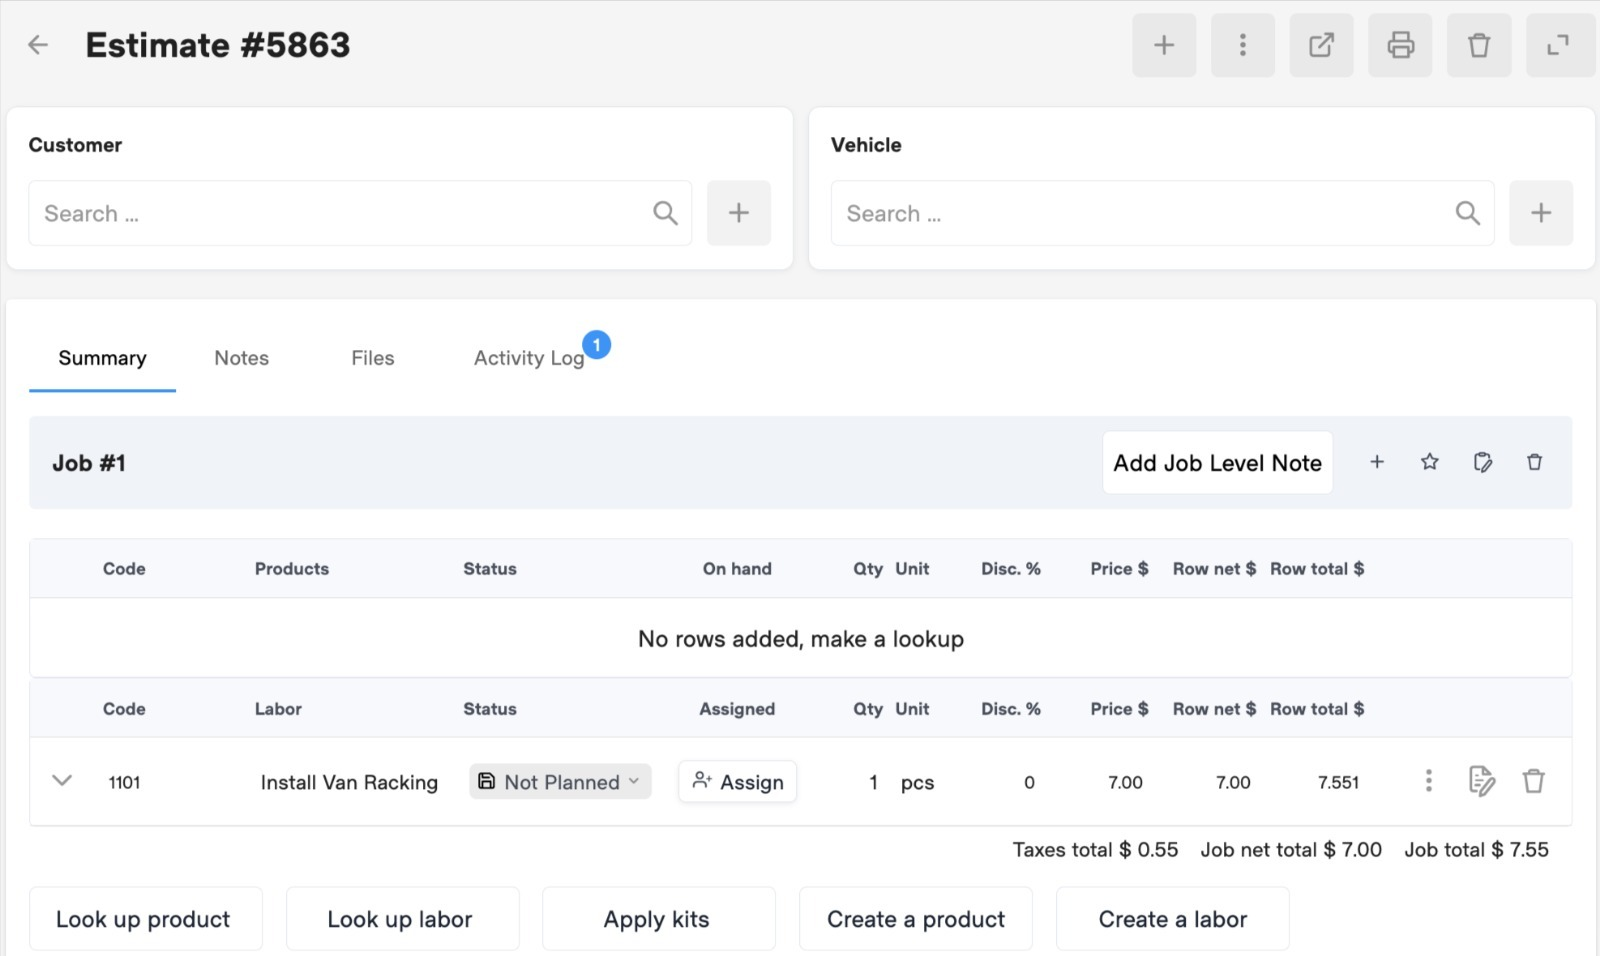
To start building out the work order with Jobs that will be provided you can use the “Look up labor or kit” search box at the bottom of the Job #1 area.
By clicking in the area a list of already defined Jobs will be given.

Click on the one that is being requested.
Can add multiple selections for each Job or can add additional Jobs and add them individually if a line by line item invoice is preferred.
Adding Notes and Pictures
Notes
Click on the “Notes” in the top right corner.
This will bring up the Notes window.
Click “Click to add a note”, add data and save.
Once done adding notes click on “Back”, this returns back to WO.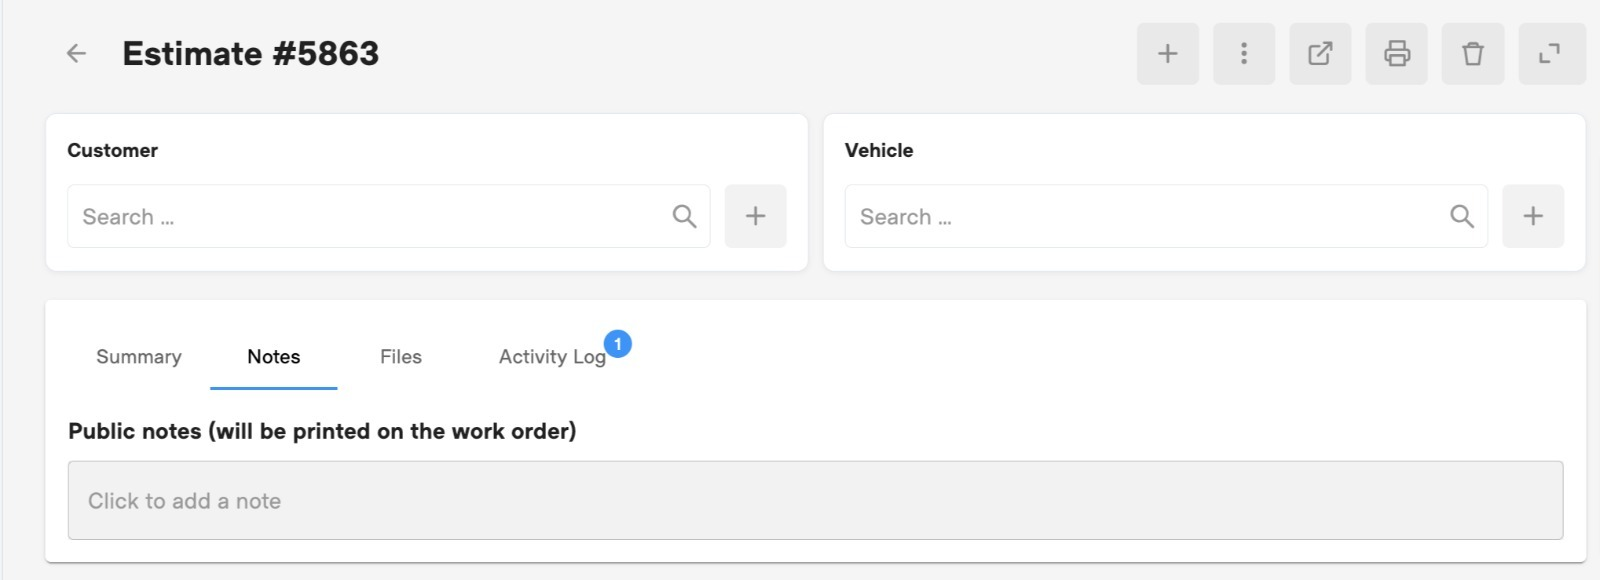
Pictures
Click on “Pictures” in the top right corner.
This will bring up the Pictures window.
Can drag and drop files into the “Drag images here to upload them”.
Alternatively can click on the “Drag images here to upload them” area to bring up a file selection window.
Search and select the file to add.
Click on the file and click “Open”.
Pictures window is displayed again with attached file, click “Upload”.