Mailchimp Integration Setup
In order to integrate your Mailchimp account to Erply you must first reach out to our support representatives who will activate the Mailchimp Integraiton plugin on your Erply account. You can reach our support by writing to support@erply.com
Once the integration plugin is added to your Erply account you need to perform the following steps:
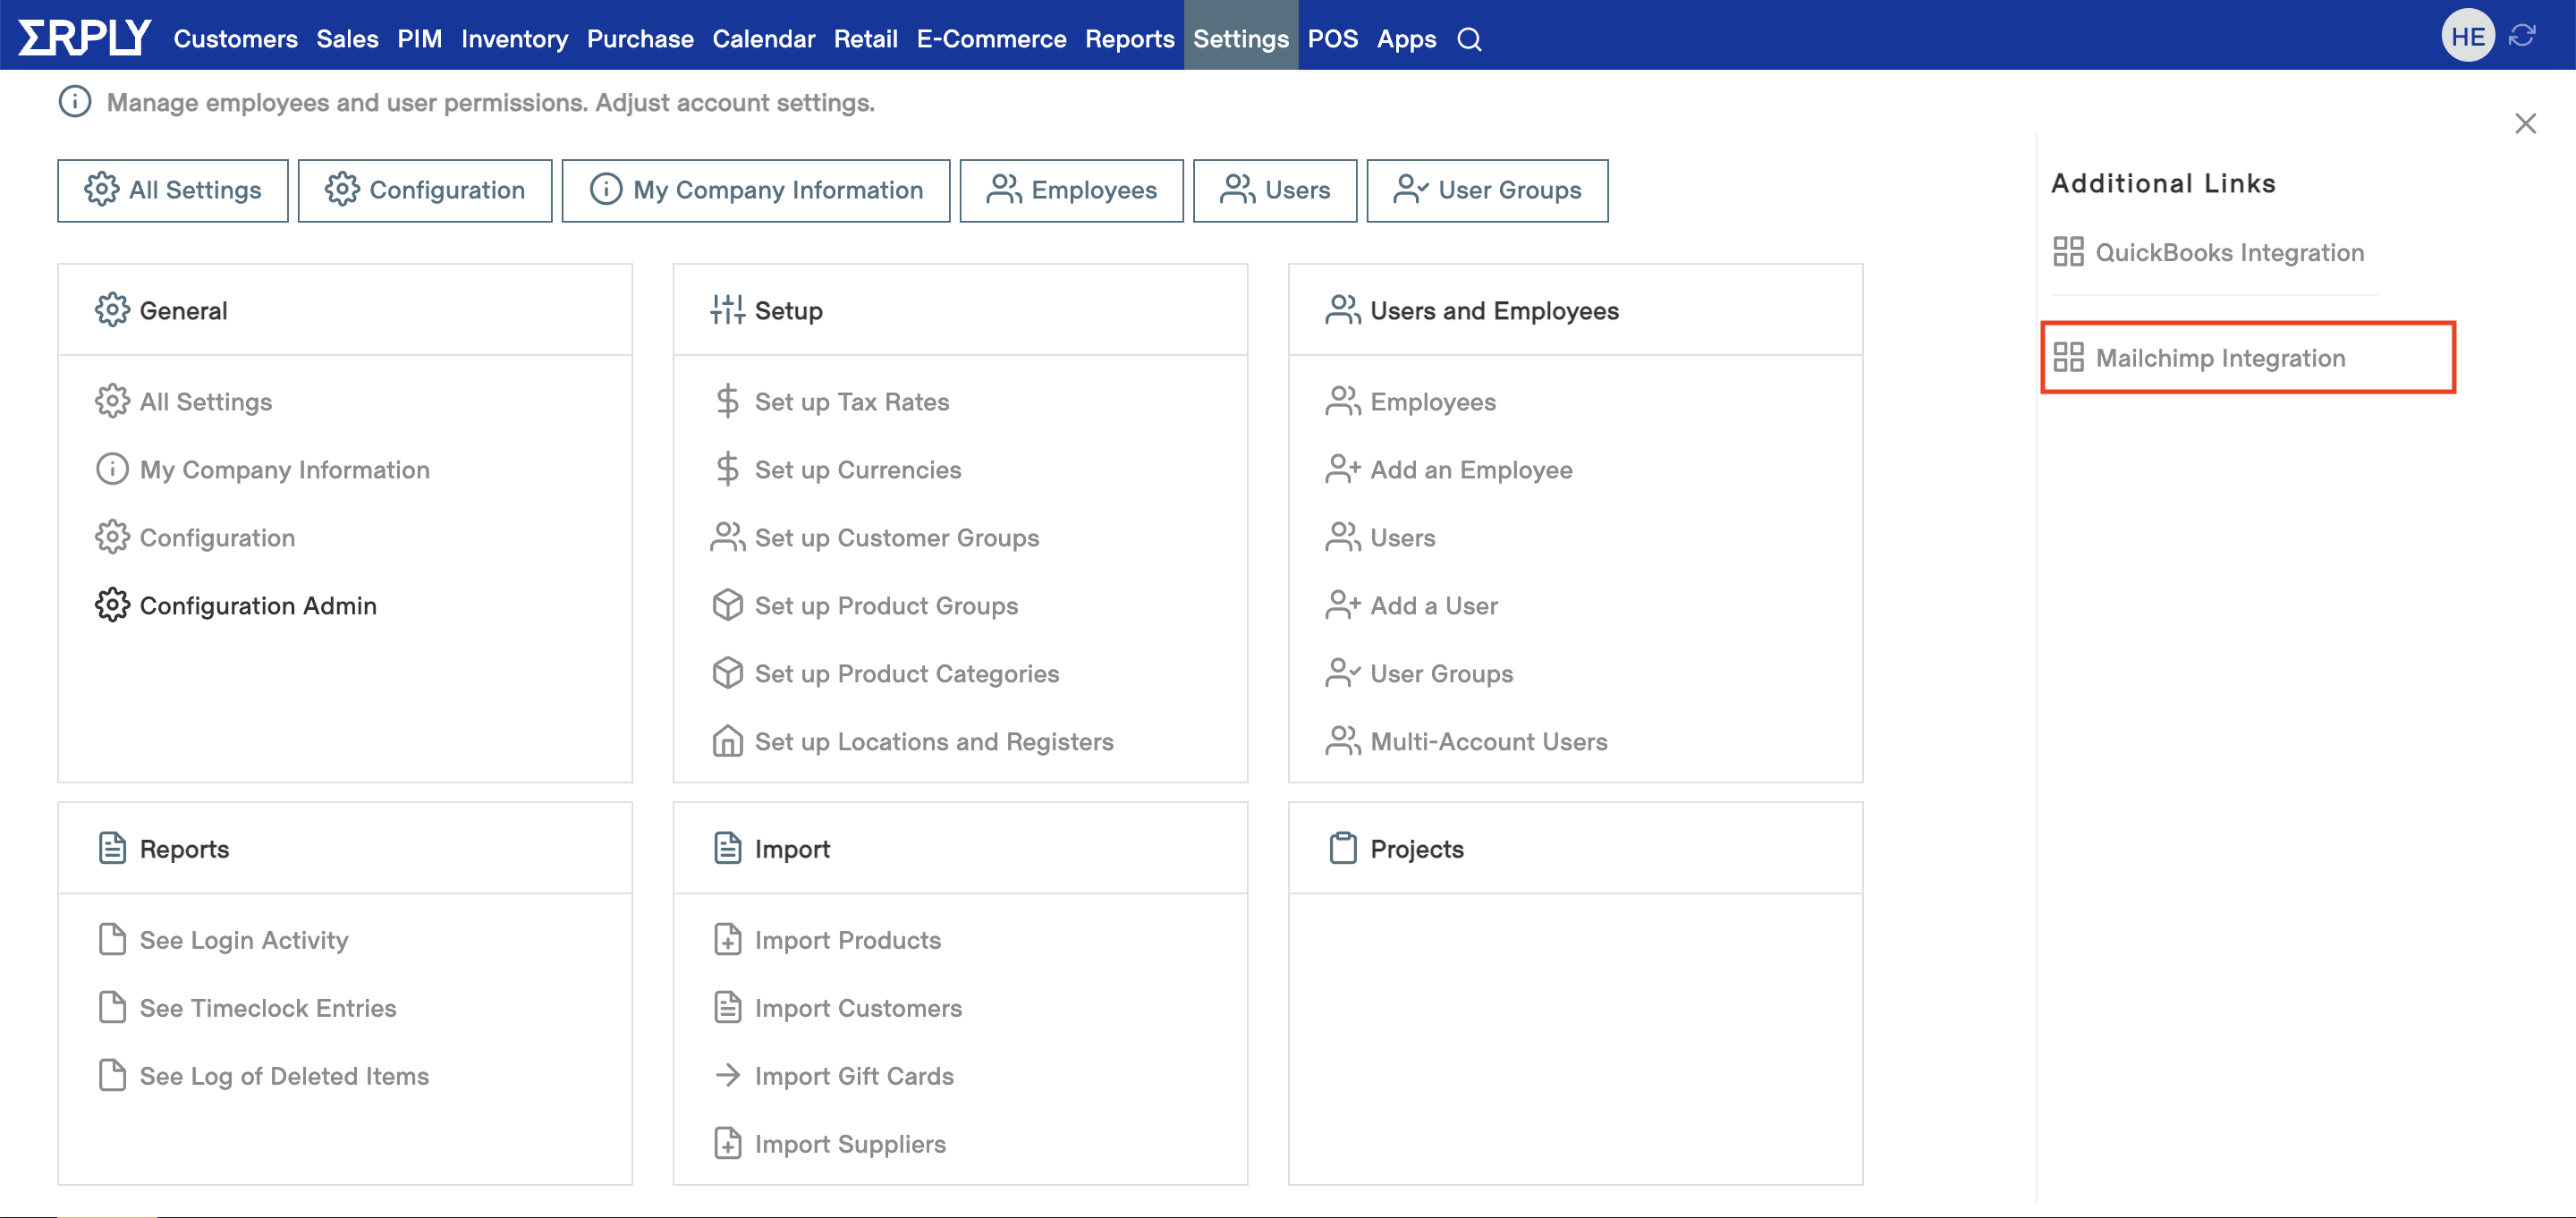
Open Erply backoffice and navigate to: "Settings -> Mailchimp Integration" (see attached screenshot below)
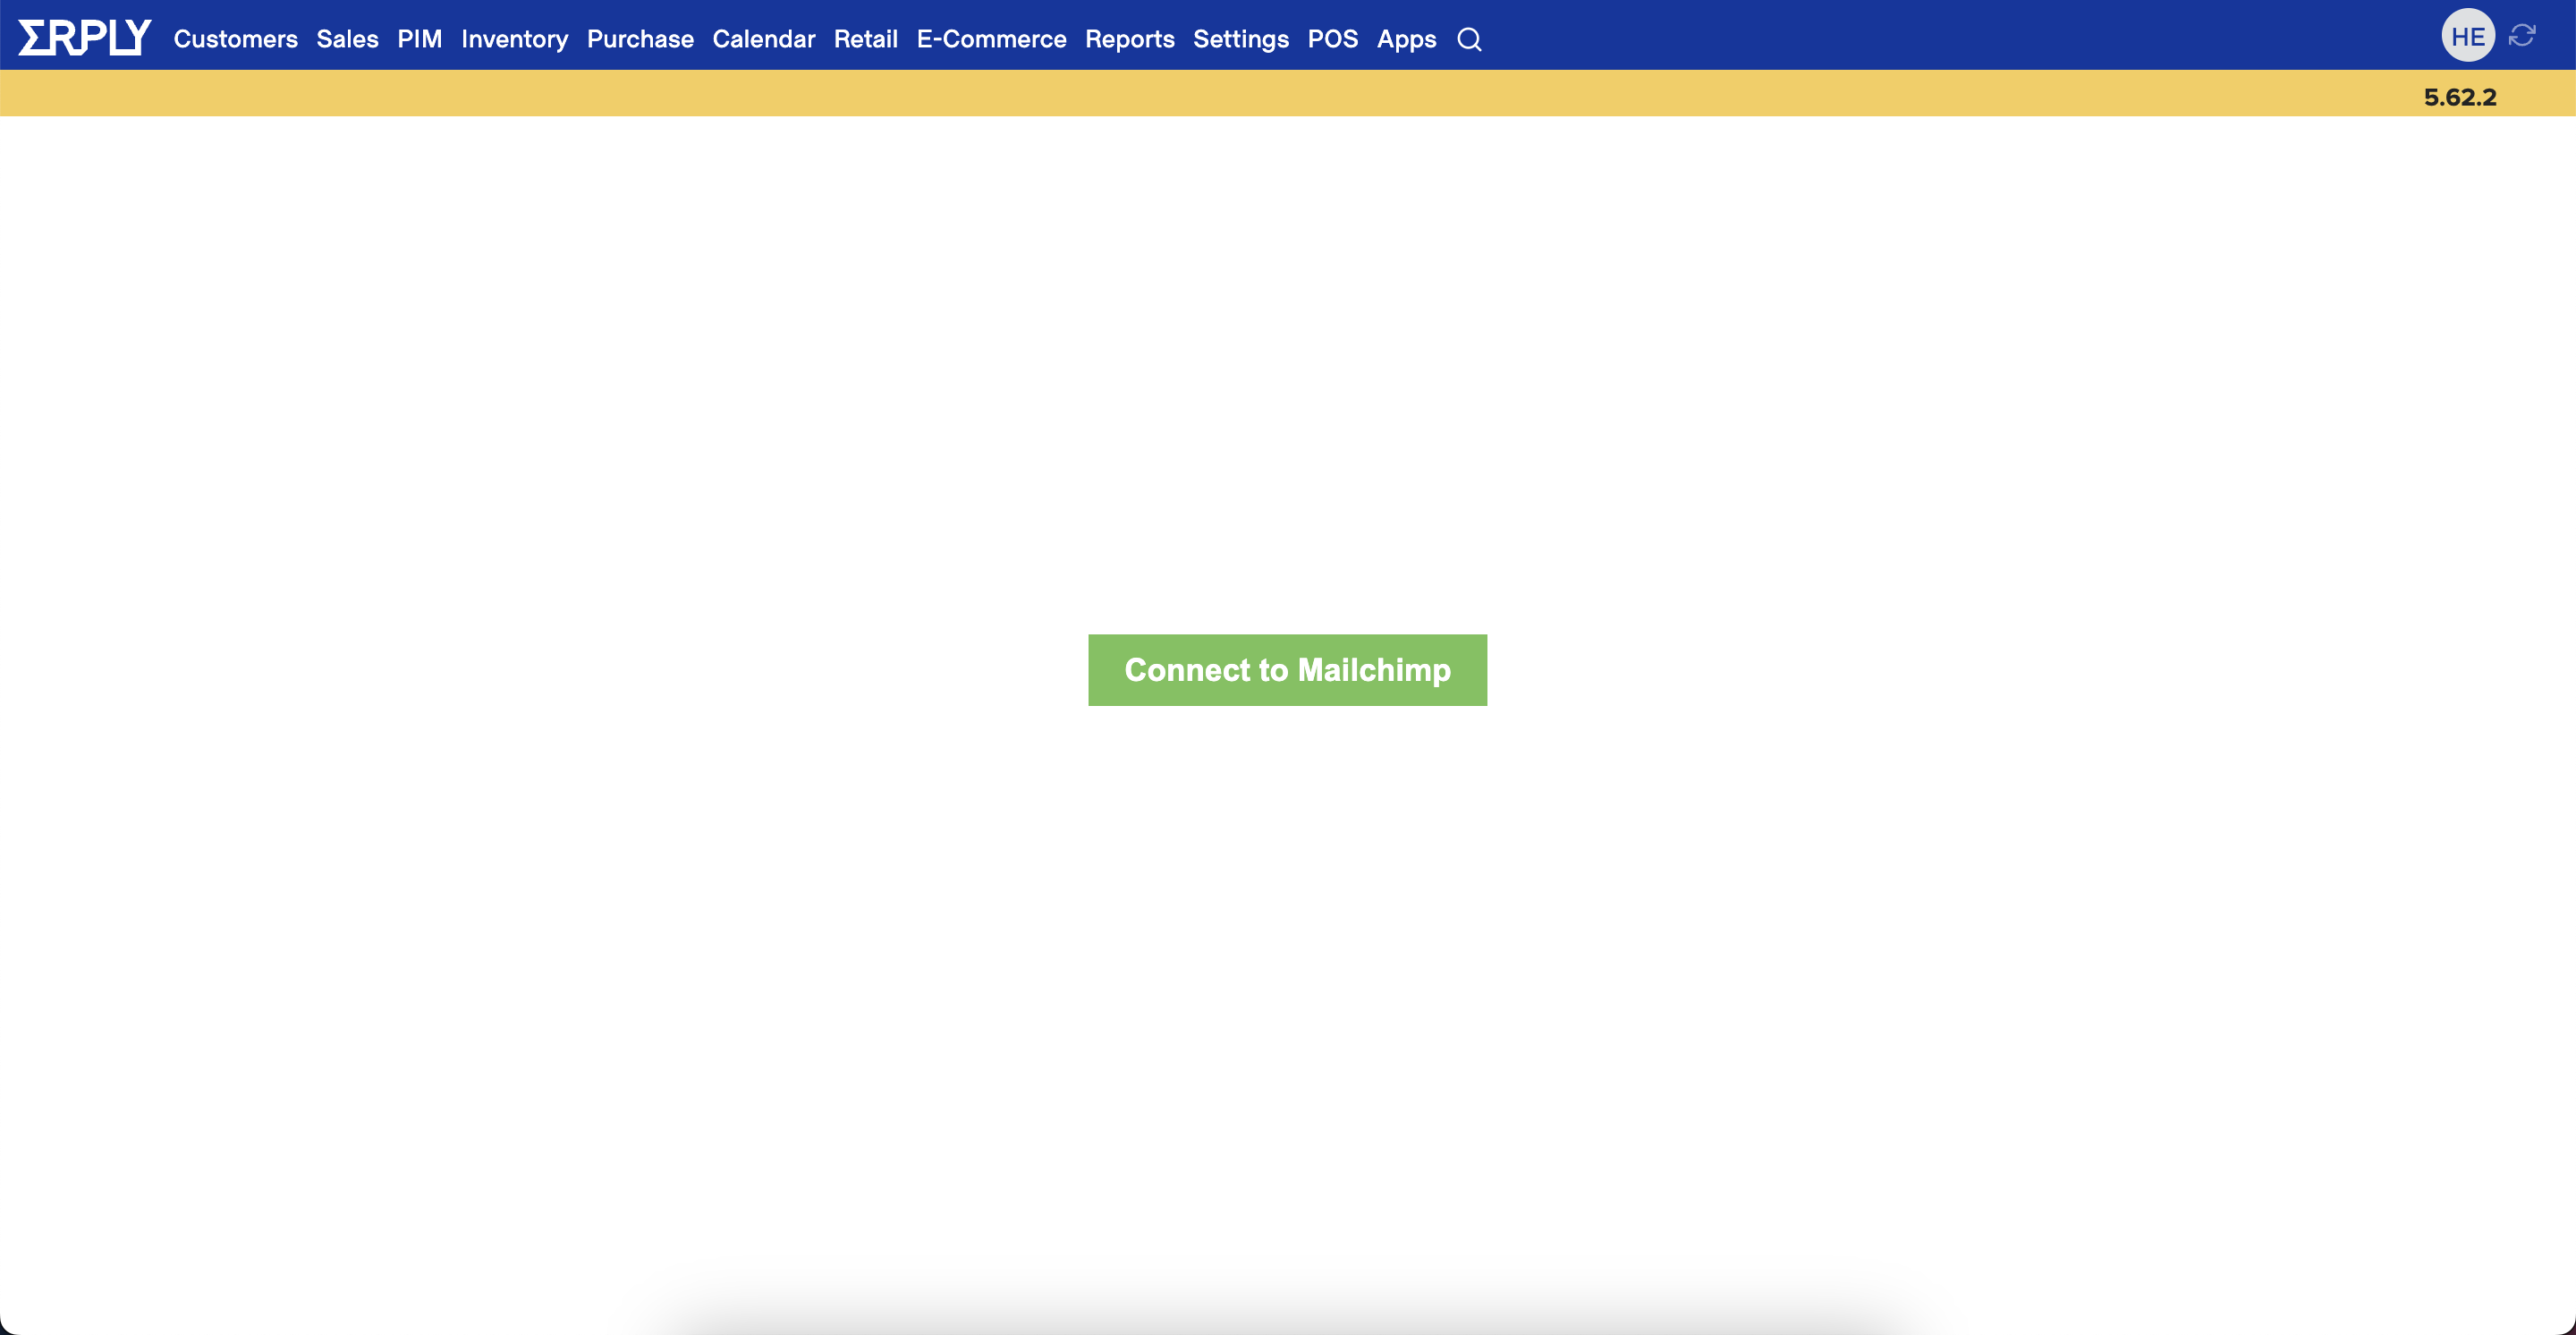
Click on "Connect to Mailchimp" (see attached screenshot below)
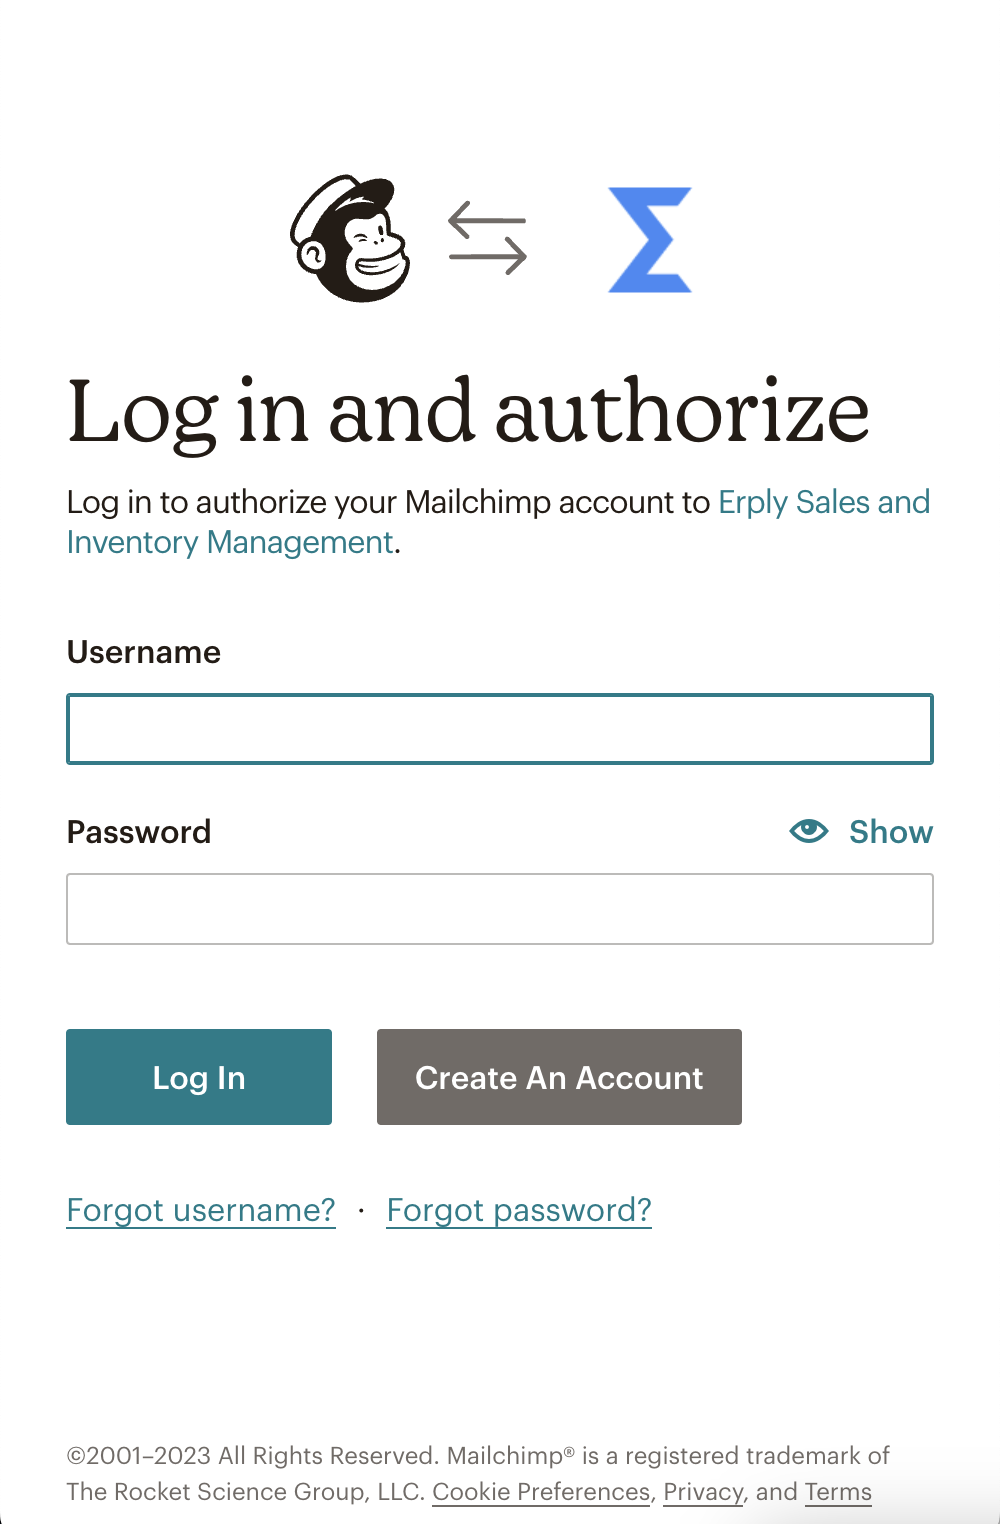
Log in to your Mailchimp account using your Mailchimp credentials
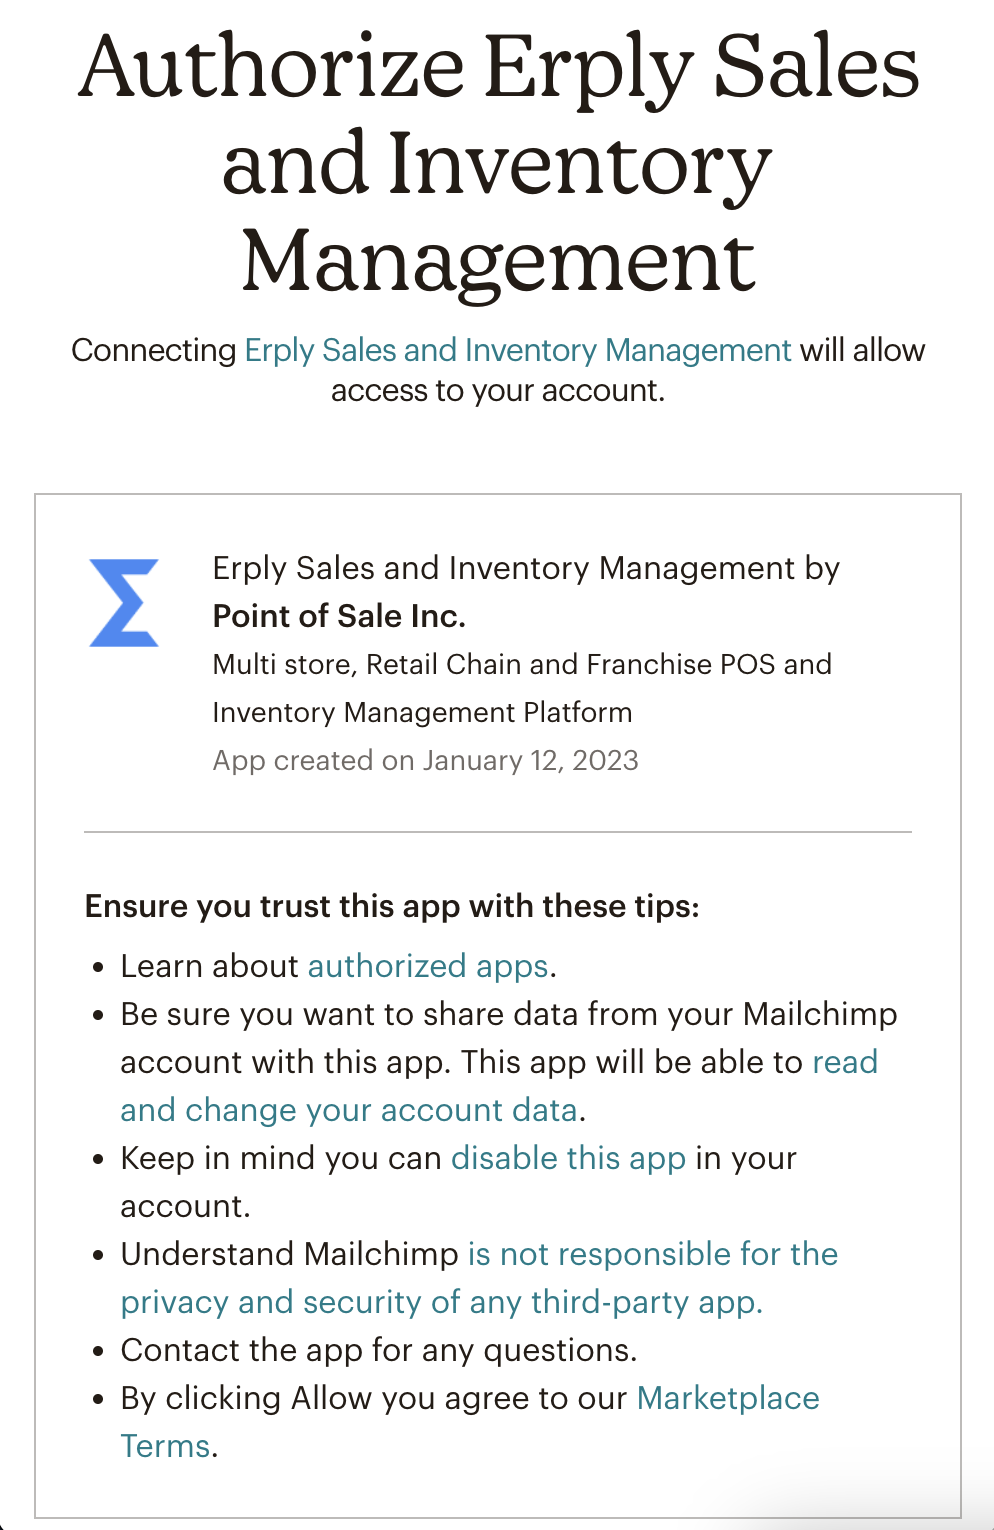
Grant permissions for the integration to communicate with Mailchimp
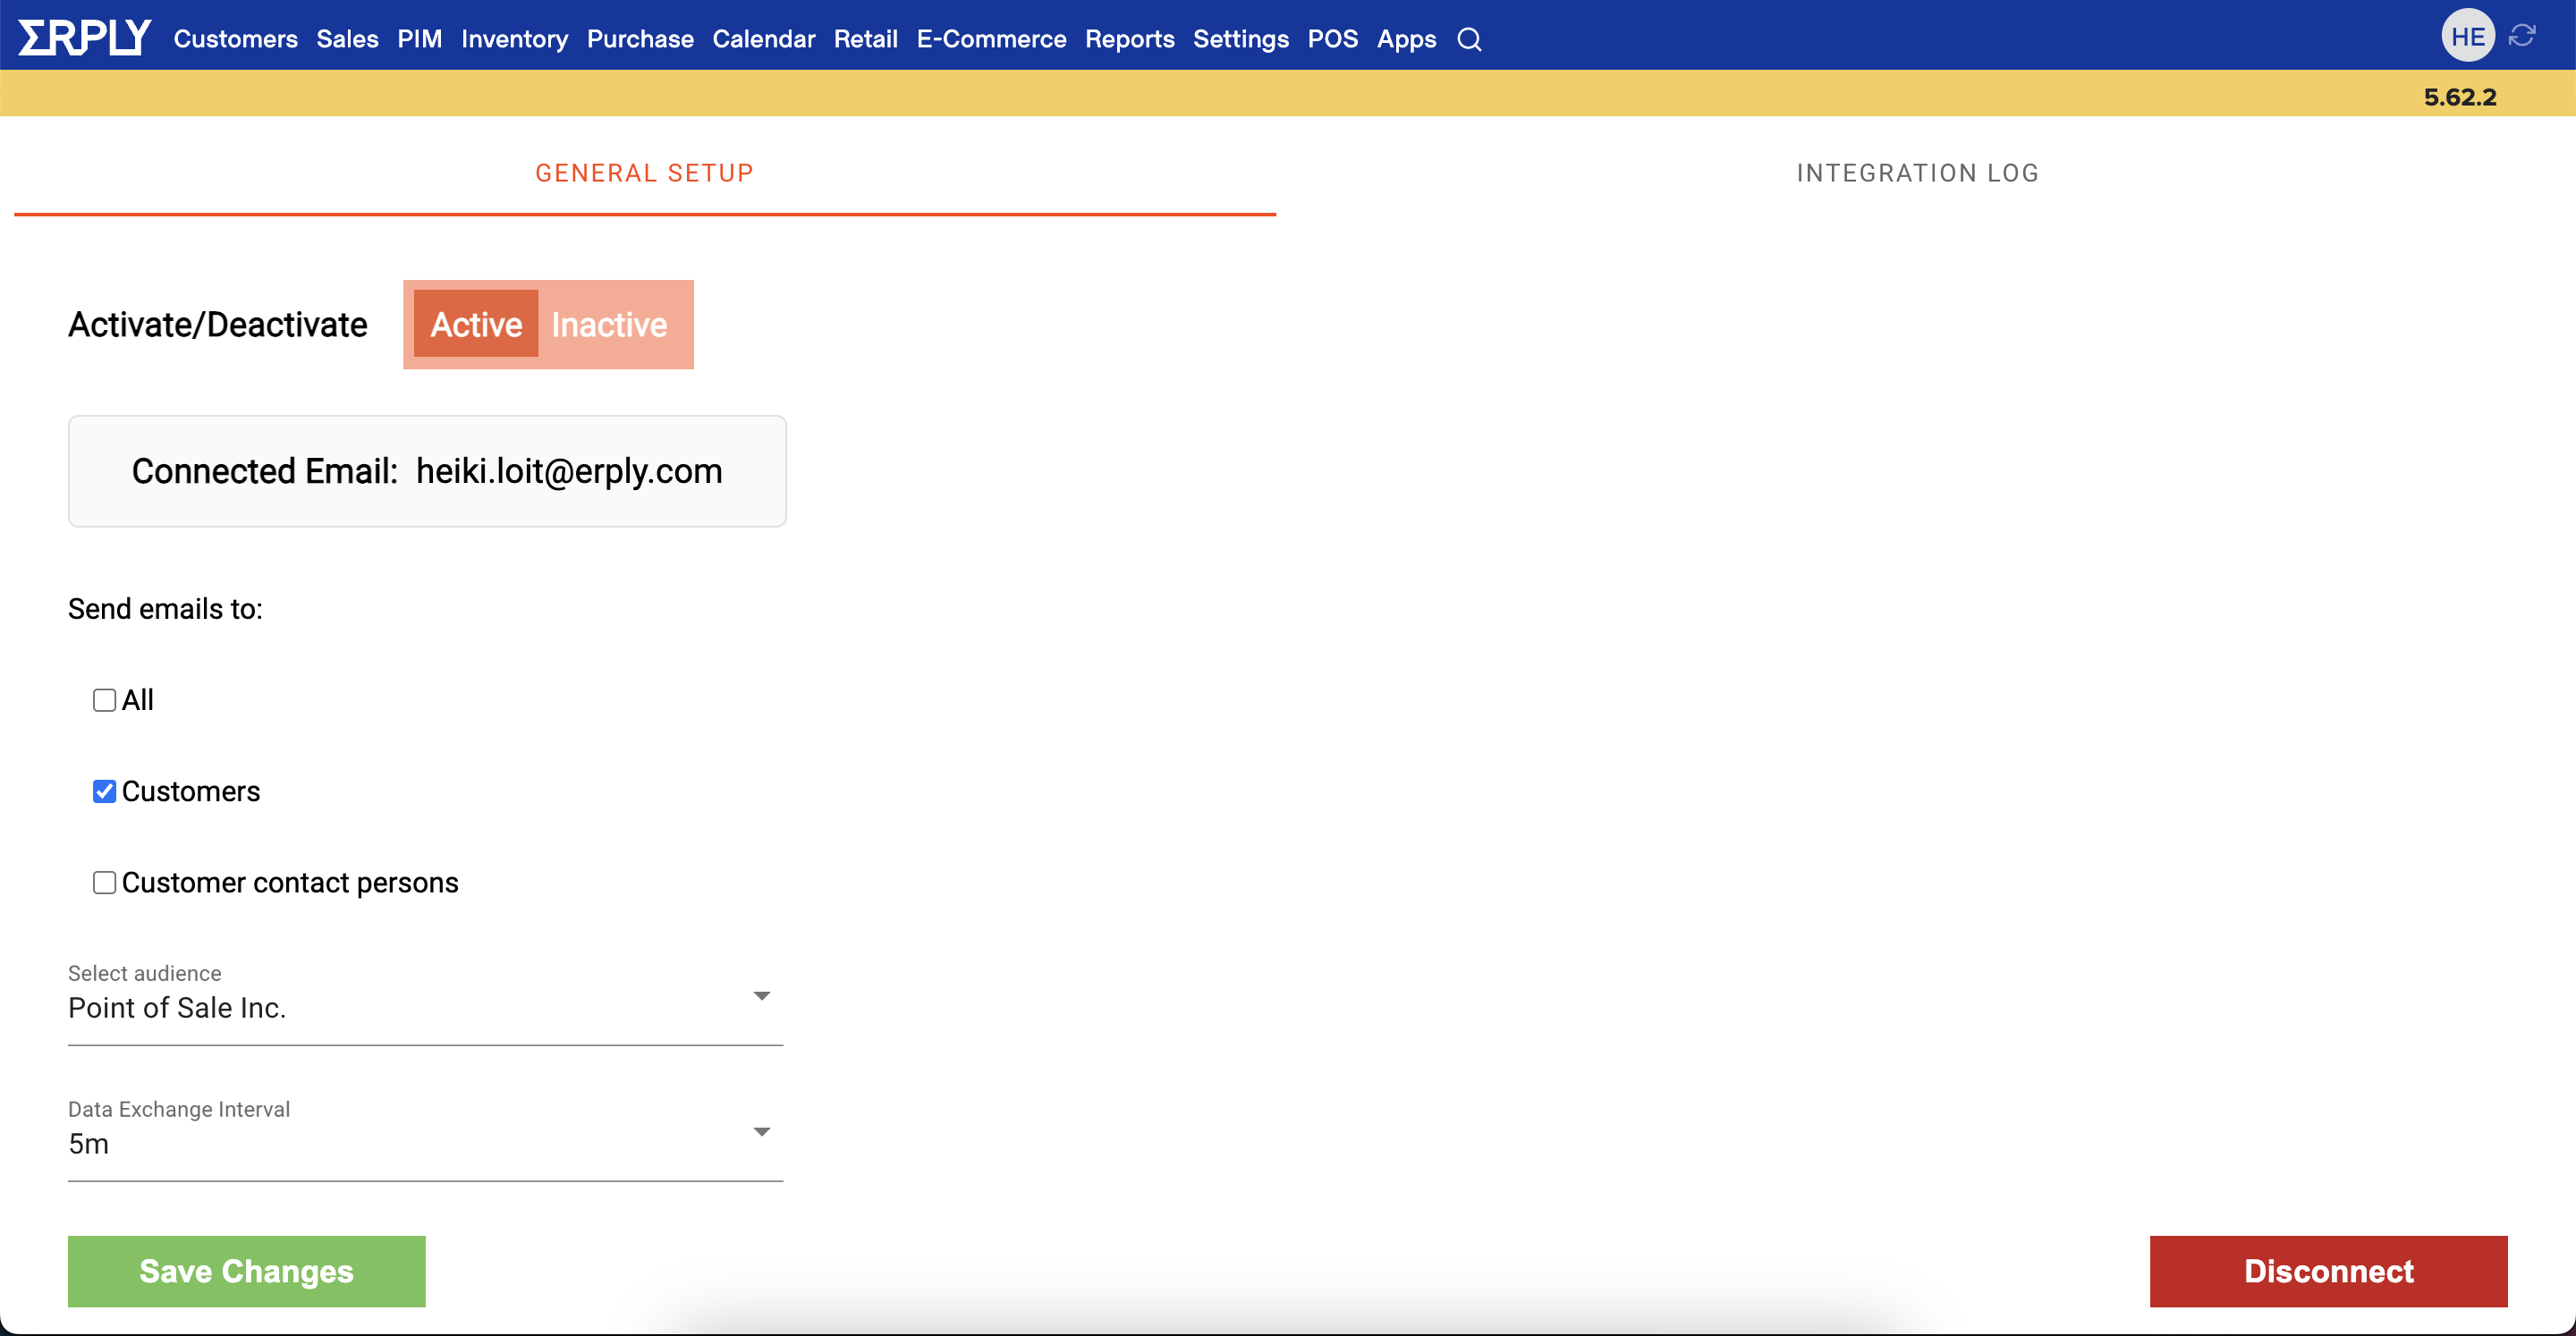
Configure your integration settings
From the settings view you are able to:
- Active / Deactivate your Mailchimp integration to Erply
- See the Mailchimp account that is currently connected to Erply
- Select which customers data will be pushed to Mailchimp
- All (Customers and contact persons)
- Customers
- Customer contact persons
- Select your Mailchimp Audience
- Select the audience from the dropdown. All the values in the dropdown are pulled in from your Mailchimp account
- Set the data exchange interval
- This defines how often new customer data is sent to Mailchimp
- Integration Log
- This shows you all the errors in the integration including the time when the error occurred and an error message so you can easily fix the issue and resubmit the customer data to Mailchimp
The integration also respects the email opt-out & opt-in values in both Erply and Mailchimp and will update the customer records accordingly
Customer fields that are being sent to Mailchimp from Erply
- Customer Name
- Phone
- Birthday
- Address*
- If some or all address components are missing from Erply then address sync will be skipped