QuickBooks Online Integration Setup
In order to integrate your QuickBooks Online Plus or Advanced account to Erply you must first download the integration applications from the Erply App Store
PS! Integration works with QuickBooks Online Plus and QuickBooks Online Advanced versions

Open Erply backoffice and navigate to: “Apps -> QuickBooks Integration”
Click on the “QuickBooks Integration” link
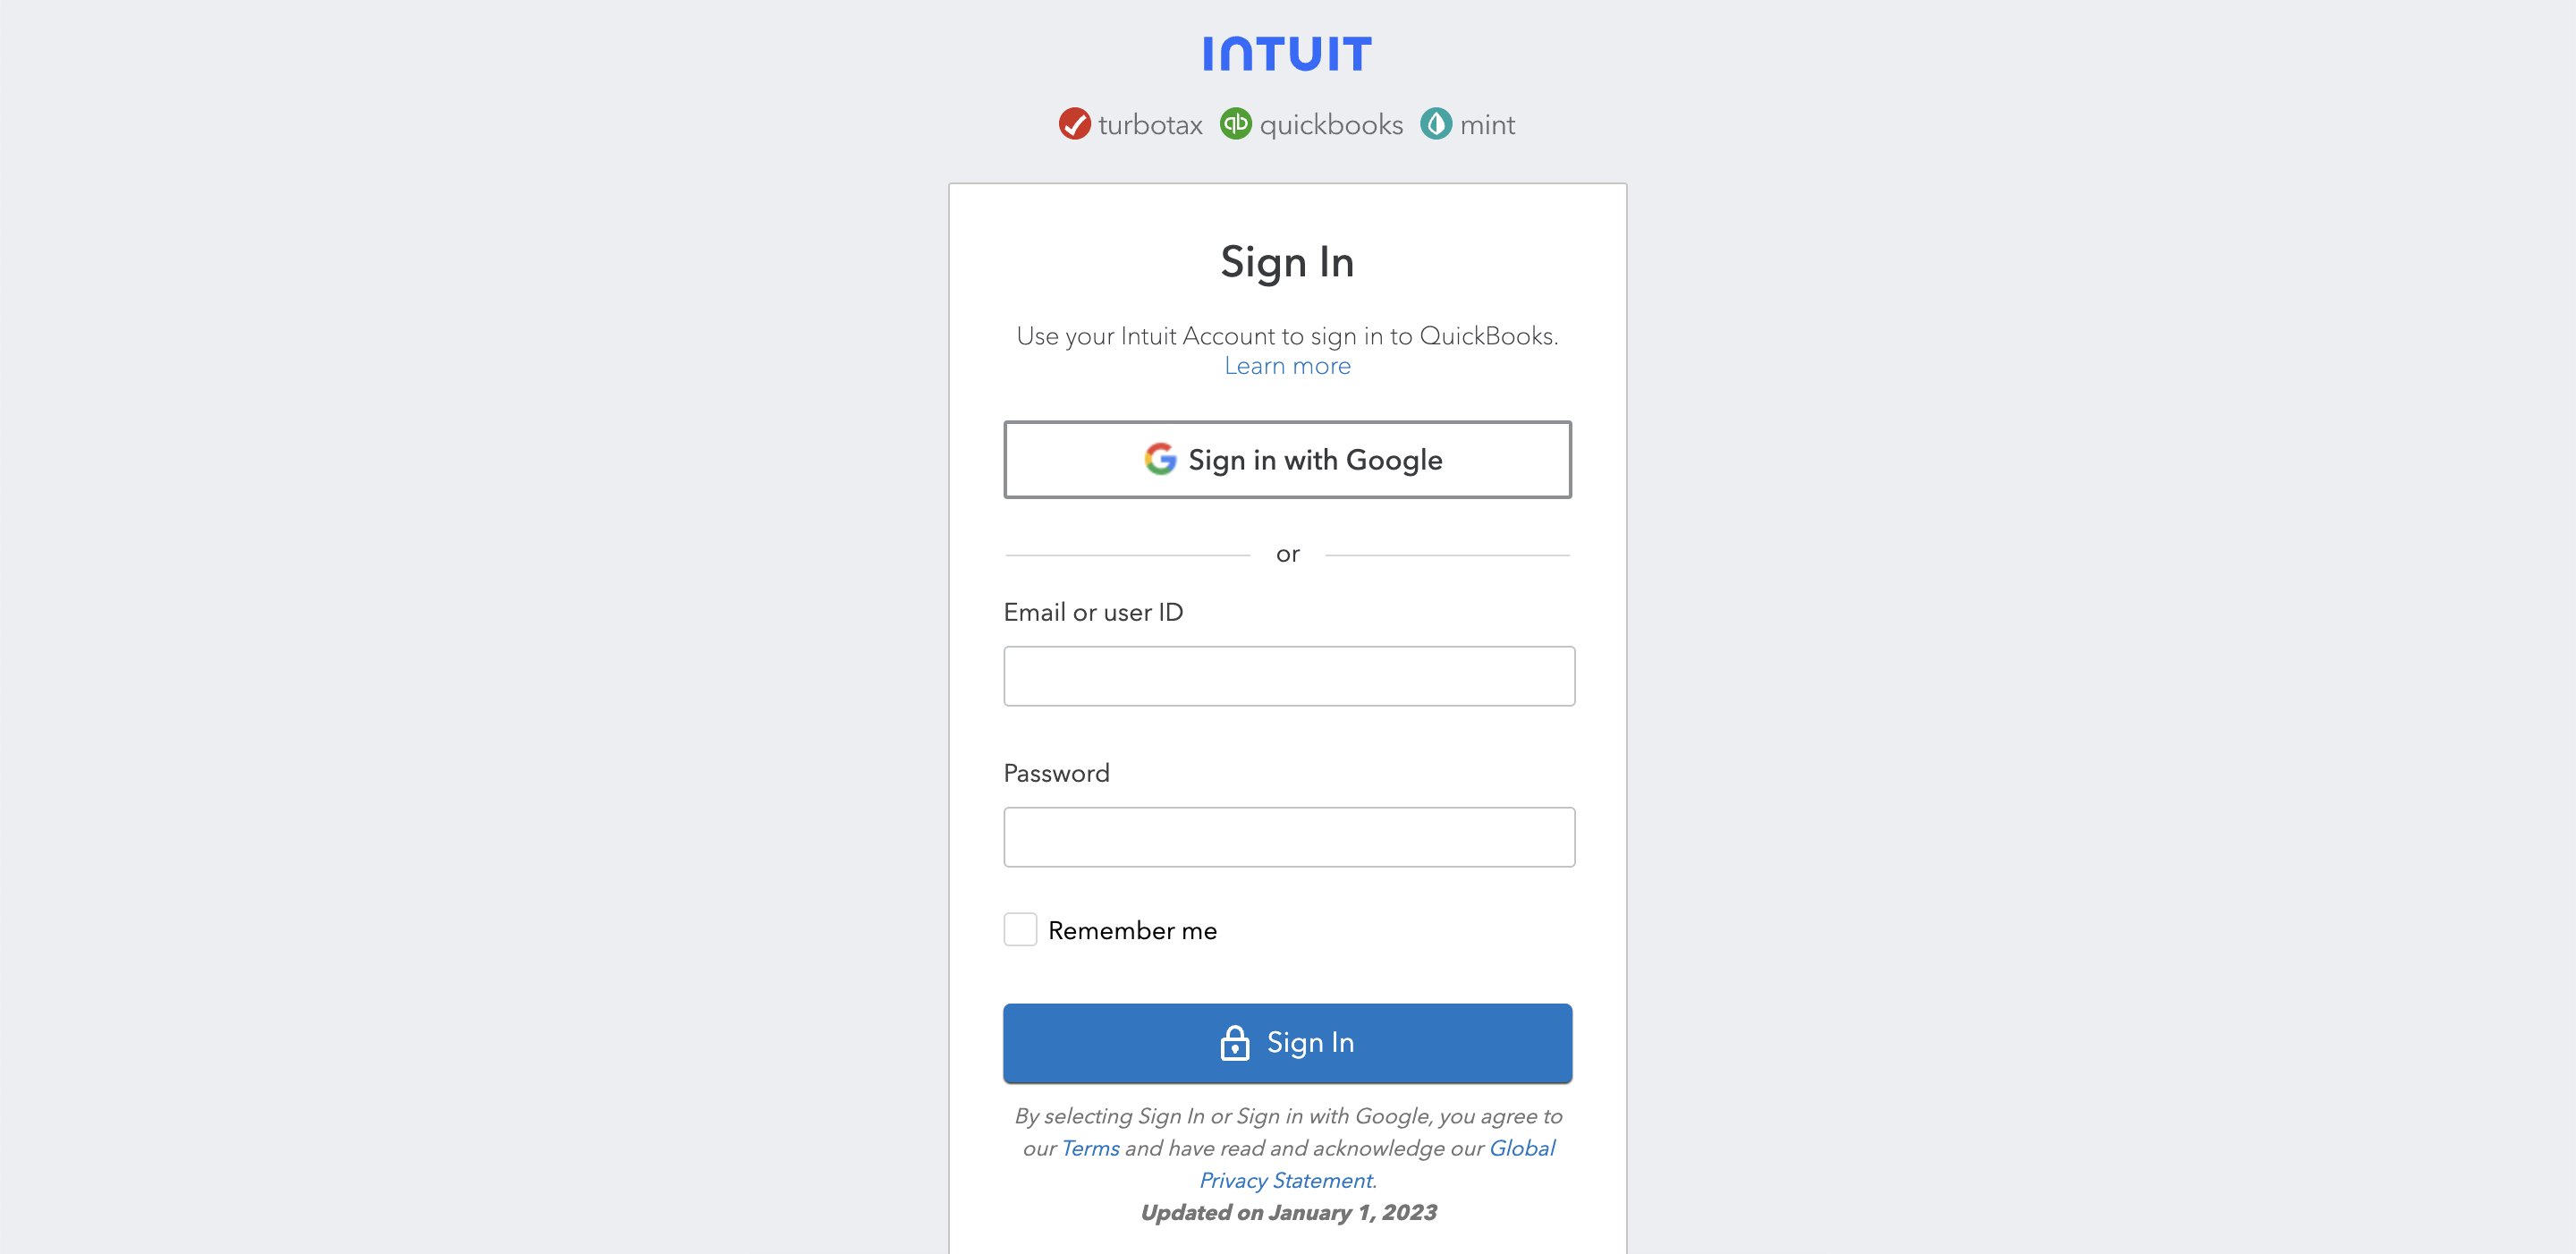
Click on "Connect to QuickBooks" (see attached screenshot below)

Log in to your QuickBooks Online account using your QuickBooks Online credentials
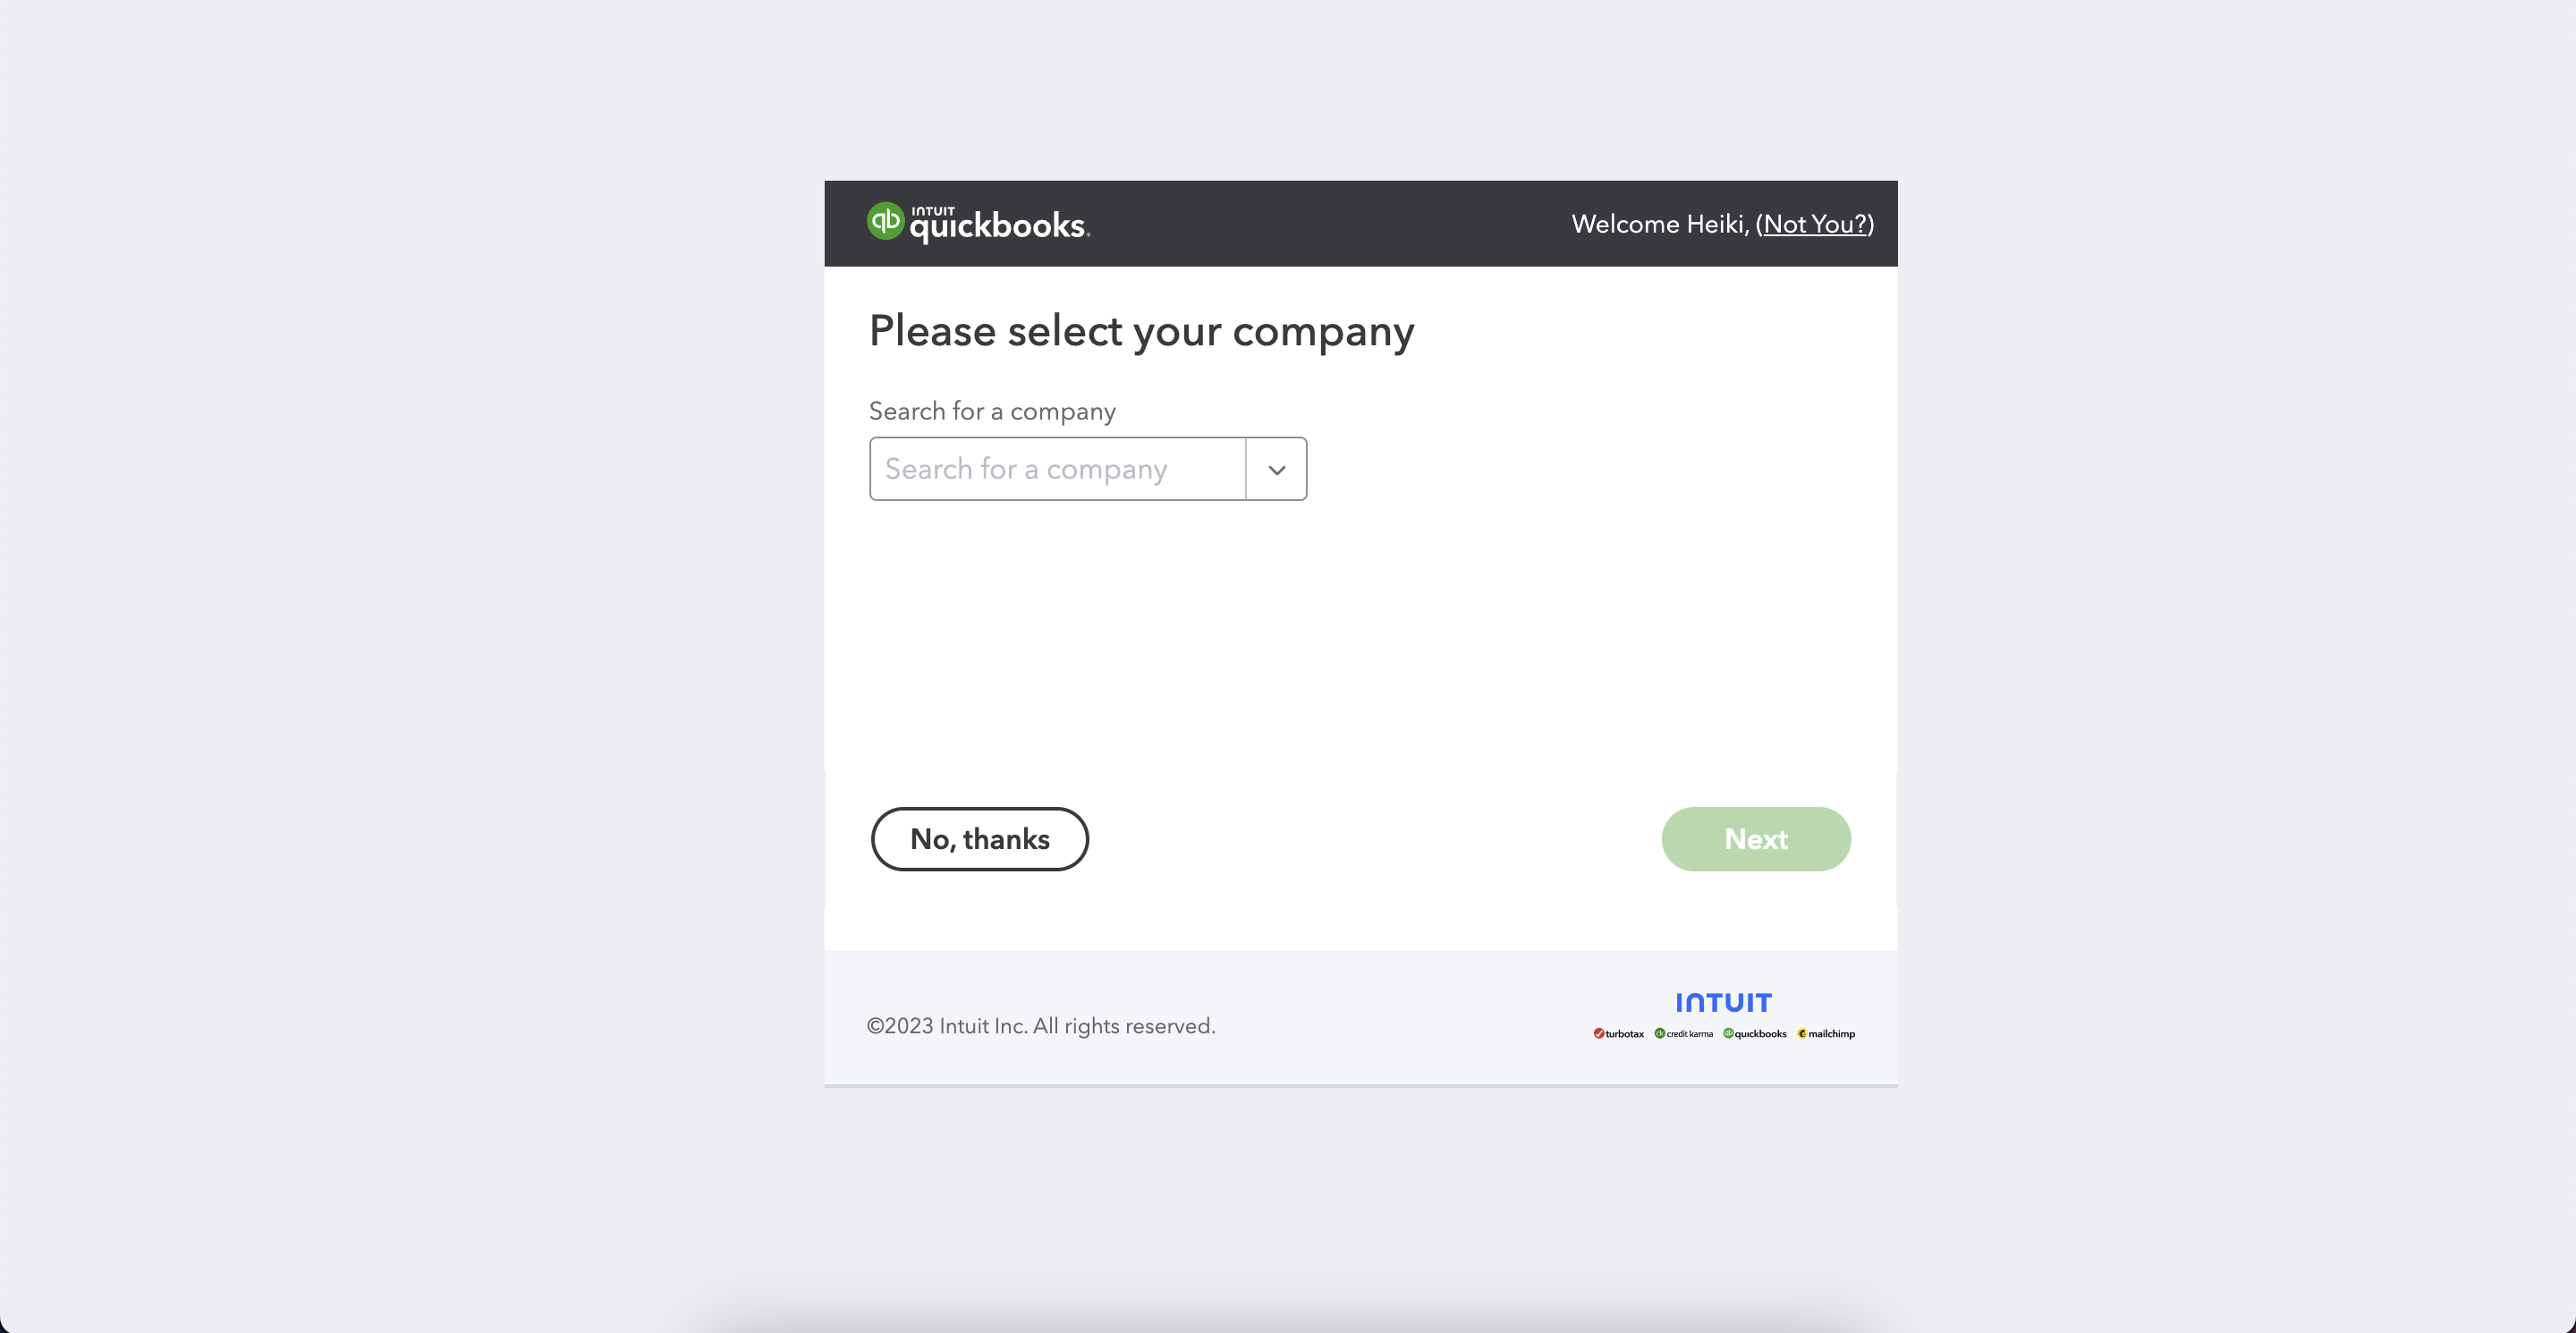
Select the company you wish to integrate with your Erply account (see screenshot below)
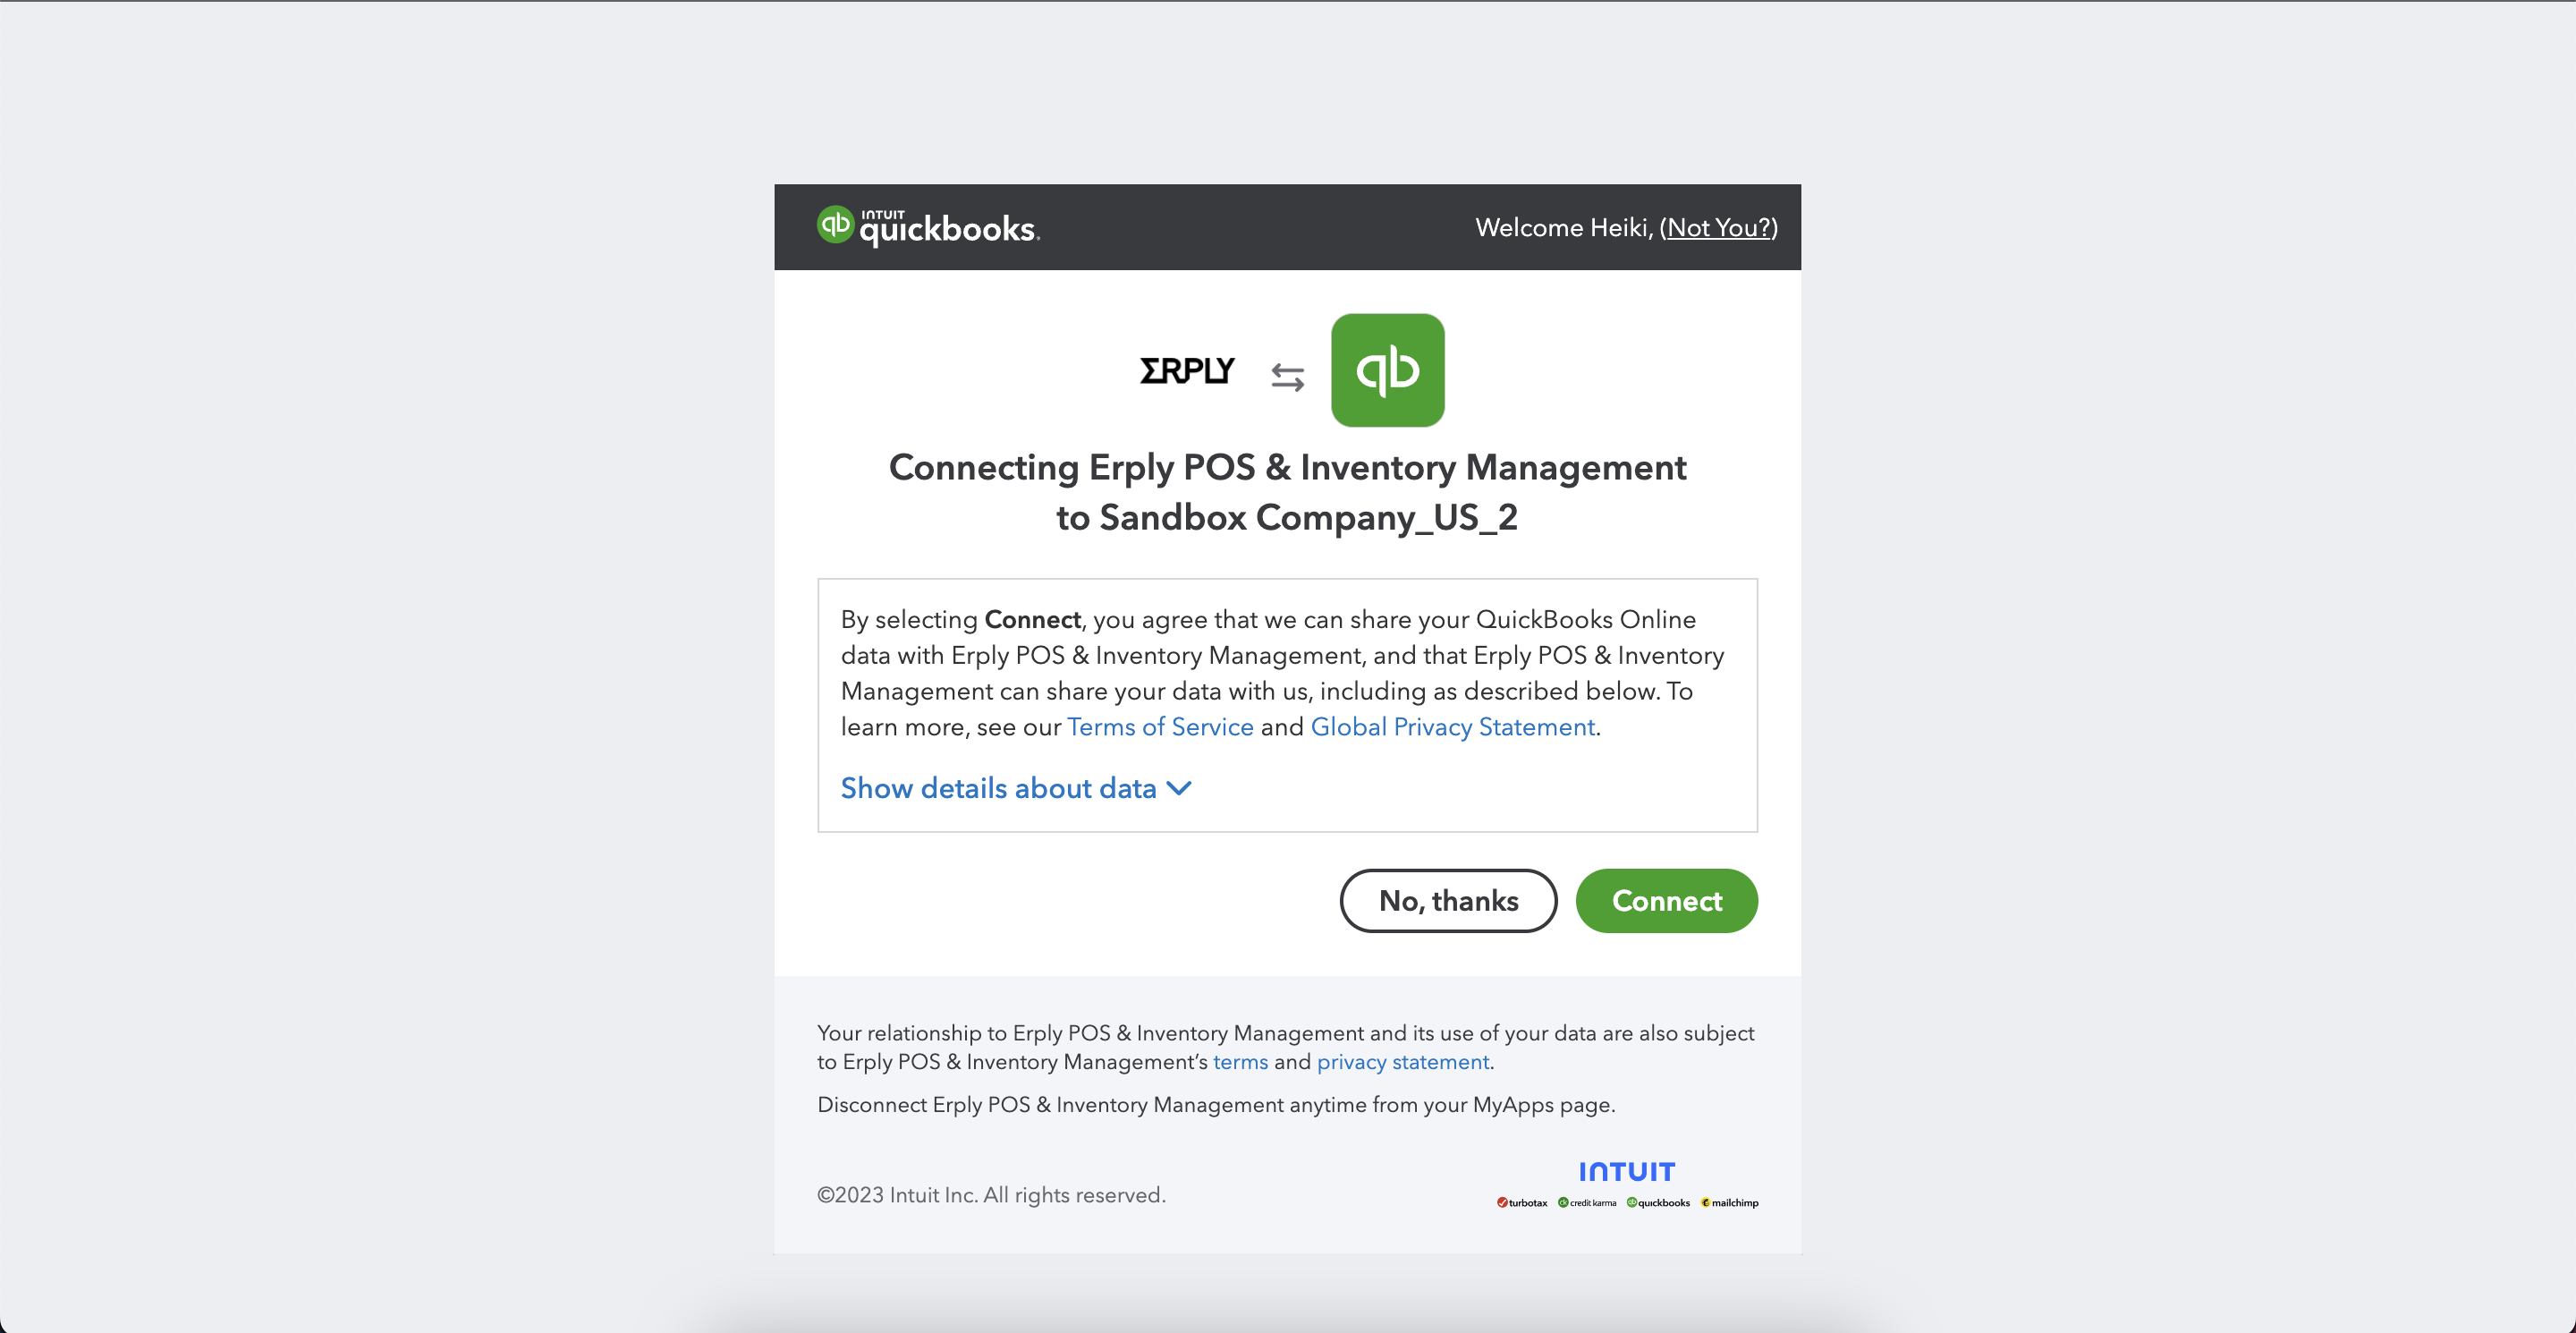
Grant permissions for the integration to communicate with QuickBooks Online
Once you have completed the authentication process you will be directed back to the Erply backoffice where you must set up your integration by adding account mappings, payment type mapping, tax mappings, configuring the data exchange intervals and also specifying the entities that will be kept in sync between Erply and QuickBooks Online
GL Accounts Mapping and global settings
In order for the integration to work correctly you must choose QB accounts for all the below fields:
- Asset account
- Expense account
- Income account for inventory items
- Income account for non-inventory items
- Purchase invoice account
- Account for discounts
- Expense type
- Default Erply location
- All quantities will be taken from the specified location(s)
- SKU code value from Erply

Map together QuickBooks Online payment types and Erply payment types (see screenshot below)

Map together QuickBooks bank accounts to Erply payment types

Map together QuickBooks Online tax rates and Erply tax rates

Once you have completed specifying all accounts and mapped together all QuickBooks and Erply values you can define the data exchange interval as well as selecting the entities that you wish to keep in sync between Erply and QuickBooks Online. In order to do so, please navigate to “Sync Settings”
You have the possibility to either choose between a “Full Sync” or “Journal Entries” - the difference being that with full sync all your individual transactions as well as objects (items, suppliers, customers) will be transferred to QuickBooks Online while choosing the “Journal Entries” option only daily/weekly/monthly journals will be transferred to QuickBooks Online
Journal entires sync includes:
- Sales
- Payments
- Cash in & Cash out
- Discounts
- Taxes
Choose your sync type


Initiate a manual sync
You have the option to initate a manual sync. Depending on the chosen sync type you can either initiate a manual sync for each separate entity or initiate a manual sync for a journal entry for a selected period.


Integration Logs
You can also view all the integration logs from inside the integration management by navigating to "Event Logs"

If you wish to disconnect the integration between Erply and QuickBooks online you must navigate to “App Settings” and click on “Disconnect QuickBooks”
