Creating Erply account step by step:
- Go to https://login.erply.com/
- Click on “Create free account”
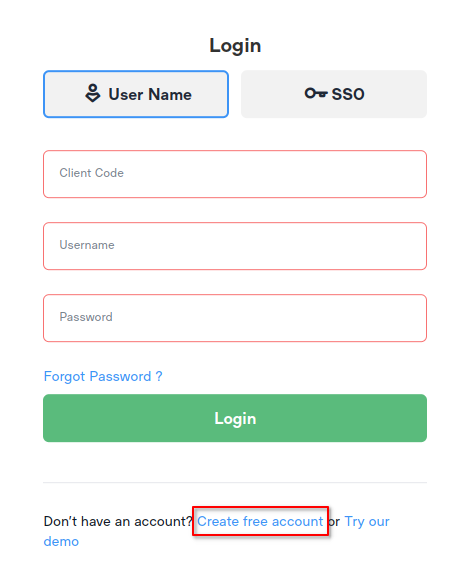
- A page with the registration form will open where all blanks must be filled and then click “Create Account”.

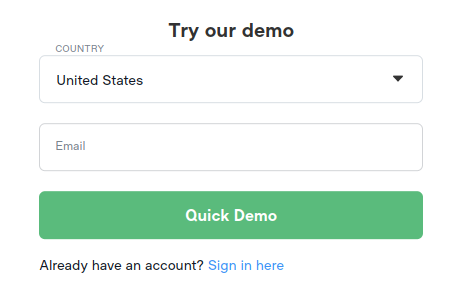
- If you want to “ Try our demo”, a registration form will open where you must select a country and enter your e-mail address and then click on “Quick Demo”. A confirmation letter will be sent to your e-mail with customer code, username and password. There are different example products/customers/customer groups, etc. in the demo account. It also has limited time access.
- The account has now been created and can be accessed at https://login.erply.com/.
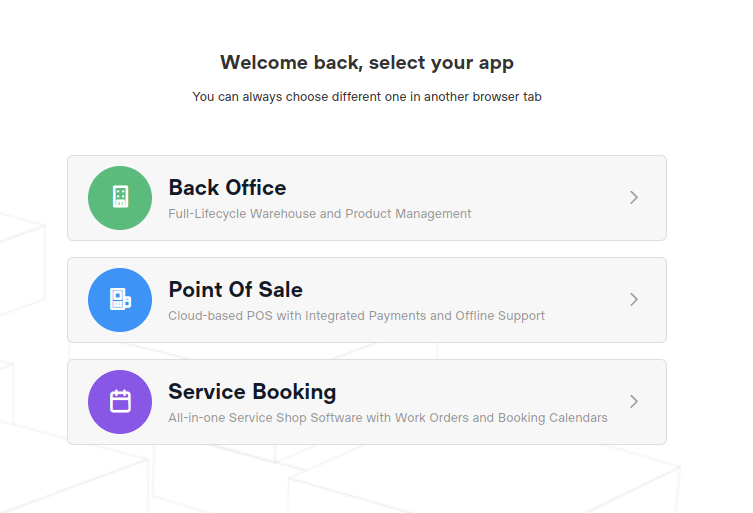
- When you log in, dashboard opens with: "Back Office", "Point of Sale" and "Service Booking". BO is a warehouse module, POS is a cash register system and Service Booking is all-in-one software that is useful for service shops. Click on the icon you want to enter.