XERO Integration Setup
In order to integrate your XERO account to Erply you must first reach out to our support represntatives who will activate the XERO Integraiton plugin on your Erply account. You can reach our support by writing to support@erply.com
Once the integration plugin is added to your Erply account you need to perform the following steps:
Open Erply backoffice and navigate to: "Settings -> QuickBooks Integration" (see attached screenshot below)
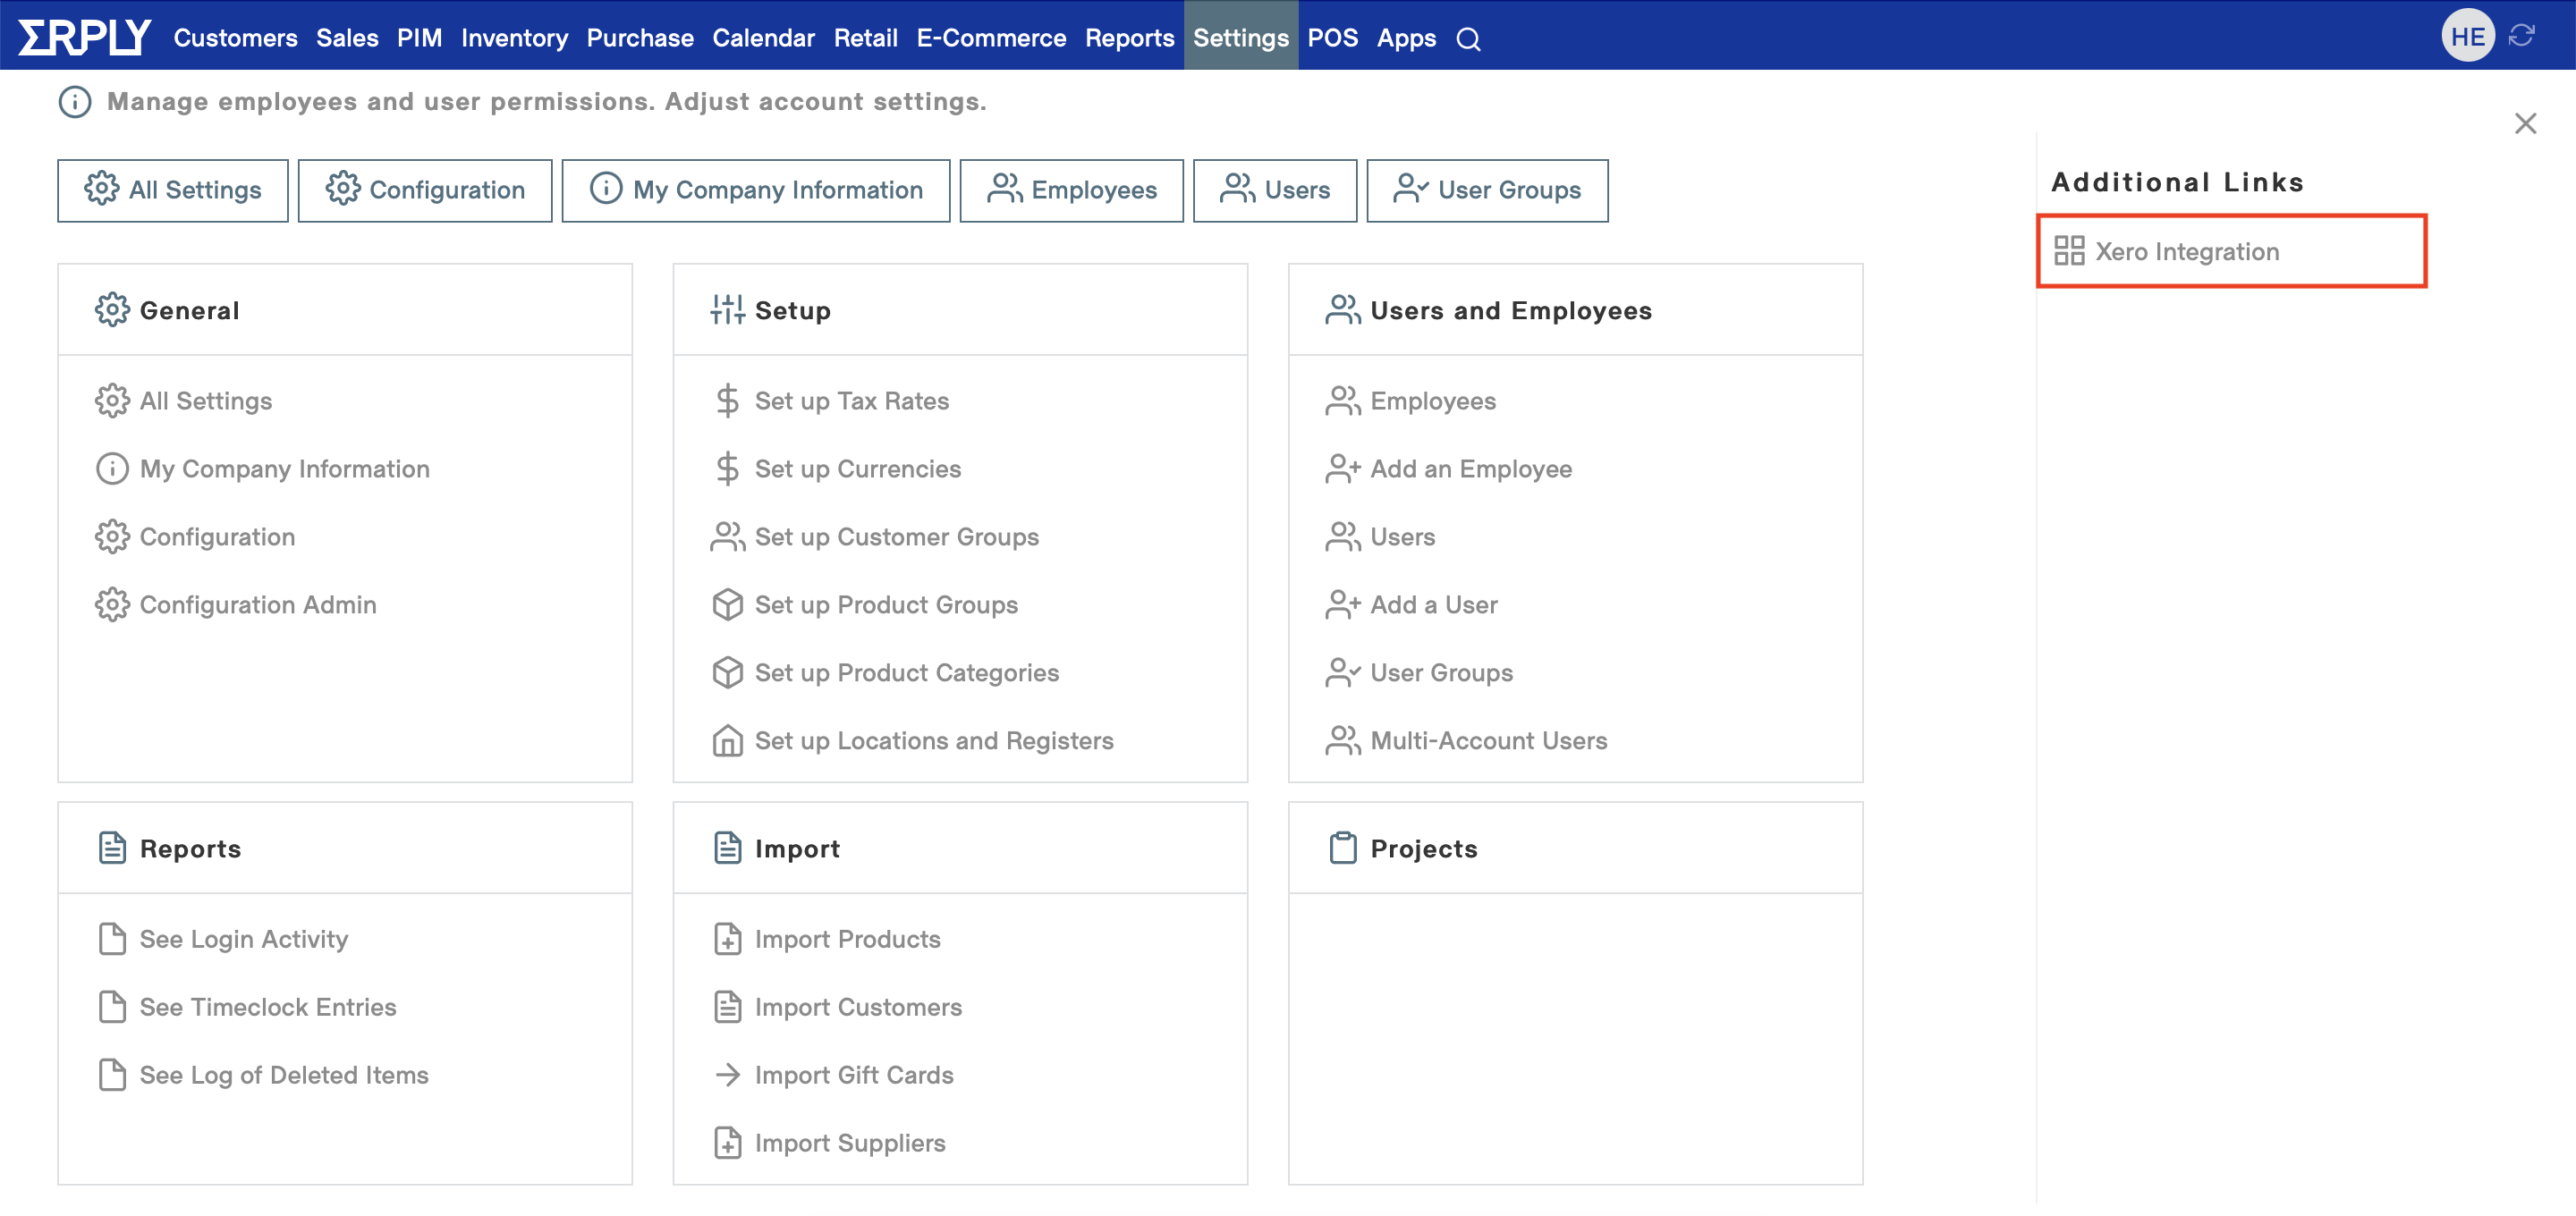
Click on "Connect to XERO" (see attached screenshot below)

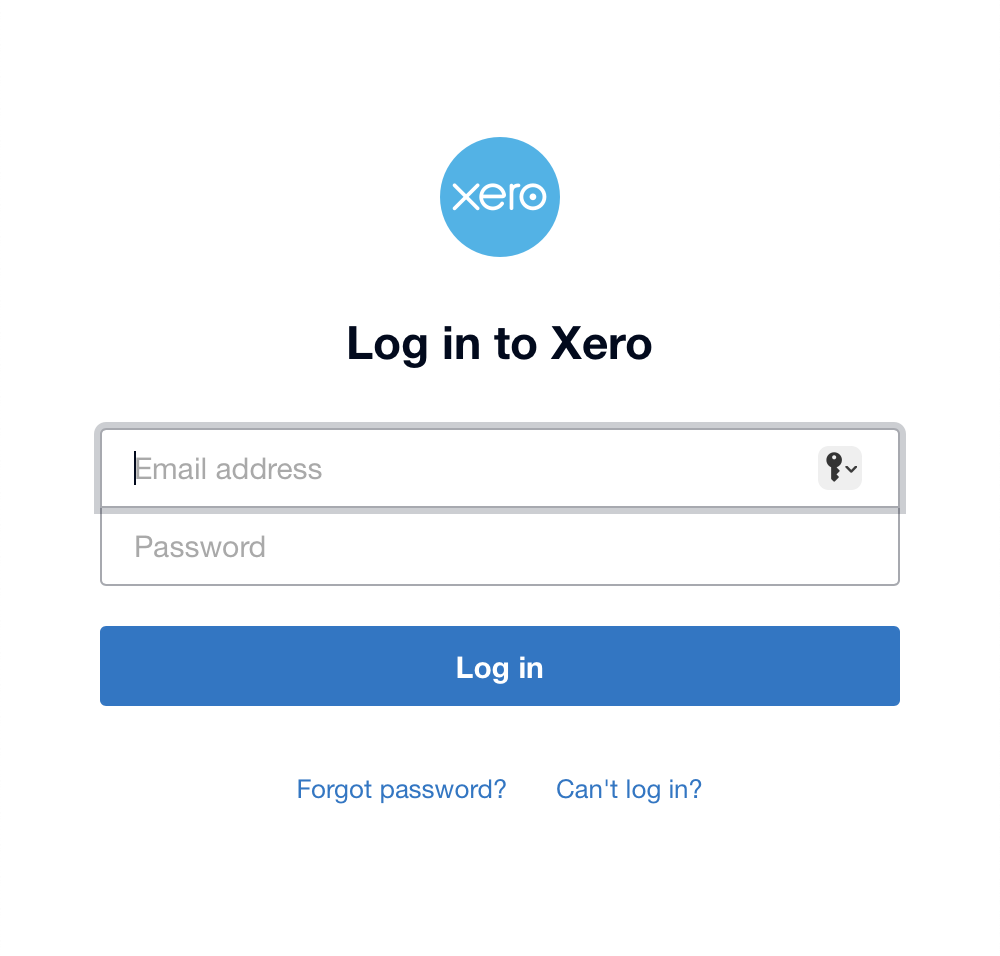
Log in to your XERO account using your XERO credentials
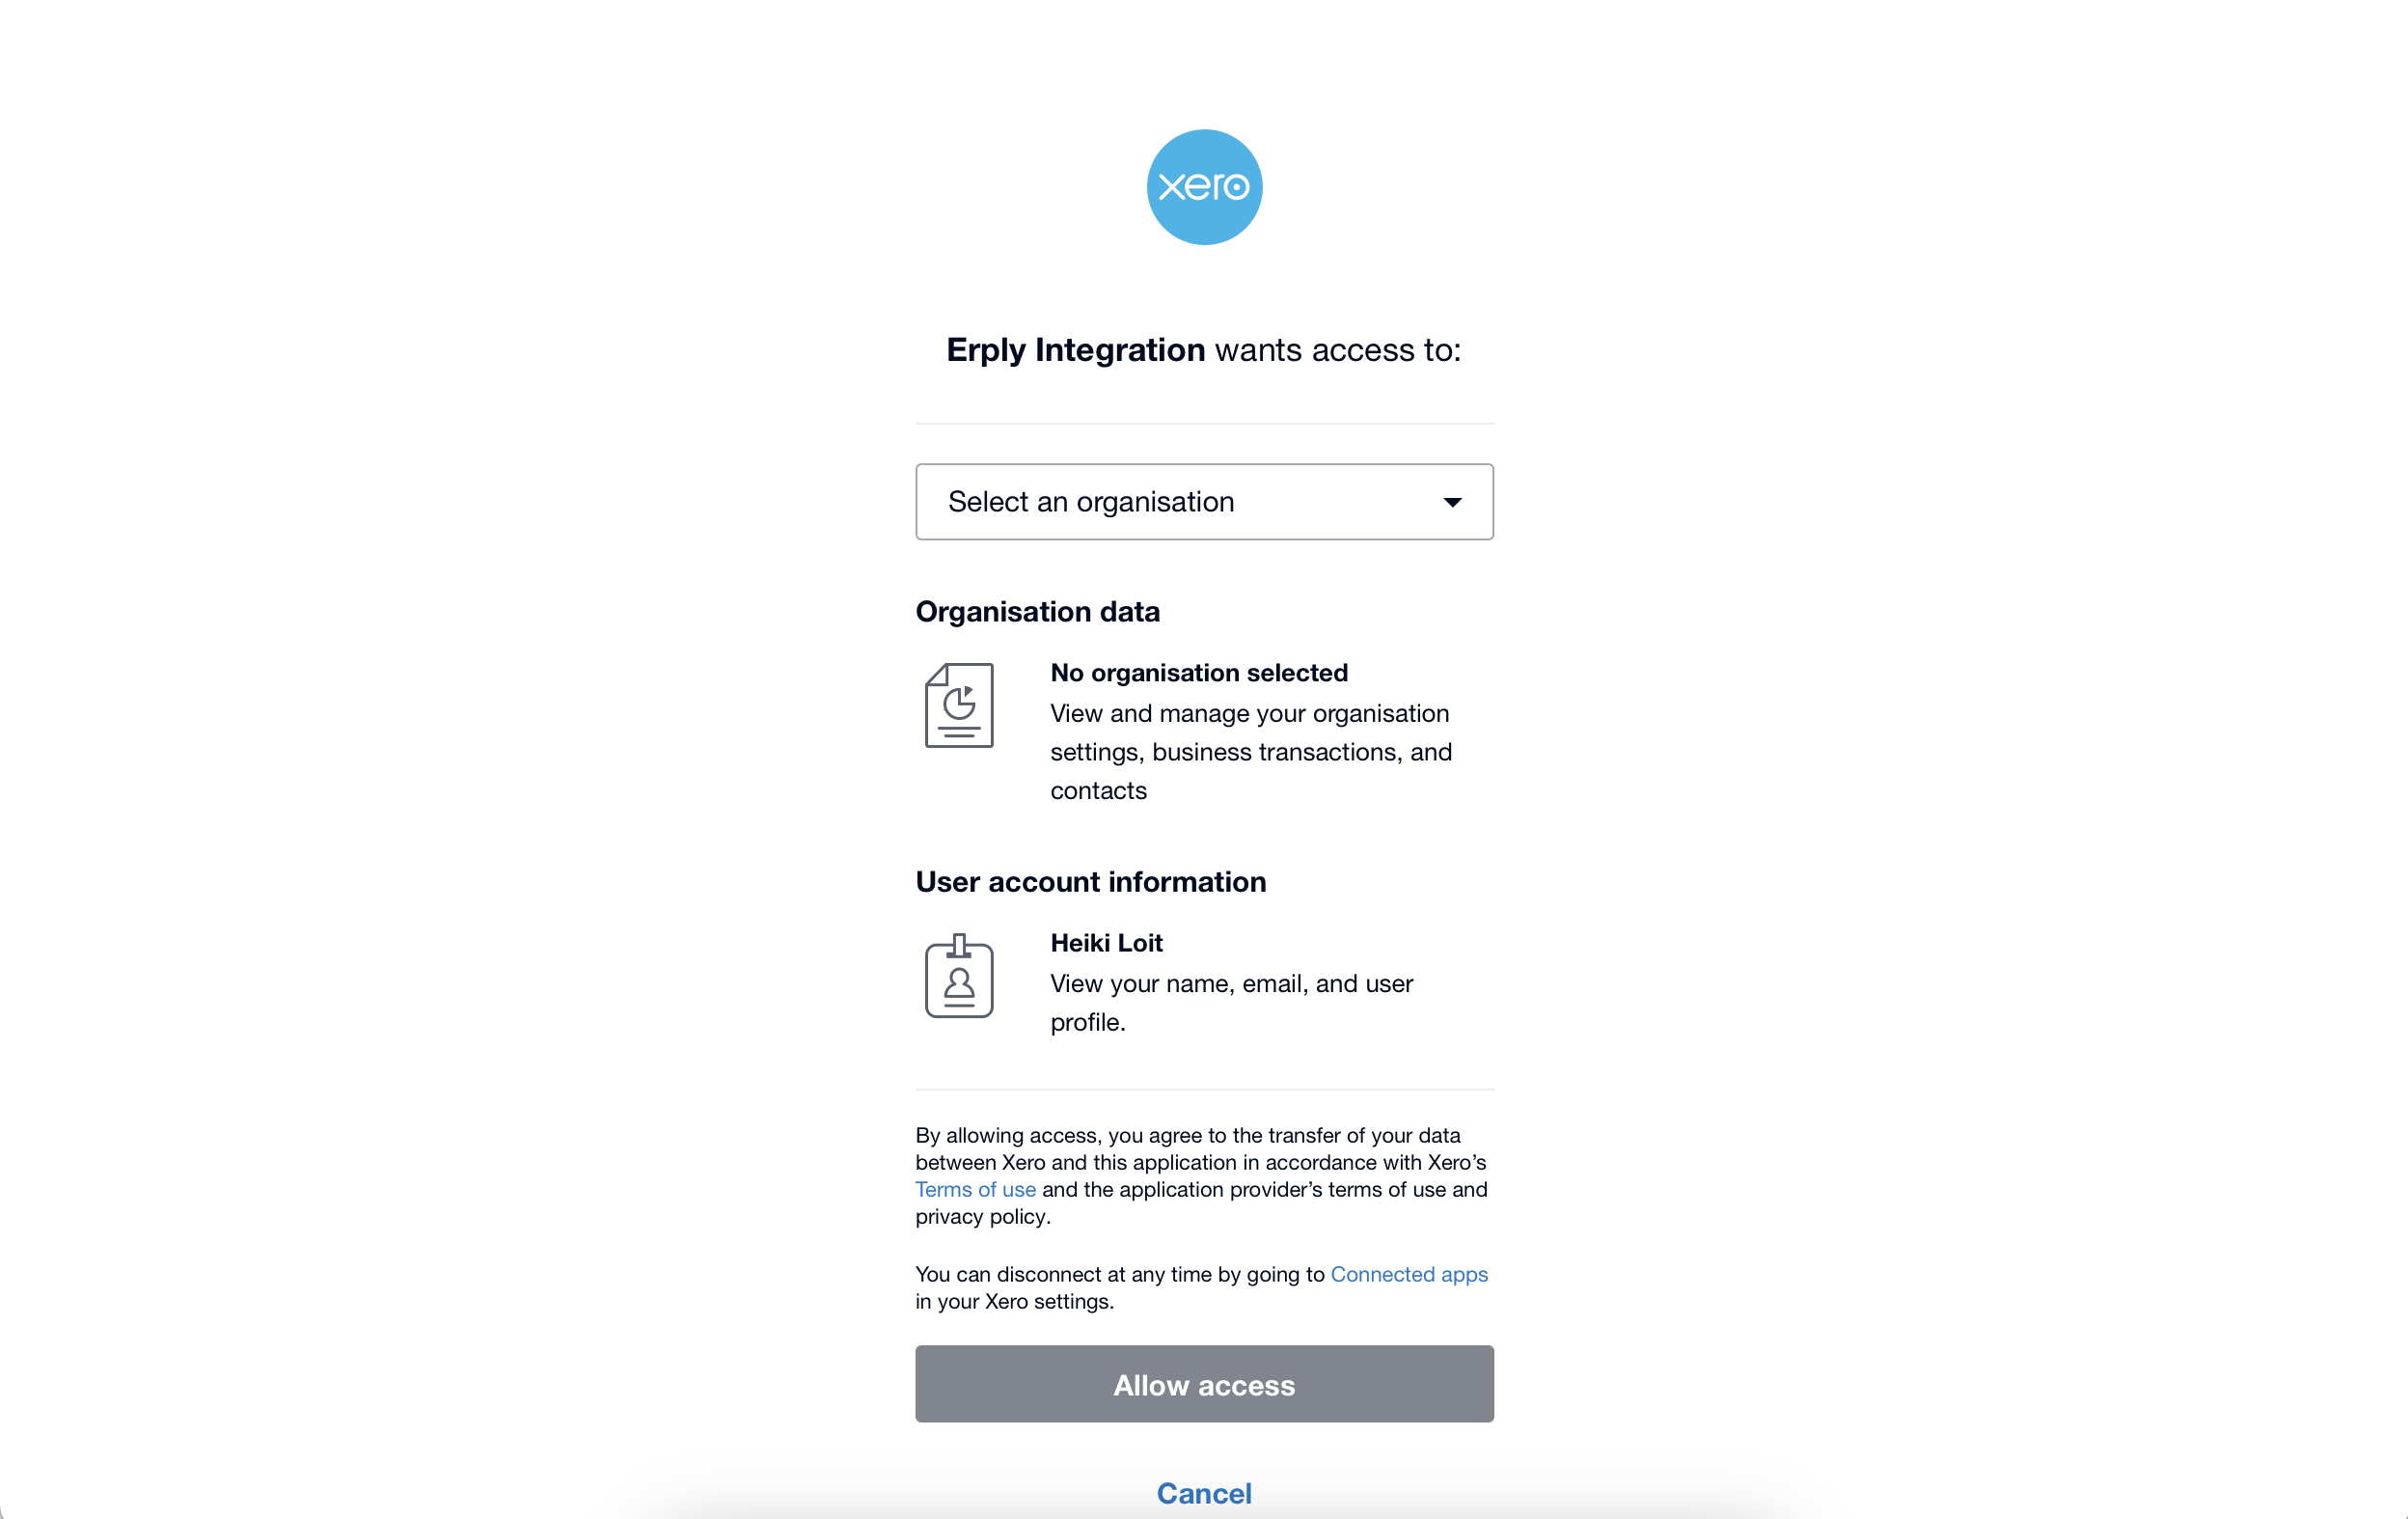
Select the company you wish to integrate with your Erply account (see screenshot below) and allow access
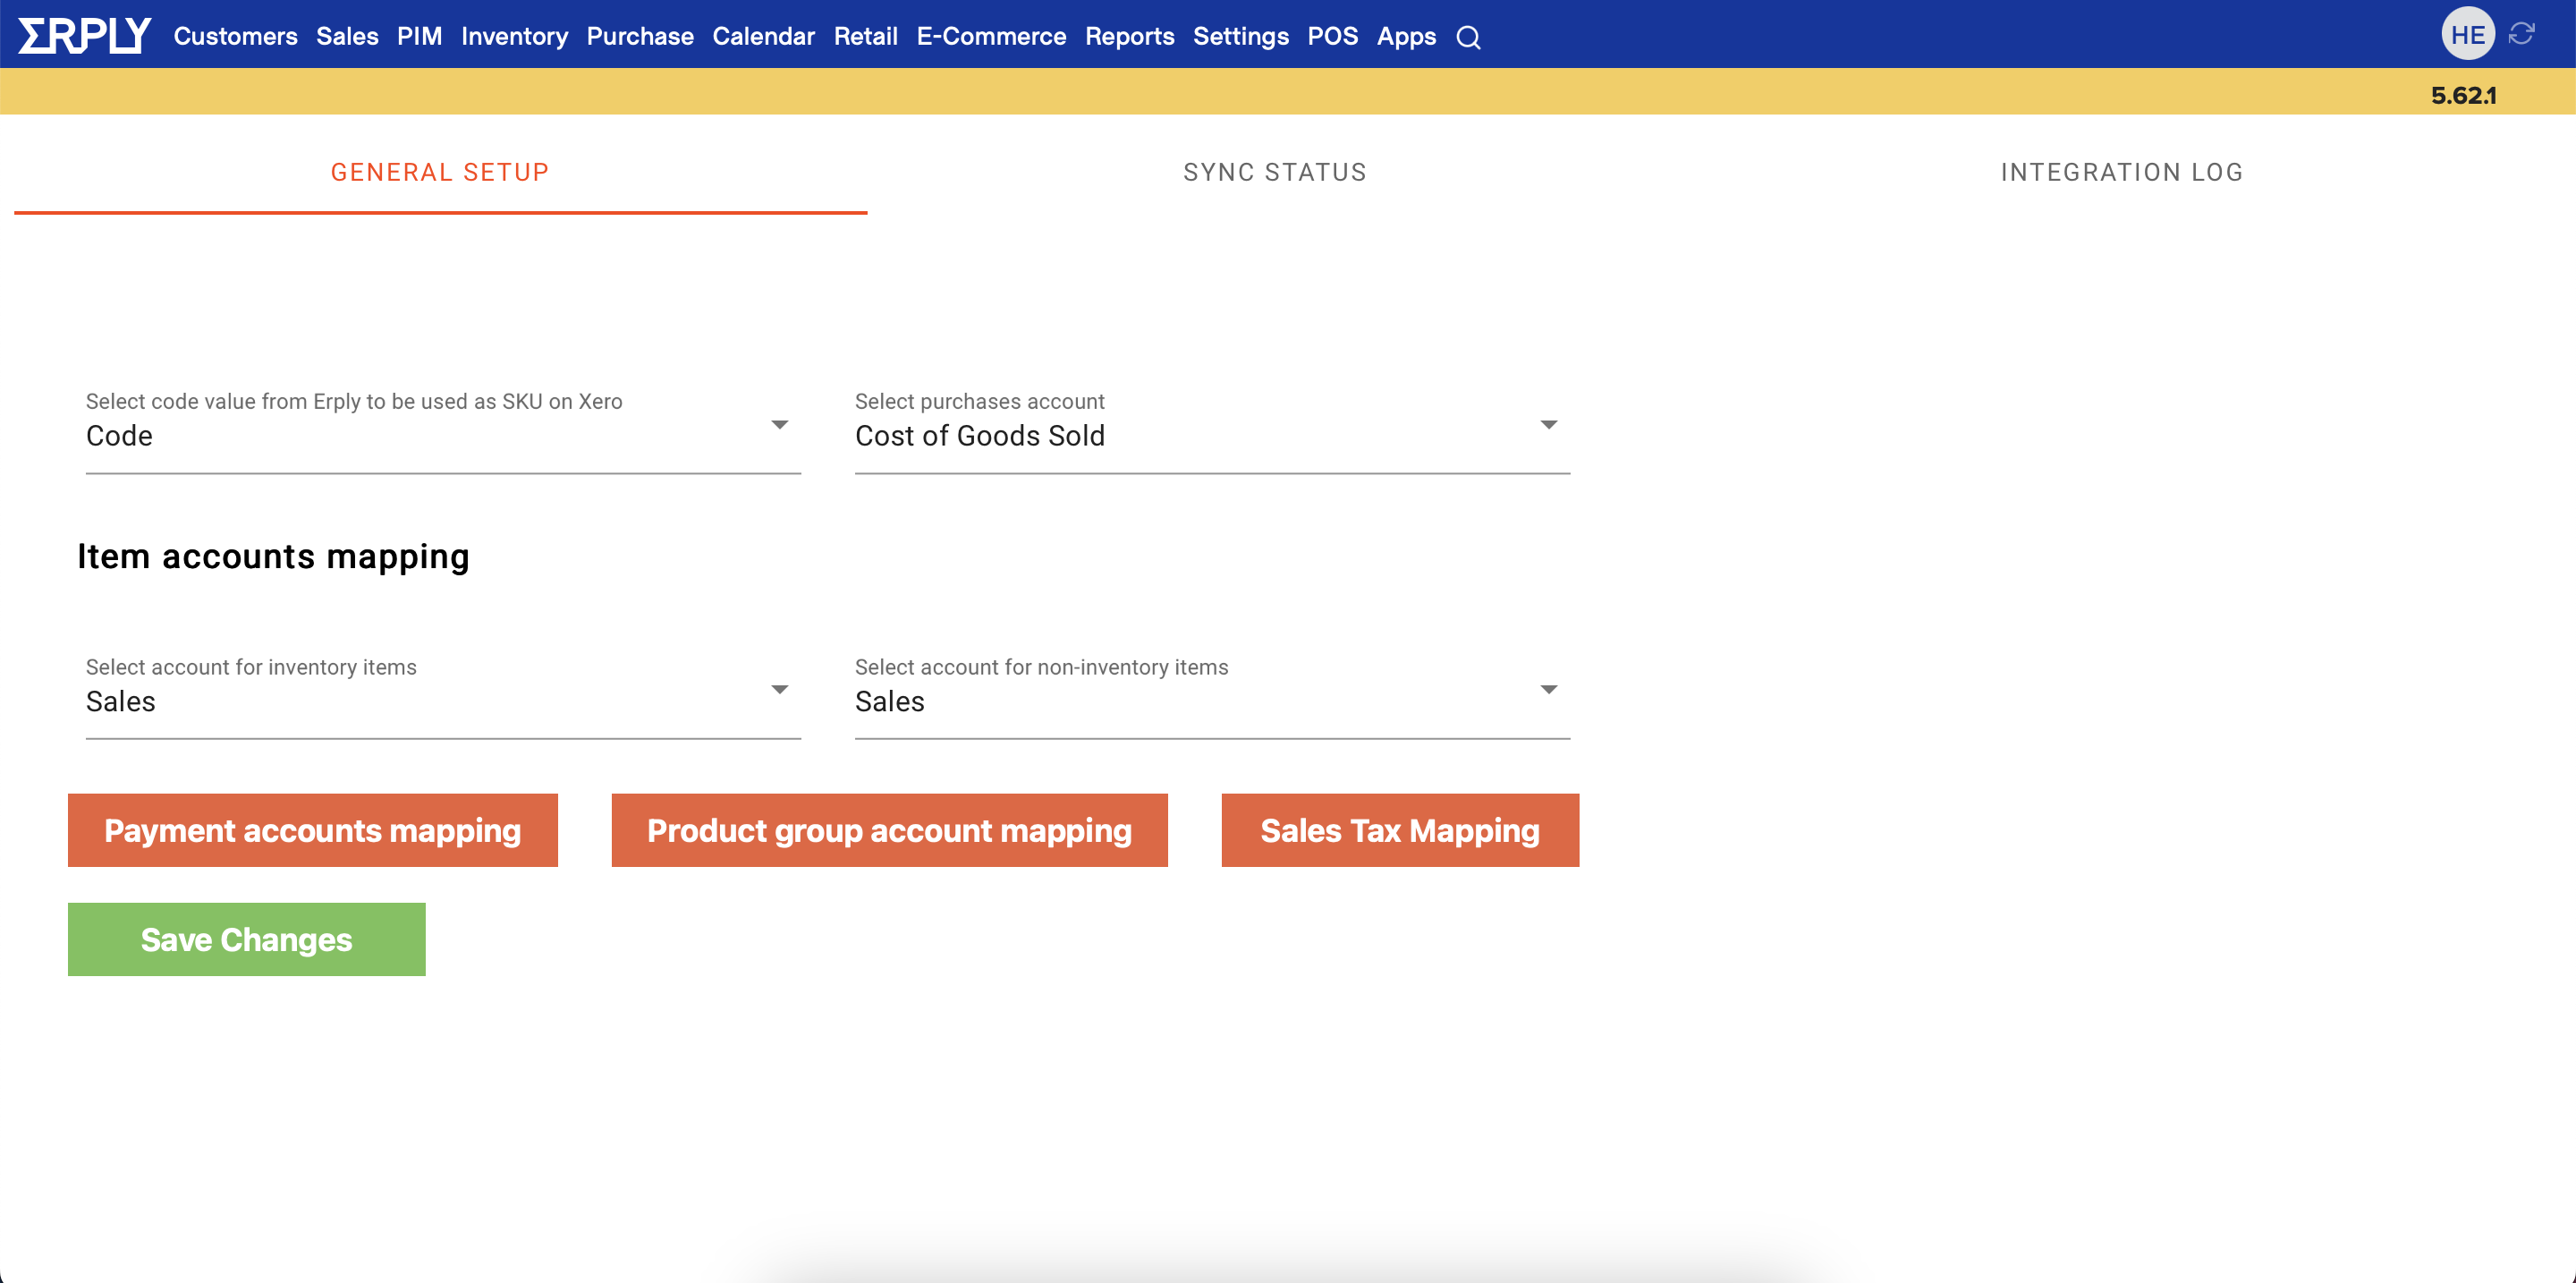
Once you have completed the authentication process you will be directed back to the Erply backoffice where you must set up your integration by adding account mappings, payment type mapping, tax mappings and configuring the data exchange intervals for the integration between Erply and XERO
GL Accounts Mapping and global settings
In order for the integration to work correctly you must choose XERO for all the below fields:
- Inventory Item account
- Non-Inventory Item account
- Purchase account for Inventory items
- Default sales account
- SKU code value from Erply
You must also map together:
- Erply payment type to XERO account
- Product group exceptions (optional)
- This allows you to set different income accounts for products in specific groups
- Erply taxes to XERO taxes
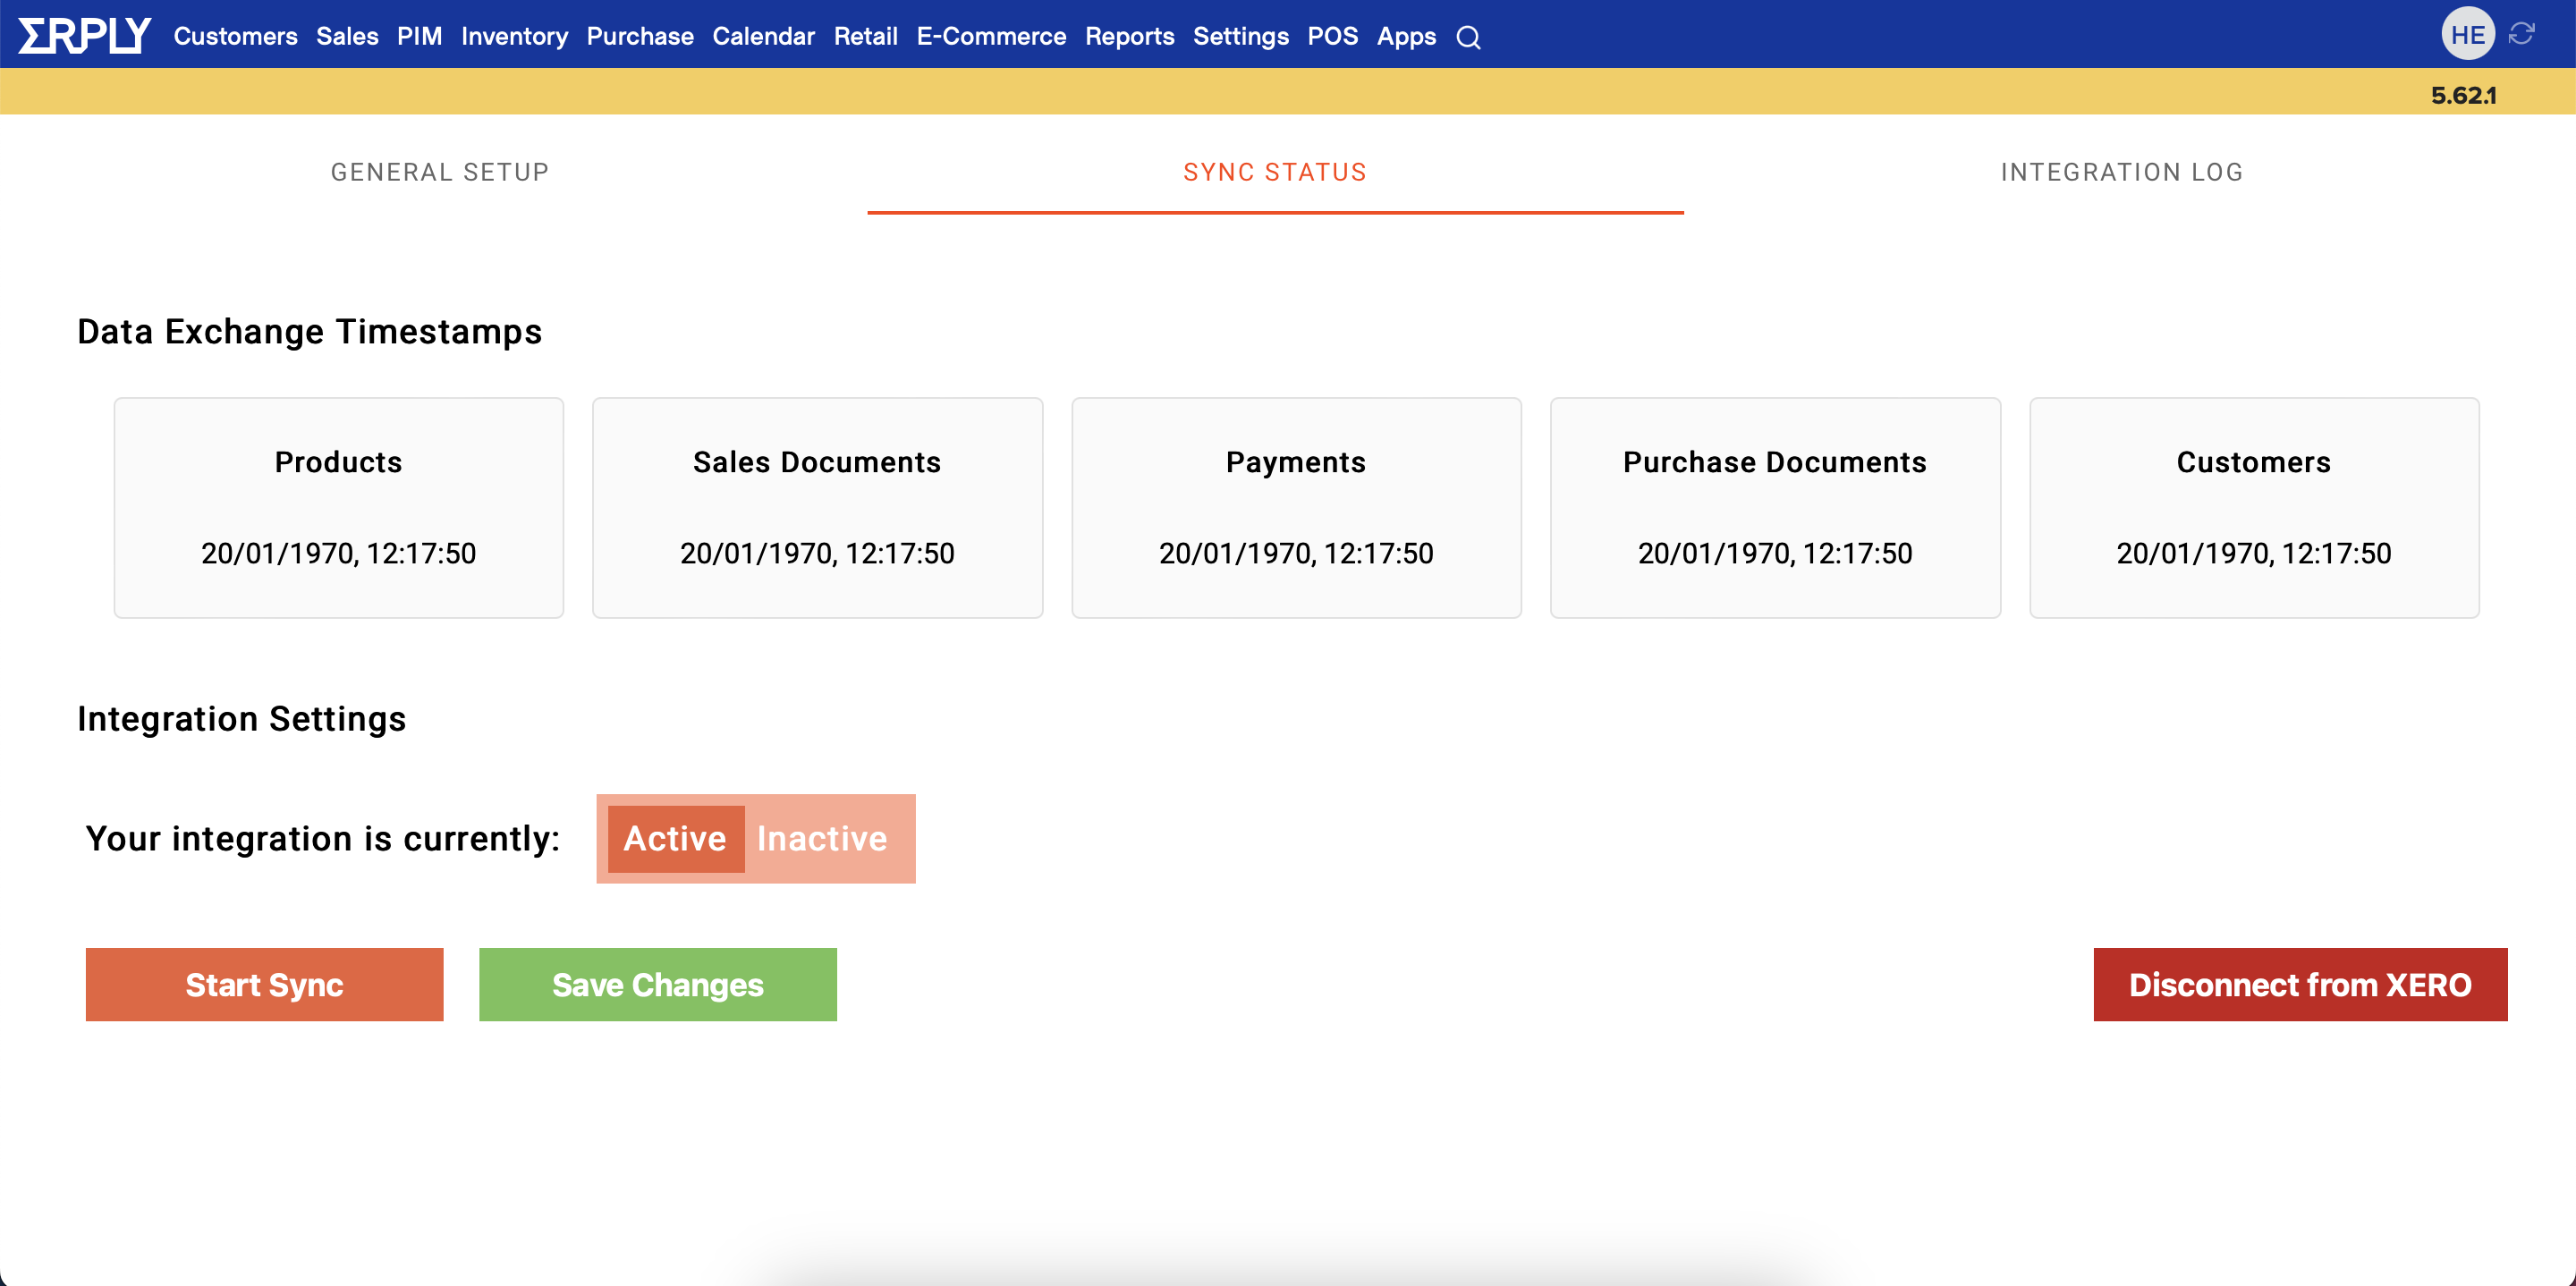
Sync status and last data exchange timestamps
To see your current sync status together with last data exchange timestamps for each entity you must navigate to the Sync Status tab.
You also have the option to activate/inactivate the integration, disconnect the integration from XERO as well as initiate a manual sync.
Integration Logs
All integration logs are visible by navigating to the Integration Log tab.
From there you are able to see all errors that have occurred together with the exact timestamps, that affected entity and record ID, error message and the direction (from or to Erply). By using the information provided it is easy to resolve all or any issues and re-sync the affected entity records.