At the POS navigate to the Settings -> Plugins.
Search for the Customer Display plugin and enable it (put check mark).
Click on the ‘Configure plugin’ button and use the guide to configure it. Make sure that all changes were saved.
Click on the green monitor button from the POS menu bar:

Then click on the ‘Open external customer display app’. The customer display opens in a separate window.
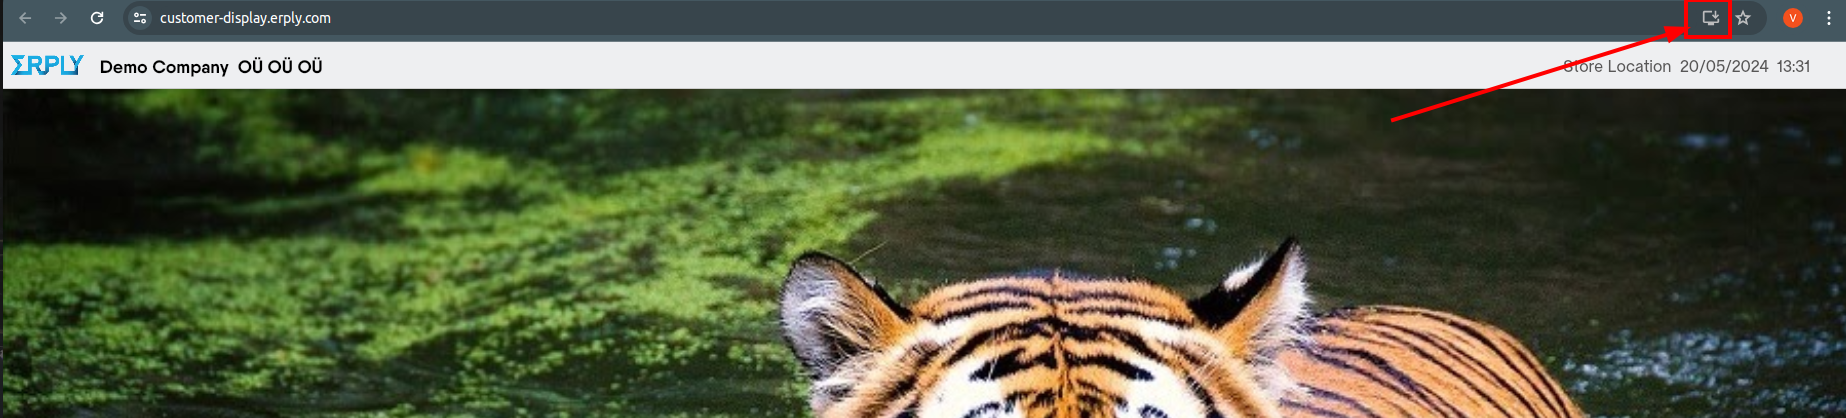
In the customer display window find the download button (upper right corner):
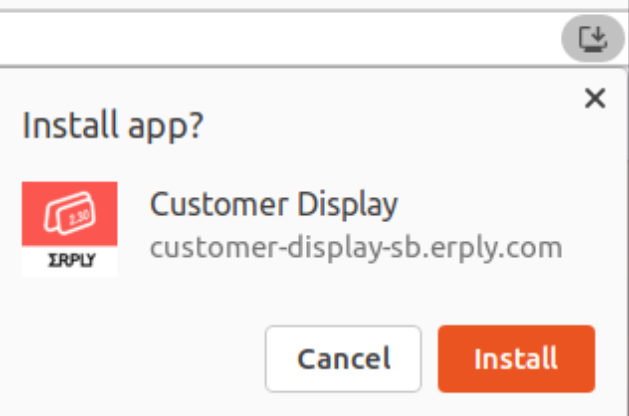
Click on it to install:
If you go to the desktop you will see the Customer Display app shortcut.
Click on the Windows key(windows button on the keyboard)+R at the same time.
The Run window opens.
Please enter the “shell:startup” into the field:
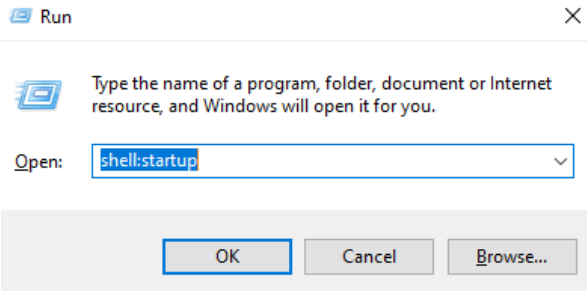
Click OK.
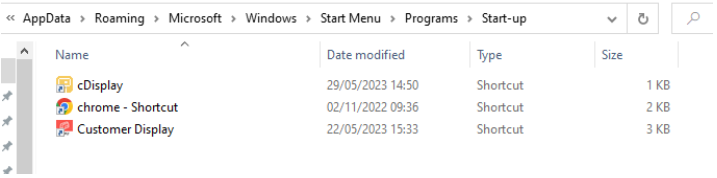
Then the Start-up folder is opened on your screen.
Move the Customer Display app shortcut from the desktop to the opened Start-up folder:
Now the Customer Display app is ready to be opened automatically when the computer is switched on.