Importing Customers
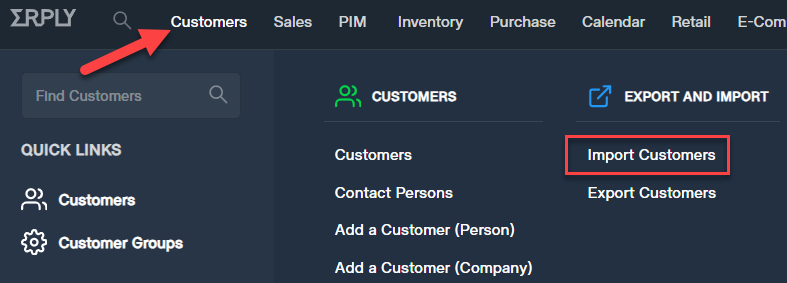
1. From your BackOffice select Customers > Import Customers
2. Click "CREATE NEW"
3. Download the sample Excel file by clicking here
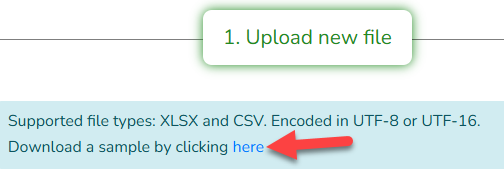
Note: You don't necessarily have to follow the sample Excel file, you can create your own Excel file (XLSX or CSV format) and then just put the columns that you need.
4. Fill it out with the data you would like to import, take note that First Name, Last Name, and Customer Group are required.
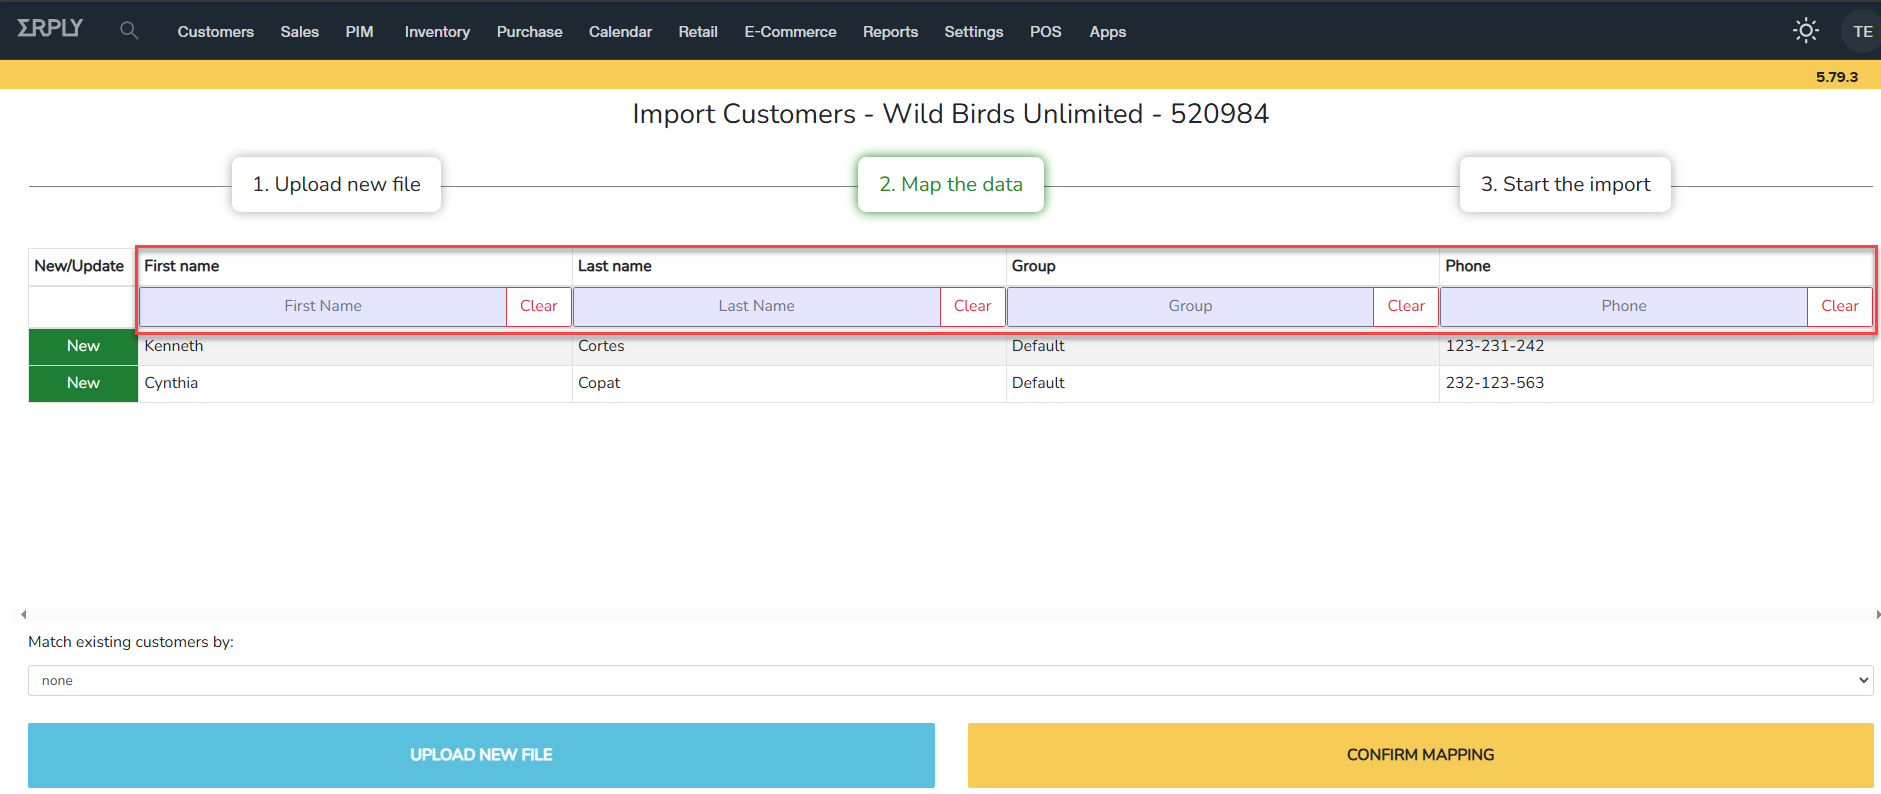
In this sample, I will use 4 columns (First name, Last Name, Group, and Phone)
5. Upload the file you created.
6. Map the necessary column to the data you would like it to be imported in Erply then hit Confirm Mapping.
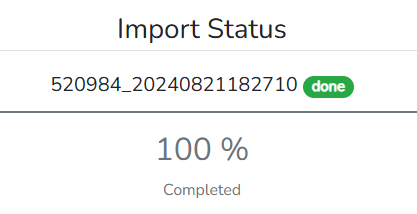
7. Click Start Import and wait for the Import status to reach 100%
Exporting Customers
1. From your BackOffice select Customers > Export Customers
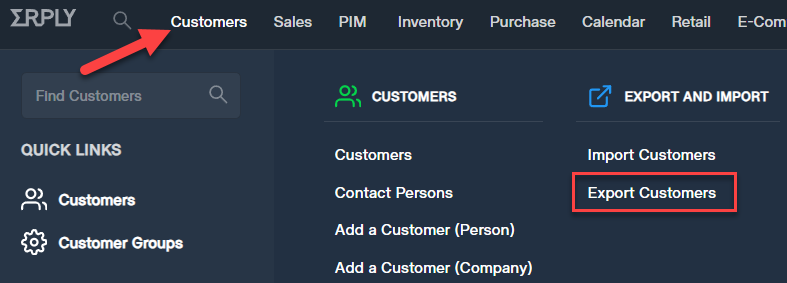
2. On the Customer Export Page, you can set various filters to only export customers you desire.
Filter by:
- Group - for both Company and Person type customer
- Depends on the Customer group/s you created
- Organizational type - for Company type customers if set
- if the Organizational type is set to the customer
- Activity - for Company type customers
- if the activity is set to the customer
- Customer manager - for both Company and Person type customer
- if there is an employee manager set for the customer
- Country - for both Company and Person type customers
- if the country is set to the customer
- Email preference - for both Company and Person type customers
- if there is a customer who opted out
- Tax Exemption - for both Company and Person type customers
- for tax and non-tax exempt
- for tax and non-tax exempt
