Settings> quantities in bins
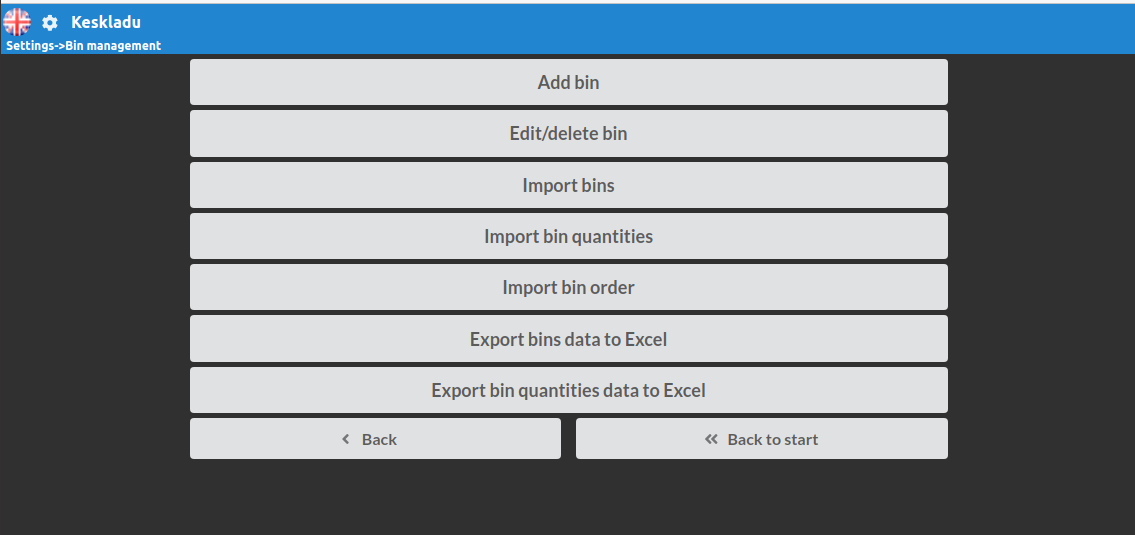
Open the bin management module in order to add, edit, delete, import or export bin data/quantities.
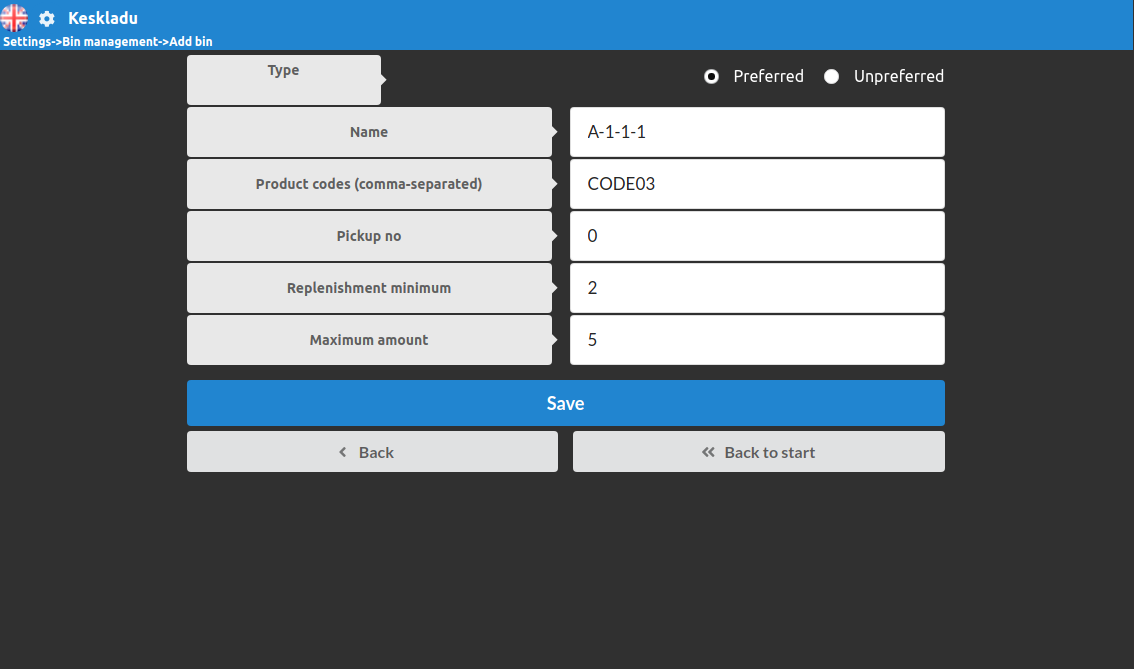
Adding a bin needs to be done one by one. Just enter the bin name and product codes (codes are not mandatory). If no product codes are added, there is no need to set the replenishment minimum nor maximum amount.
Then set the bin to be preferred or unpreferred.
p { margin-bottom: 0.1in; line-height: 115%; background: transparent }
Import bins
p { margin-bottom: 0.1in; line-height: 115%; background: transparent }strong { font-weight: bold }a:link { color: #000080; so-language: zxx; text-decoration: underline }
It is possible to download a sample file that can be filled out and imported back to WMS.
Open “show explanations” to see instructions on how to fill out the import template.
p { margin-bottom: 0.1in; line-height: 115%; background: transp
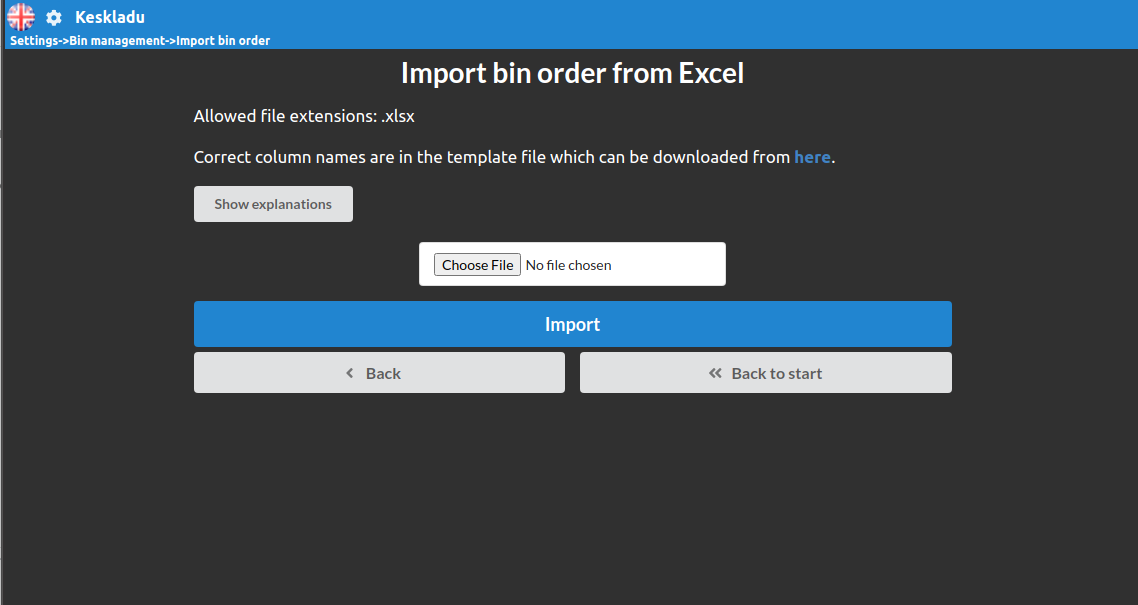
Excel columns must be in the exact order of the sample file

If the file is ready then open
Settings> quantities in bins>import bins
Choose the file and import

Import bin quantities
p { margin-bottom: 0.1in; line-height: 115%; background: transparent }strong { font-weight: bold }a:link { color: #000080; so-language: zxx; text-decoration: underline }
p { margin-bottom: 0.1in; line-height: 115%; background: transparent }strong { font-weight: bold }a:link { color: #000080; so-language: zxx; text-decoration: underline }
Settings>quantities in bins>import bin quantities
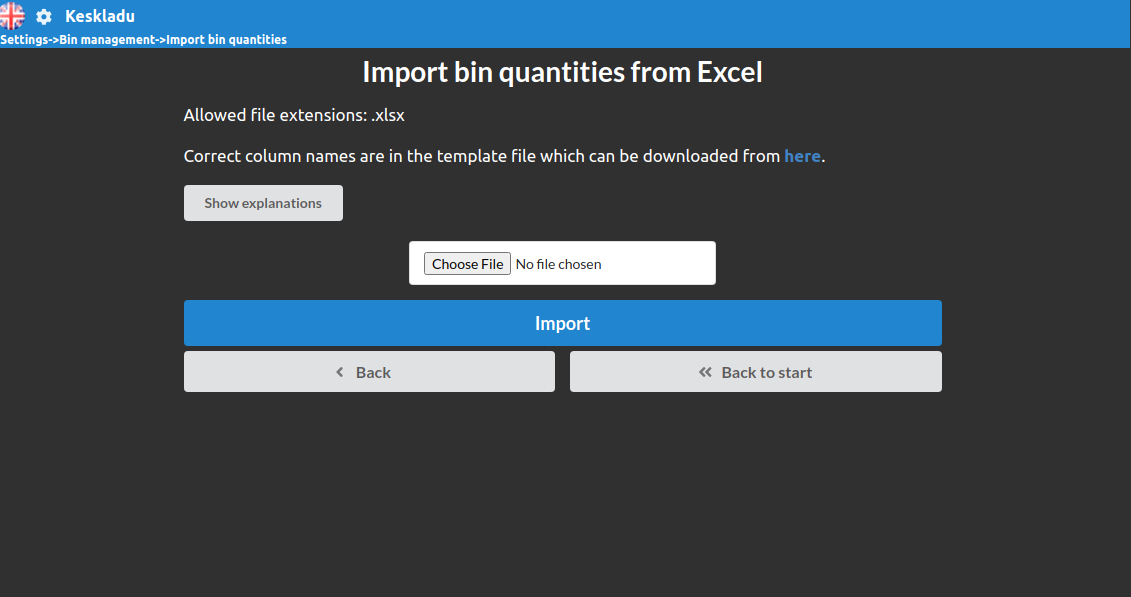
Prepare a file whose columns are in the exact order of the sample file

Bin – contains the address code. It must always be filled
Product code - It must always be filled
Amount - product amount, must always be filled
Choose the file and import

In order to make extra changes, you can export the locations in warehouse and product quantities into an excel file directly from the WMS tool.
