Configuring the integration for existing woocommerce stores
Important: Please always do a backup of your existing WooCommerce products as this will enable you to restore your previous state if something during this process will not go as planned.
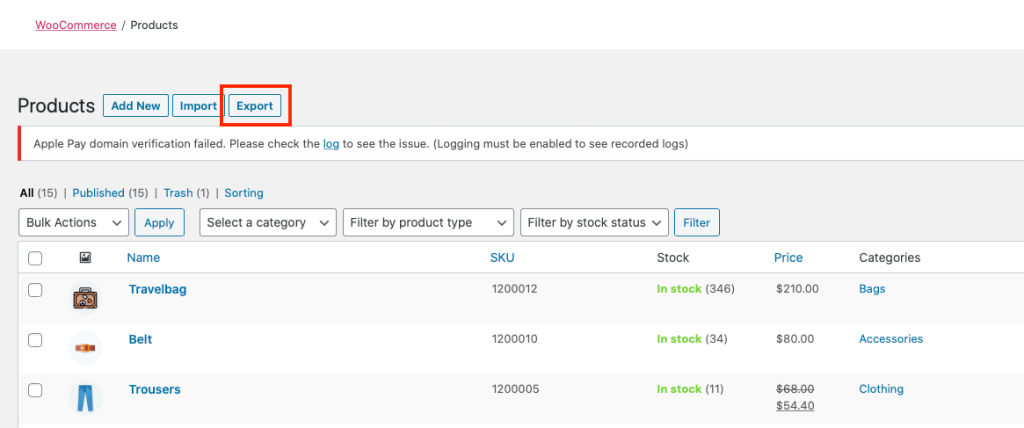
Step 1
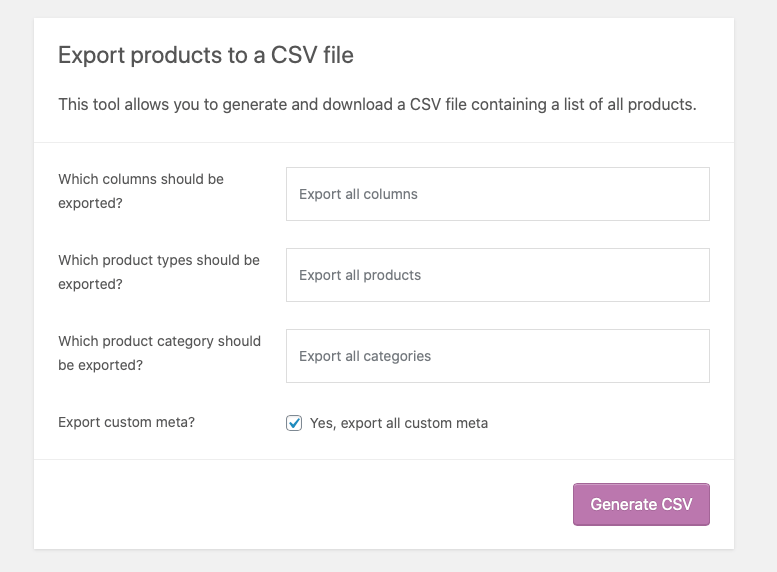
Export products from woocommerce by navigating to: “Products -> Export”. Once there, export all products including custom meta data.
Step 2
Map together your woocommerce products with Erply products and add missing products to Erply.
Please be sure, that all the same products exist in Erply that are also in your WooCommerce store. If there are products that are not in Erply those must be imported to Erply using the Erply product import tool by navigating to “Inventory -> Import Products (beta).
Make sure that your Erply account has the same product information as it is currently in WooCommerce. As the integration will overwrite the following information:
- SKU
- Name
- Price
- Quantities
- Short Description
- Long Description
- Dimensions
Once you have made sure that all the products and product information exists in Erply you can continue with exporting all products and doing a manual mapping.
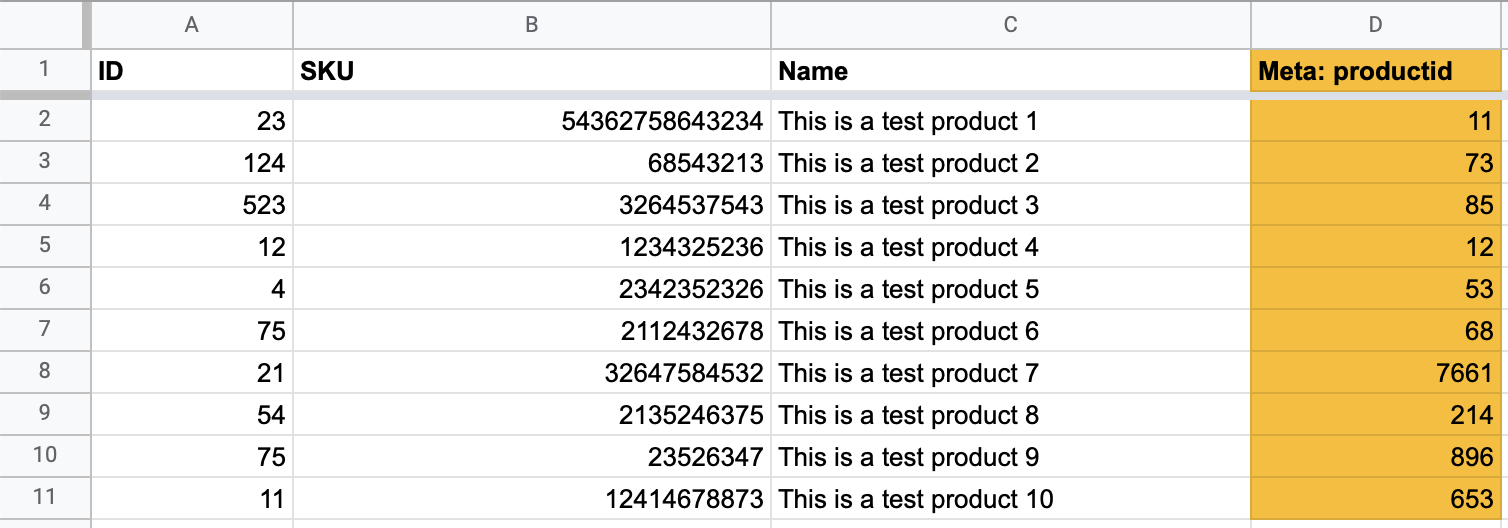
For mapping together products you need to Export all products from Erply by navigating to “Inventory -> Export Products” in your Erply backoffice. Once you have exported all the products you can map together products erply productID by using a unique identifier (SKU, Code, …) and excel formula. “vLookup”. "productid" is always the first column in the export file.
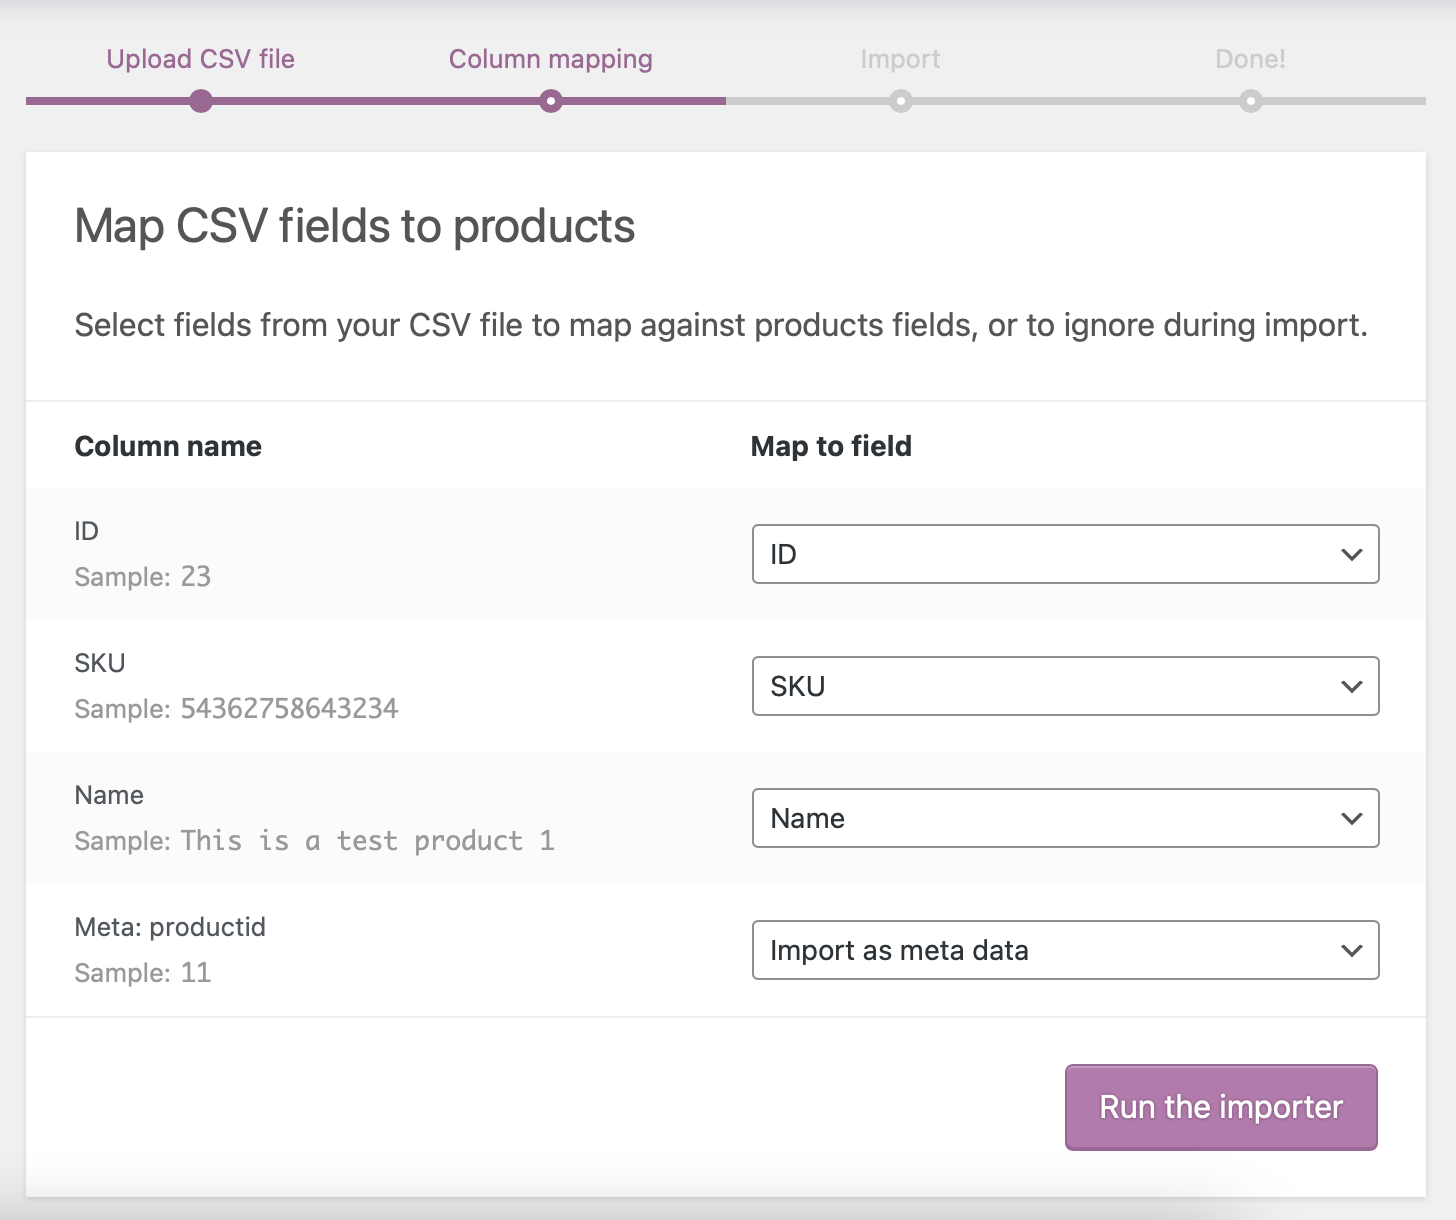
Once you have found erply productID-s for all your existing woocommerce products, you must create a new column to the woocommerce import file named: “Meta: productid” and add the Erply "productid" to each product rown in the “Meta: productid” column.
If this is all done, you can use the woocommerce product import tool to update all of your existing products.
Once the import is done, all your woocommerce products have an erply productID.
Step 3
Open Erply backoffice and navigate to “Settings -> WooCommerce Panel” and continue with the integration setup. Be sure that the sync rule is set to: “Existing Setup”
Once all the fields have been filled just click on “Create New” and start the sync process. By doing so, the integration will check if there are products with matching productID-s in woocommerce and if so, it will update the existing products and will not create duplicate products to WooCommerce. Products that do not have the Erply product id set as meta data will be moved to “draft”.
In case of sync rule “Existing Setup” we will also not be changing the product categories and the category structure in woocommerce and all new products that will be imported from Erply, will all be “Uncategorized” in woocommerce.
In case of any questions or issues feel free to contact us by sending us an email to: support@erply.com