Users in Erply must be associated with an employee. An employee can only be associated with one user.
New user requirements:
Username has to be unique.
Password has to be at least 8 characters, contain one small letter, one capital letter and one digit.
Employee has to be unique - it cannot be used for another user.
User group must be defined.
Note: Employee accounts must be created before a user account can be created.
Create an employee account
In the Back Office
You can skip this step if the employee account already exists!
In the back office, navigate to the Settings module and select Employees.
Erply will display a list of all employees. Press New Employee and User Account to create a new employee and its user account.
Fill out the new employee settings as you normally would. Please note the Last name field is required.
Press Save to save the changes.
Click the Create user account button at the bottom of the screen to associate the new employee with a user account.
Fill out the normal settings when adding a new user including creating a login, associating an employee, and selecting what store locations the user has access to.
Fill out the new employee settings as you normally would. Press Save to save the changes.
The new user can now log into Erply using their assigned username and password.
In the Brazil POS
To have the ability to edit or add a new employee in the POS, please navigate to POS Settings -> Employees.
If the logged in user has access to the Employees settings in POS, they are able to see the list of all Employees.
The user can add a new employee by clicking on the Add button.
For adding a new employee the user should fill out at least two required fields: last name and email. Also the very important thing is to assign a person to the right group (different user groups have their specific permissions which can be set in Back Office by administrator/manager).
If you'd like to edit an employee's information, choose the correct employee and click on the corresponding row. The Edit employee window will appear and the user will be able to edit the information available.
If an employee account is already created
If an employee is created but is not associated with a user, in the back office, navigate to the Settings module and select Users.
Click the New button and fill out the form.
The Person field allows you to associate the user account with an employee.
Press Save to save the new user account.
How to change a user’s password
There are a few ways that you can change a user’s password.
In the Back Office
Navigate to the Settings module and select Users.
Erply will open a list of users. Locate the User whose password you’d like to update, and press change next to their name under the Password column.
Alternatively, you can click on a user from the list. The bottom menu bar will display a Change password button.
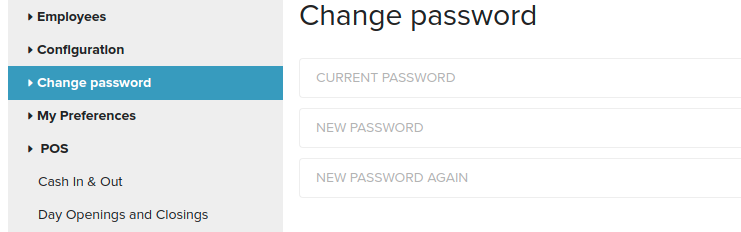
To quickly change the password of the active user, open the Settings menu. The gray sidebar on the left side of the screen will display a Change password option.
In the Brazil POS
Navigate to the POS Settings -> Employees.
Click on the Employee and put new password into the Password field.
Click Save.