Linkly integration is a card payment integration for Brazil POS and used in Australia.
In this article, we focus on Linkly (pc-eftpos) micro-service installation and processing integrated card payments in Brazil POS.
Linkly Micro-Service Installation
Go to https://posow-sb.erply.com/ and navigate to Hardware -> Installer App -> Integrations.
Select the POS tab to apply PC-eftpos configuration to specific POS (POS level integration). Select the Payment Terminal -> select the POS from the drop down menu -> Continue.
Select Integration Type -> PC-eftpos and press Add.
Note: After PC-eftpos integration installation, you will find pc-eftpos-integration running in your PC’s Services Manager. This will also be a prerequisite for processing card transactions through PC-eftpos integration.
When selecting the current integration, a new screen for managing the integration opens:
It is possible to access micro-service manager.
It is possible to Z>confure the Client Port.
Note: PC-eftpos Client Port is taken from the EFT-client software (by default 2050) and a computer must be restarted after updating the PC-Eftpos Client Port.
PC-eftpos integration can be managed Hardware -> Integrations -> Micro-service manager. It is possible to upgrade/downgrade to different micro-service versions.
Also, the integration can be removed when stopping the micro-service and removing it using the relevant buttons on the micro-service manager. For re-installation, download the micro-service again and hit Start.
Linkly Integration Setup in ERPLY POS
Log into Brazil POS and open Settings -> Payment Configuration -> Setup Payment Gateways. In order to proceed, please select Setup Current Integration -> PC-Eftpos.
Note: PC-eftpos Client Port is automatically added when the integration is set up through Wizard. However, when updating PC-eftpos the Client Port field, the computer must be restarted.
Connection can be tested by pressing the Test connection button. Success is indicating that the PC-eftpos integration is running (Erply micro-service).
It is possible to test the payment through the settings page. That would trigger the integration to be opened and a test amount 0.01 to be processed.
NB! Please note that the test payments are not recorded in Erply back office Sales -> Payments.
Processing Integrated Card Payments in ERPLY POS
After Installer App and PC-eftpos integration installation you can process integrated card payments in Brazil POS.
When pressing a card payment button, PC-eftpos dialogue pops up and the payment amount will be sent to the attached pinpad.

Before finishing a transaction, the user will be prompted to a message “Customer copy?”
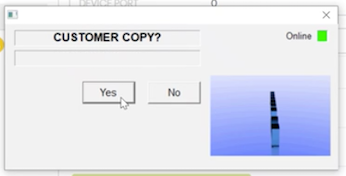
This is a prompt controlled by the terminal and varies terminal to terminal and bank to bank.
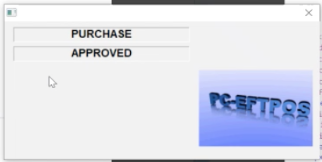
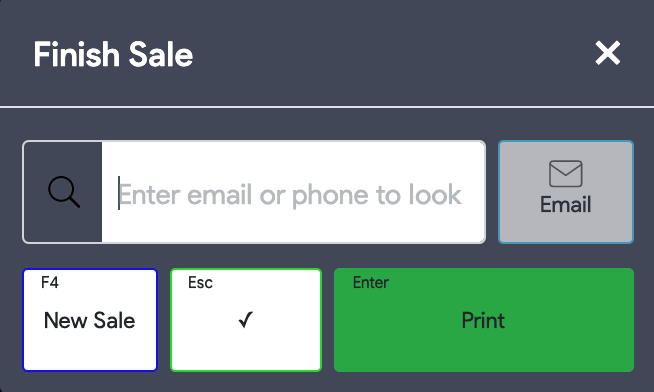
After the successful payment, the sales confirmation window will be presented.
Switching between integrated and non-integrated card transactions
Erply allows switching from PC-eftpos integrated transactions to non-integrated card transactions. This can be used as a fallback when PC-eftpos integration is failing for some reason.
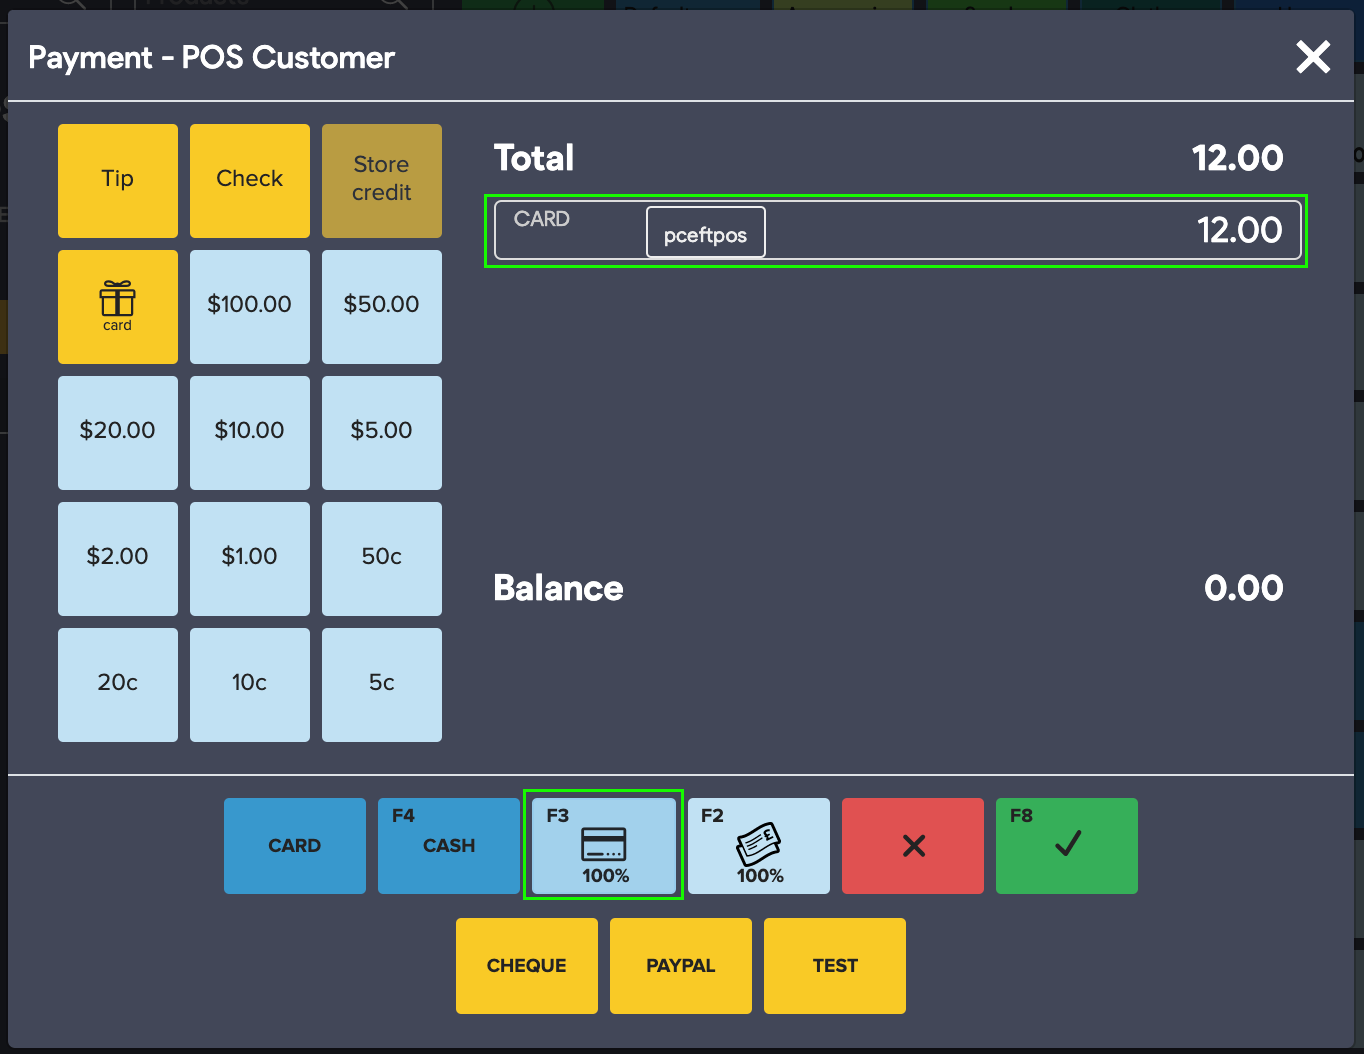
Switching to non-integrated card payments (external payments) is done on the payment screen:
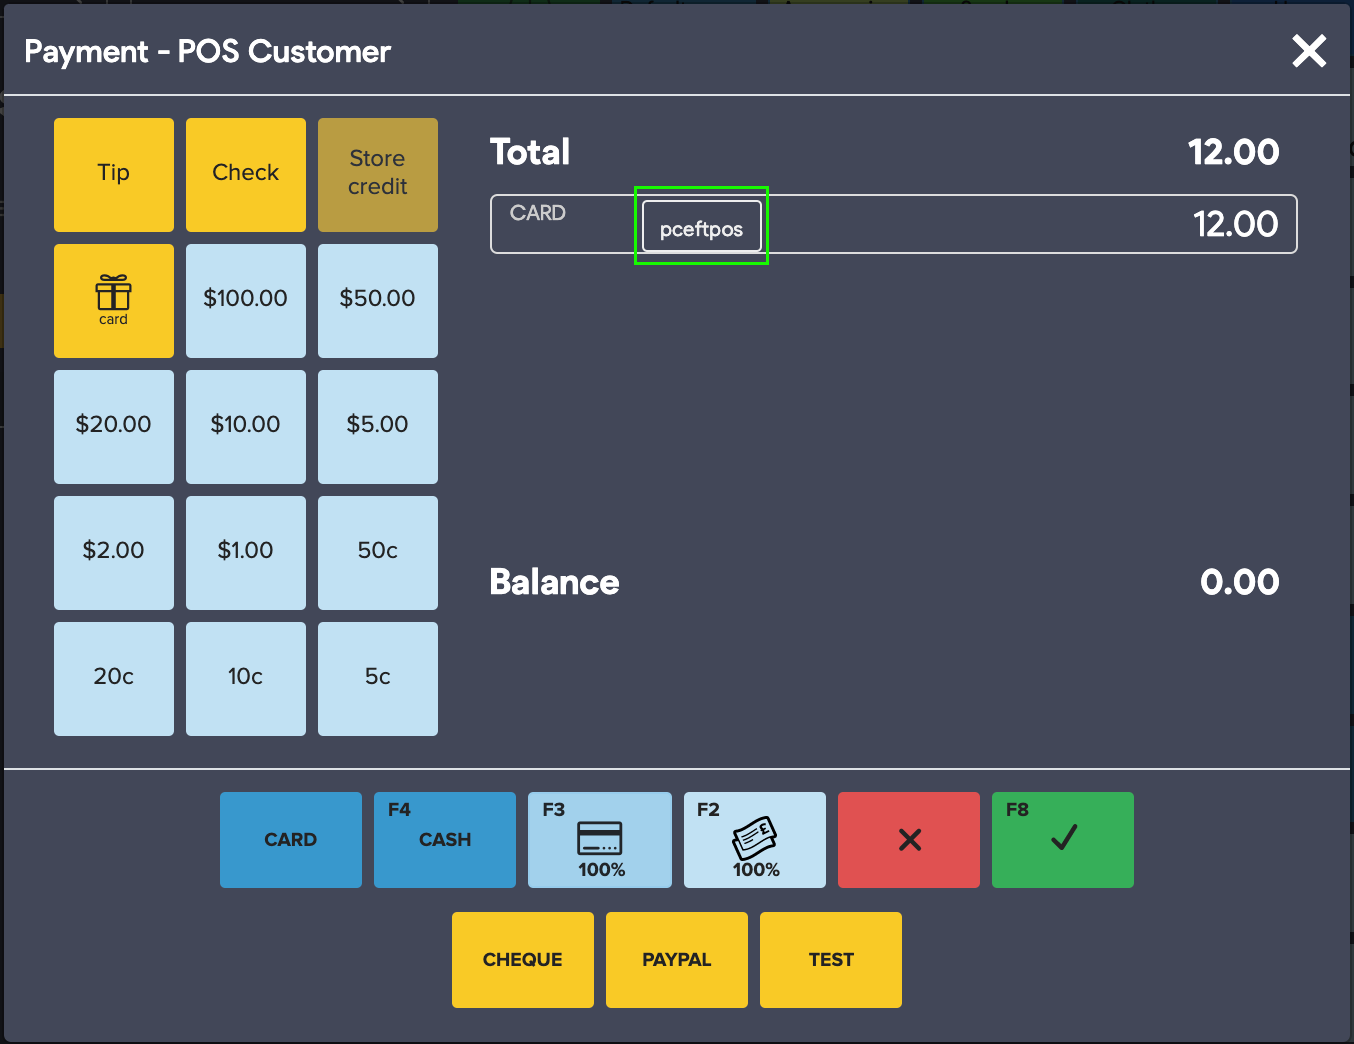
Press on the current integration button and it will be replaced with an external integration:
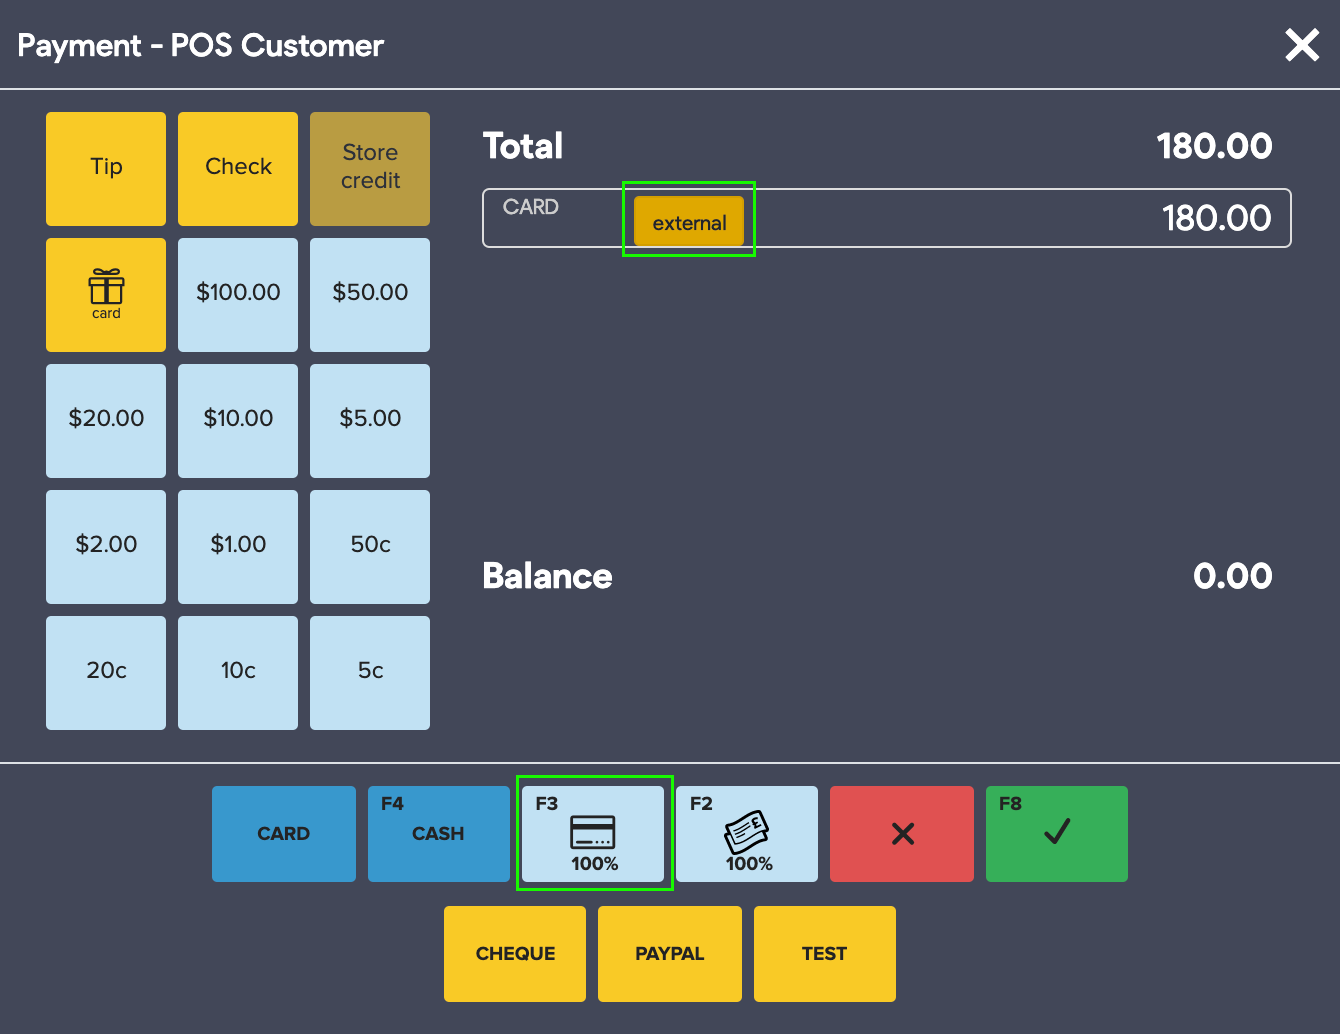
Proceed with the green confirmation button (F8) and the external card types are shown on the screen:
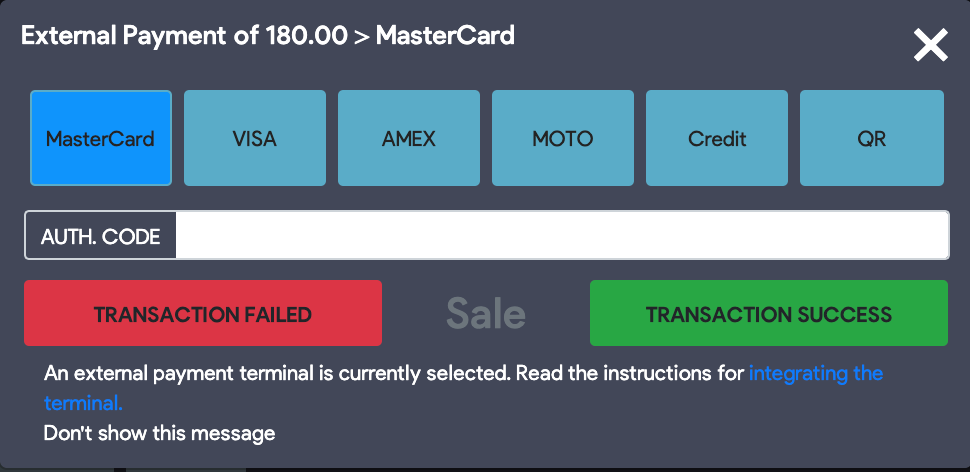
Select a card type and press “Transaction success”.
It is possible to enter the authentication / approval code if required, but it is not mandatory.
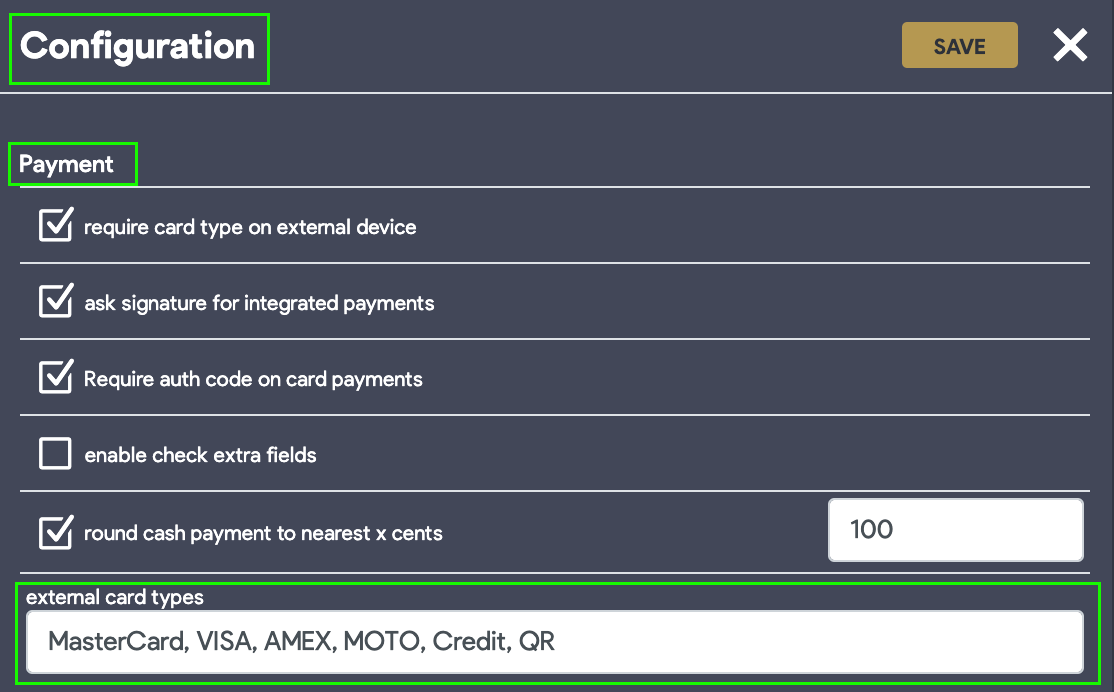
How to set up external card types?
Navigate to POS Settings -> Configuration -> Payment and enter the card types on the field below.