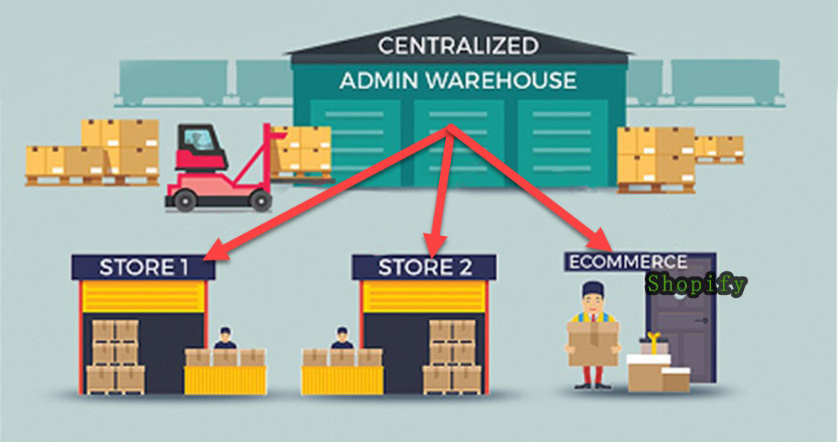
Central distribution is used to help create inventory transfers from the warehouse to other locations based on who needs what.
To access the central distribution report sign in to your Erply Back-Office account.
- Go to Reports > Central Distribution.
- Once you click the Central distribution report it will open a new page where you can fill out filters.
- Note that to generate a report the Source location and the Destination location are required.
Source Location: The location from where you will pull out the stocks that are in the warehouse. You can only select one source location at a time

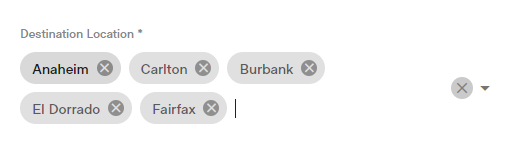
Destination Location: Destination is the location to which you want to transfer the stocks from the warehouse. You can select multiple locations to transfer to
Store Region: If you have multiple store regions, you can use this to filter stores that are in the same region and you can only select one region at a time.

Product Categories: if you have multiple products listed you can use this option to filter products by category. You can add multiple product categories at the same time.

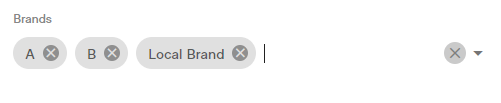
Brands: if you have multiple products listed you can use this option to filter products by brand. You can add multiple products brands at the same time.
Suppliers: you can filter the report to only show products from specific suppliers. You can select multiple suppliers at the same time.

Product Groups: if you have multiple products listed you can use this option to filter products by products groups and sub-groups.You can add multiple product groups and sub-groups at the same time.

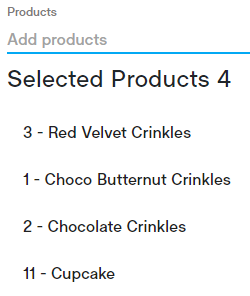
Products: you can also select specific products that you want to distribute across locations.
Auto Create Amount - when checked off “Autofill is used then the server will automatically try to fill the required amounts (based on available stock) between the warehouse as equally as possible. This can be used when the available stock is not enough to satisfy all the requirements.
*** Note: You can always adjust the quantities manually, with or without the "auto-create amount" option.
2. When all the desired filters are set, hit the “Get Report” button.
3. It will show you the details of the product you want to transfer. Please review and double-check the quantities at this point. You can also adjust quantities manually. If you selected multiple destination locations, click the collapse button beside the product Code name to expand and show the details of the product that needs to be transferred.
4. Once you double-check and confirm that the quantities to transfer are correct, hit the Create Transfer Order button
5. You will receive a pop up confirming that a transfer order was created successfully
6. Note that it will create an unconfirmed transfer order. To confirm the transfer order got to Inventory > Inventory Transfer
7. Once you are in the inventory transfer, it will show you the transfer status that the order is created but you still need to confirm it.
8. Click on the order you created and double-check if the product you place is correct then hit confirm
9. Once confirmed click on the create transfer at the bottom to initiate the transfer. You will be directed to a new page to confirm the transfer.
For regularly scheduled and recurring transfers, you may select the “copy” option to copy an existing transfer to repeat it.
Here is the manual on how Inventory Transfer And Inventory Transfer Order works