The Assignments is a module with a calendar and activities. That includes device or vehicle maintenance and management.
If you are interested in this extra feature, please get in touch with our customer support at support@erply.com, who will enable this on your account.
Allows users to:
- Manage equipment or vehicles sold or rented
- Schedule maintenance and coordinate maintenance schedules with the customer
- Get an overview of installed spare parts and their warranty periods
- Issue invoices to customers for work performed based on work orders
The equipment maintenance and management module can cover the entire life cycle of a device or vehicle, from its sale to the maintenance and monitoring of the warranty period of installed spare parts. Provides an overview of the customer's orders (work orders), the performed work (Assignment reports) and the submitted invoices are available at any time. In addition, you can provide the customer with the entire maintenance history with the corresponding documentation at any time as a PDF file.
How to use Assignments
Choosing Assignments form menu shows the latest 20 assignments. It is possible to search for both active and already completed work assignments on this page.
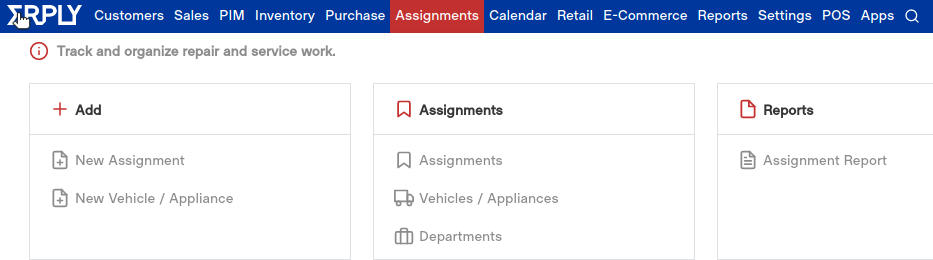
To add a new assignment, select Assignments and press the "New Assignment". A new window will open.
The required fields must be filled in. The more complete the work order is, the better it is to manage all the information. After pressing the "Save" button, the work order is also given a number.
Assignments fields
Number - The number of the assignment is automatically generated after it is saved.
Group - if there are groups created for different jobs (for example, maintenance work, warranty repair), the given assignment is moved to the desired group. This will make it easier to find specific jobs later.
Customer - the customer can be a person or company
Contact person - a person who can be contacted or who is appointed to represent a given customer/company.
Warehouse - if different warehouses or departments are defined and in use, the assignments can be directed to a specific address.
Assignment created - timestamp, i.e. when the given assignment has been created.
Vehicle received - Define when the device or vehicle is received.
Time booked by - it is possible to specify the person who booked the given assignment.
Received by - You can specify the person who has accepted the car or device.
Returned by - An employee or person who has handed over a vehicle or equipment to a customer.
Vehicle mileage - means the distance travelled by the vehicle before handover.
Vehicle - You can select and create a new vehicle. Described in the "Vehicle" article.
Phone - phone number. It is also shown on the assignment.
Mobile - mobile number. It is also shown on the assignment.
Contact phone - contact phone number. It is also shown on the assignment.
Contact person - a contact that is displayed on the assignment.
Comments on work done: - comments on work that was done on the car/device
Comments on work left undone: comments on work that was left undone on the car/device
Spare parts and repairs
Allows you to add various products and services to the assignment. They are also displayed on the order, invoice or quote.
The three buttons below are for sending an invoice, order, or quote. Selecting a product and service is easy by clicking the "select product" or "select service" button.
The quantity shall be determined as necessary. The employee who worked on the car/device can be chosen for the service product with time spent.
If you add a service (non-stock product), you must also specify an employee, who by default can only be an employee in the user group of the sales representative.
If desired, Erply support can add other user groups as service providers. To do so, please get in touch with support@erply.com.
Creating an invoice
On the assignment, press the "Create invoice" button. The usual but already filled "Invoice-waybill" tab opens.
In the grey menu on the left, you can change the invoice type and add additional information.
Mandatory and additional fields appear on the invoice as for a standard invoice.
At the same time, existing products or services have been added to the product line.
You can save the changes by pressing F7 or "Save". You can confirm the invoice by pressing the F8 button or "Confirm".
After confirmation, the invoice will have its own number, and all invoices can be found under Sales - Invoices.
In addition, to save F7 and Print / Get F6, it is also possible to add the payment "Dollar sign inside the circle".
The other functions are the same as in the Invoices.