Merit Accounting Integration Setup
Supported Merit Versions
In order to use the integration you must have the Merit Aktiva PRO or Merit Aktiva PREMIUM license.
App Installation
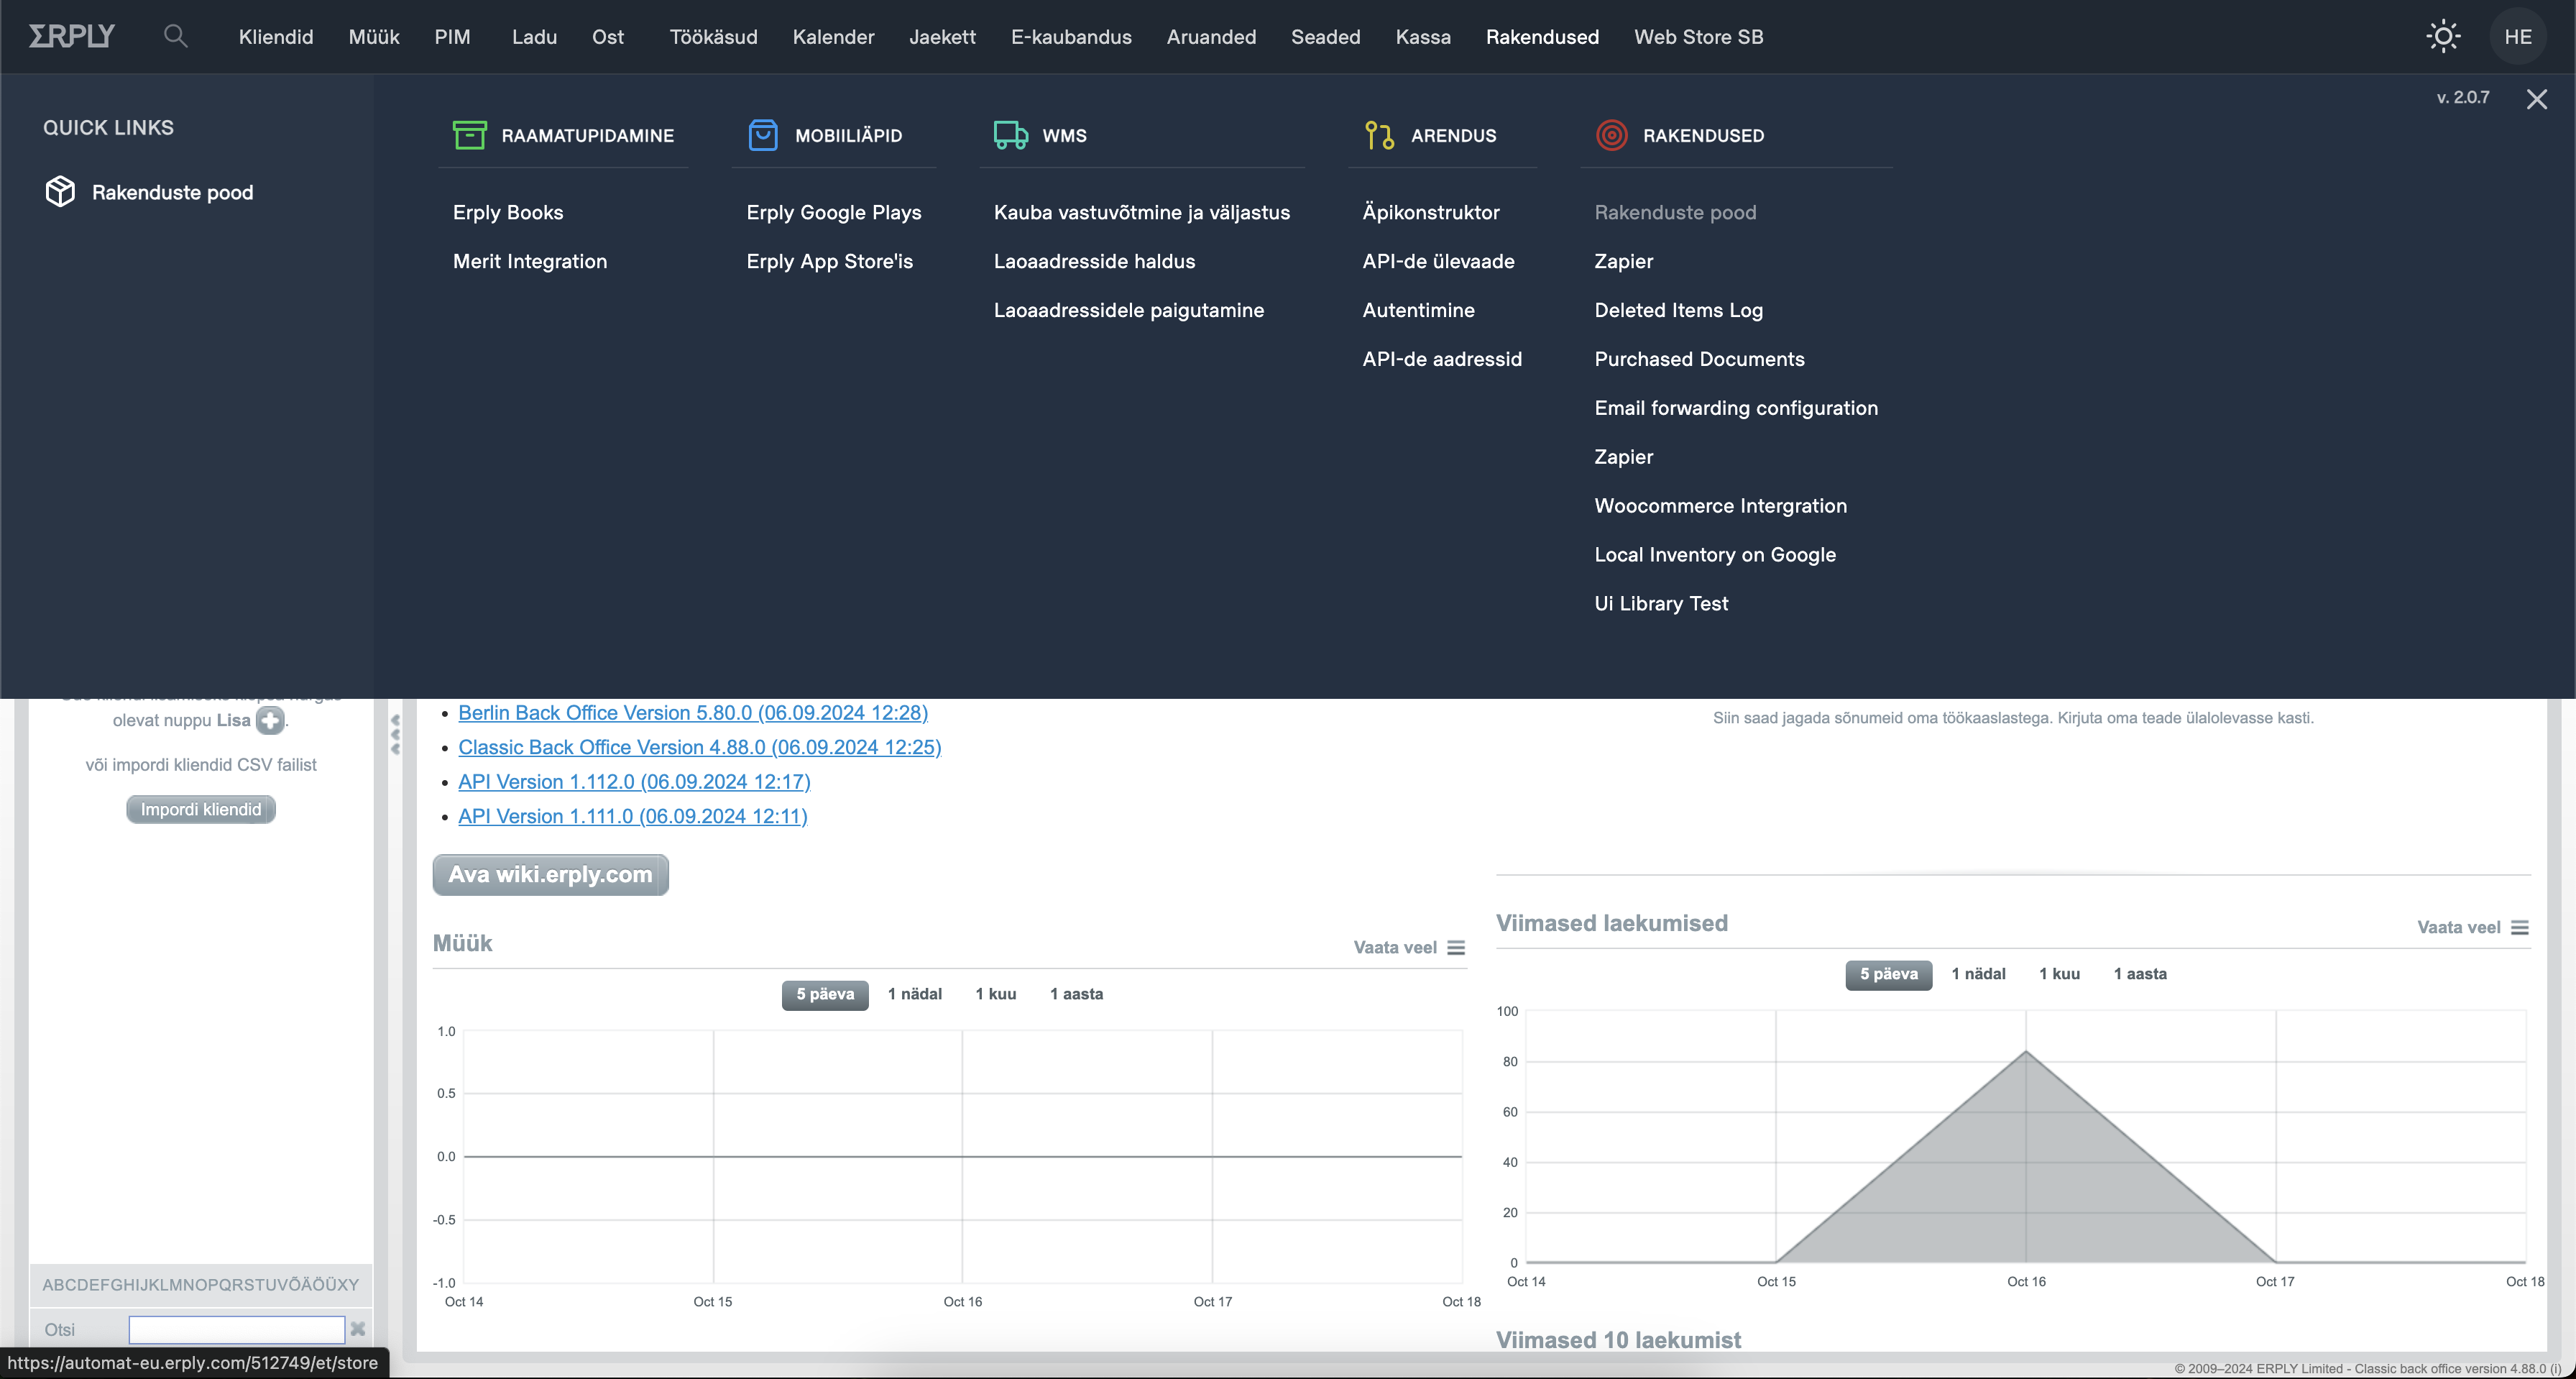
In order to integrate your Merit account to Erply you must first install the Merit integration application from our APP library. In order to do so, pleaes navigate to: “Rakendused -> Rakenduste Pood” and install the Merit application from the apps list.

Once the integration plugin is added to your Erply account you need to perform the following steps:
App Location

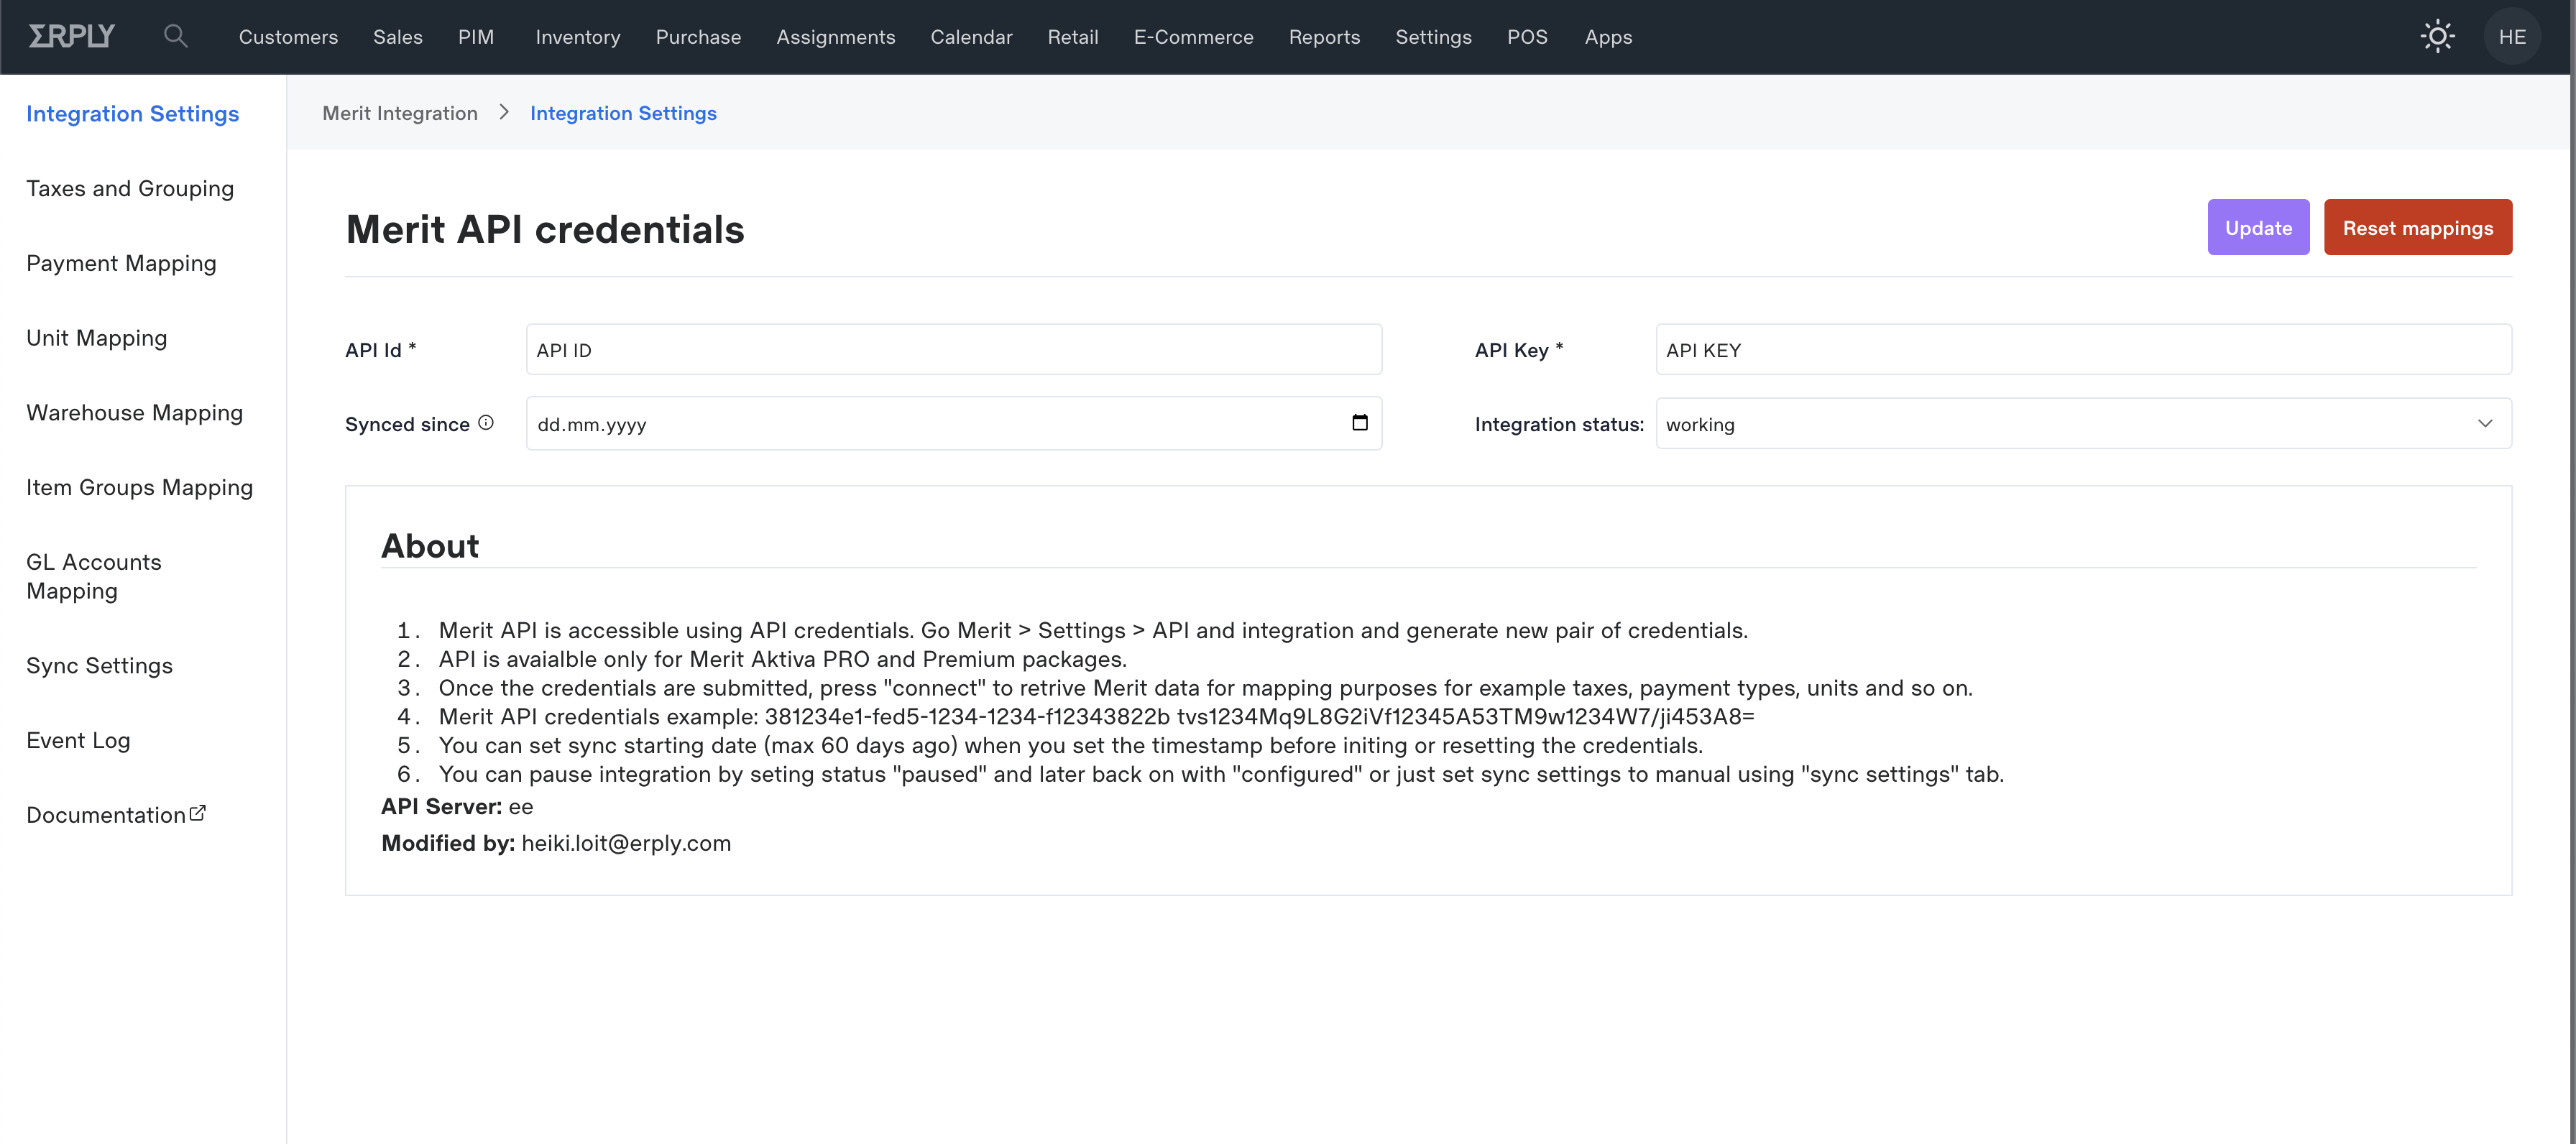
Authentication
In order to activate the integration you must first insert your Merit API ID and API Key as well as a unix timestamp.
The unix timestamp is used as the start date & time for syncing documents from Erply to Merit
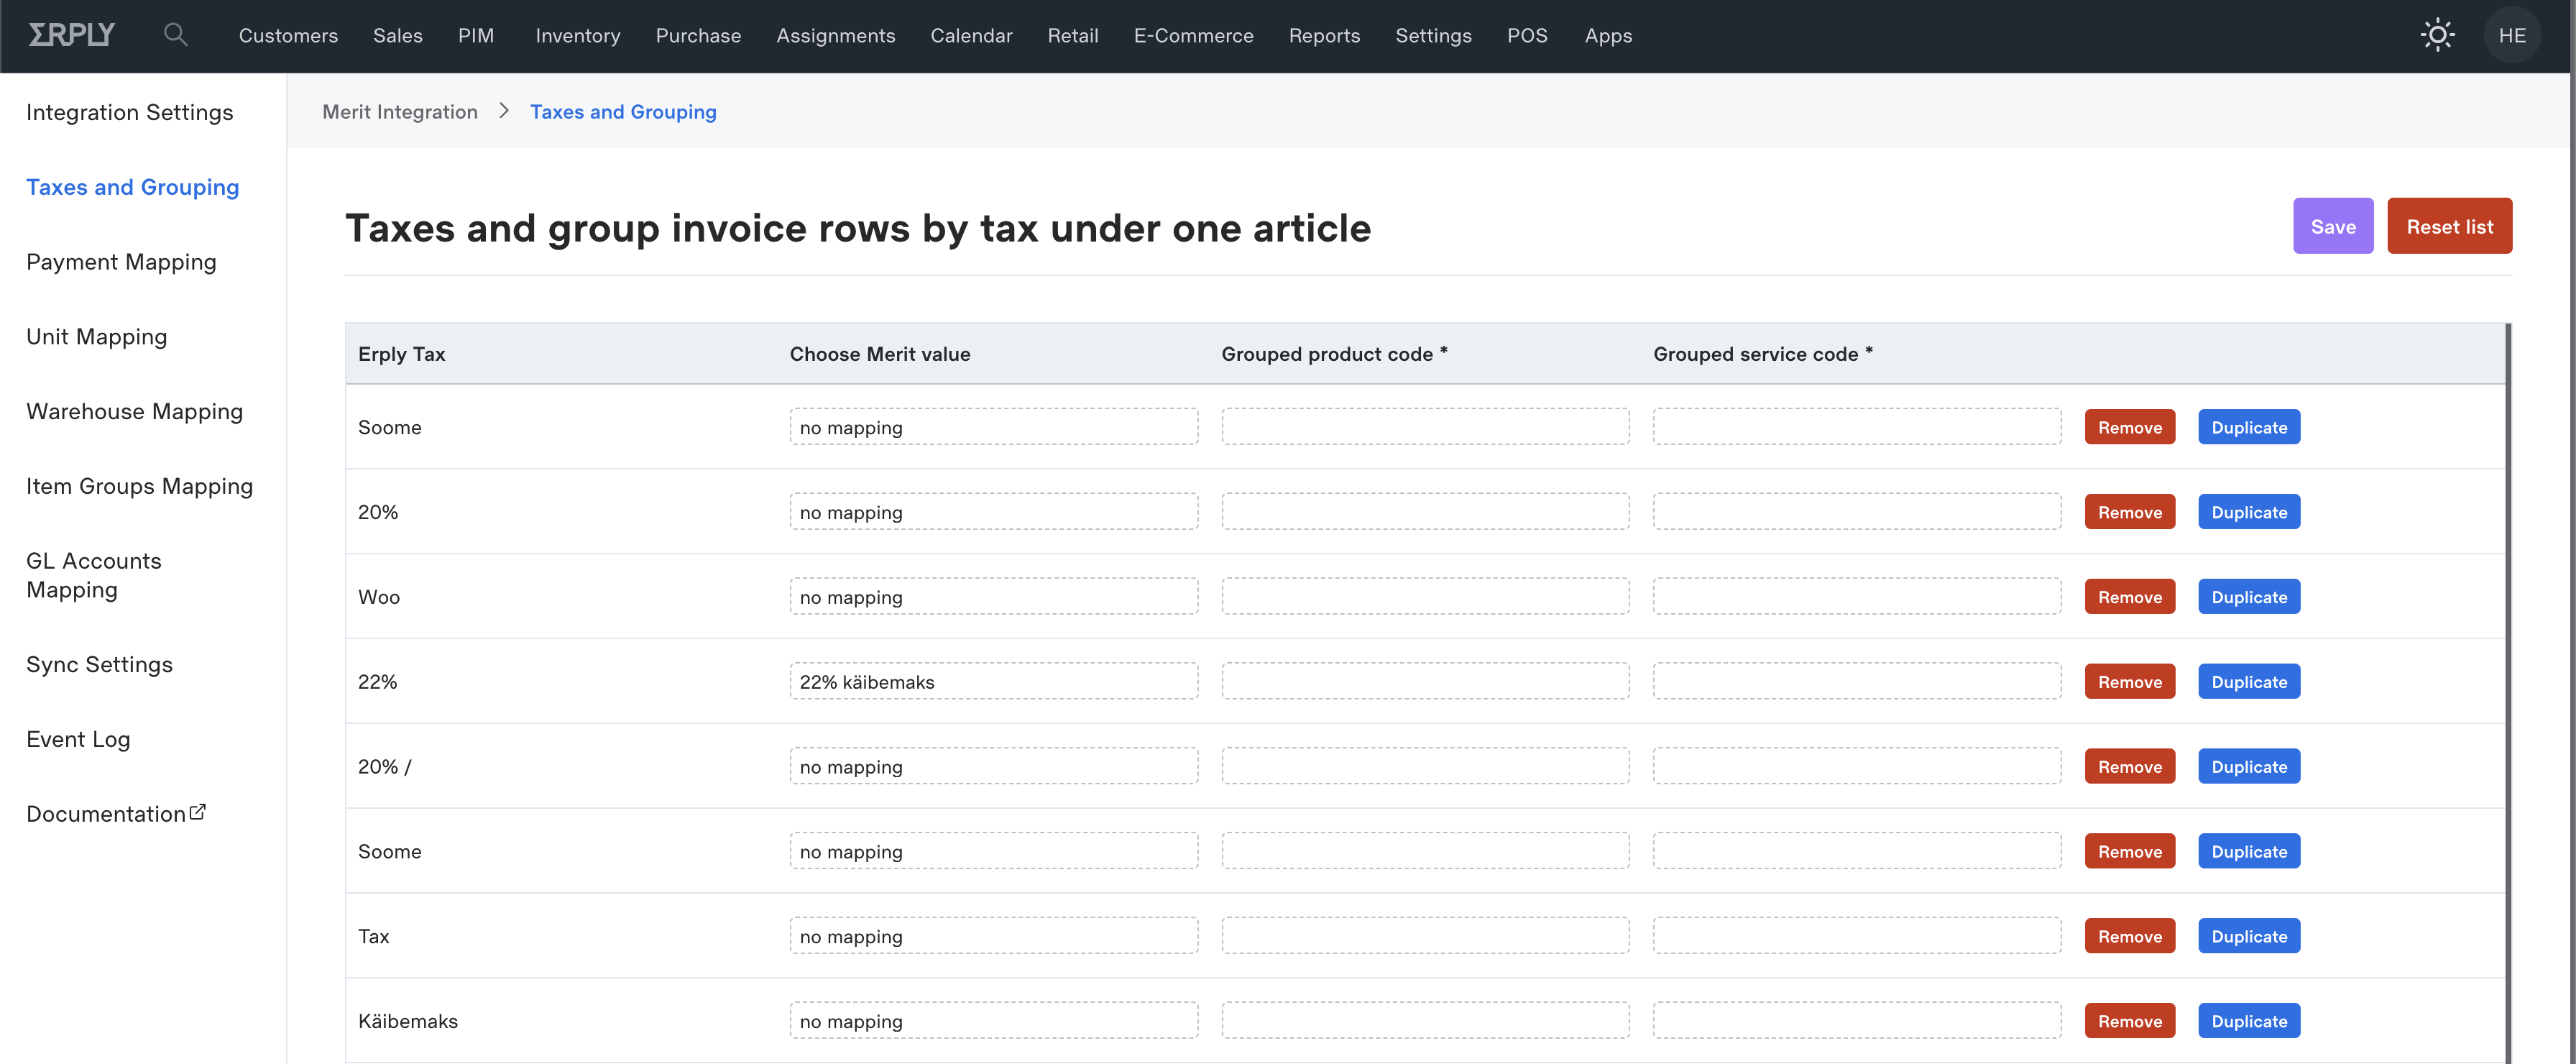
Taxes Setup
The next step in setting up the integration is to map your Erply taxes against the taxes in Merit. All tax rates that you have set up in Merit are shown in the setup UI where you can easily define the matching tax rate from Erply to Merit's tax rates. During sales document data exchange this mapping will be used to correctly reflect line item taxes on documents in Merit.
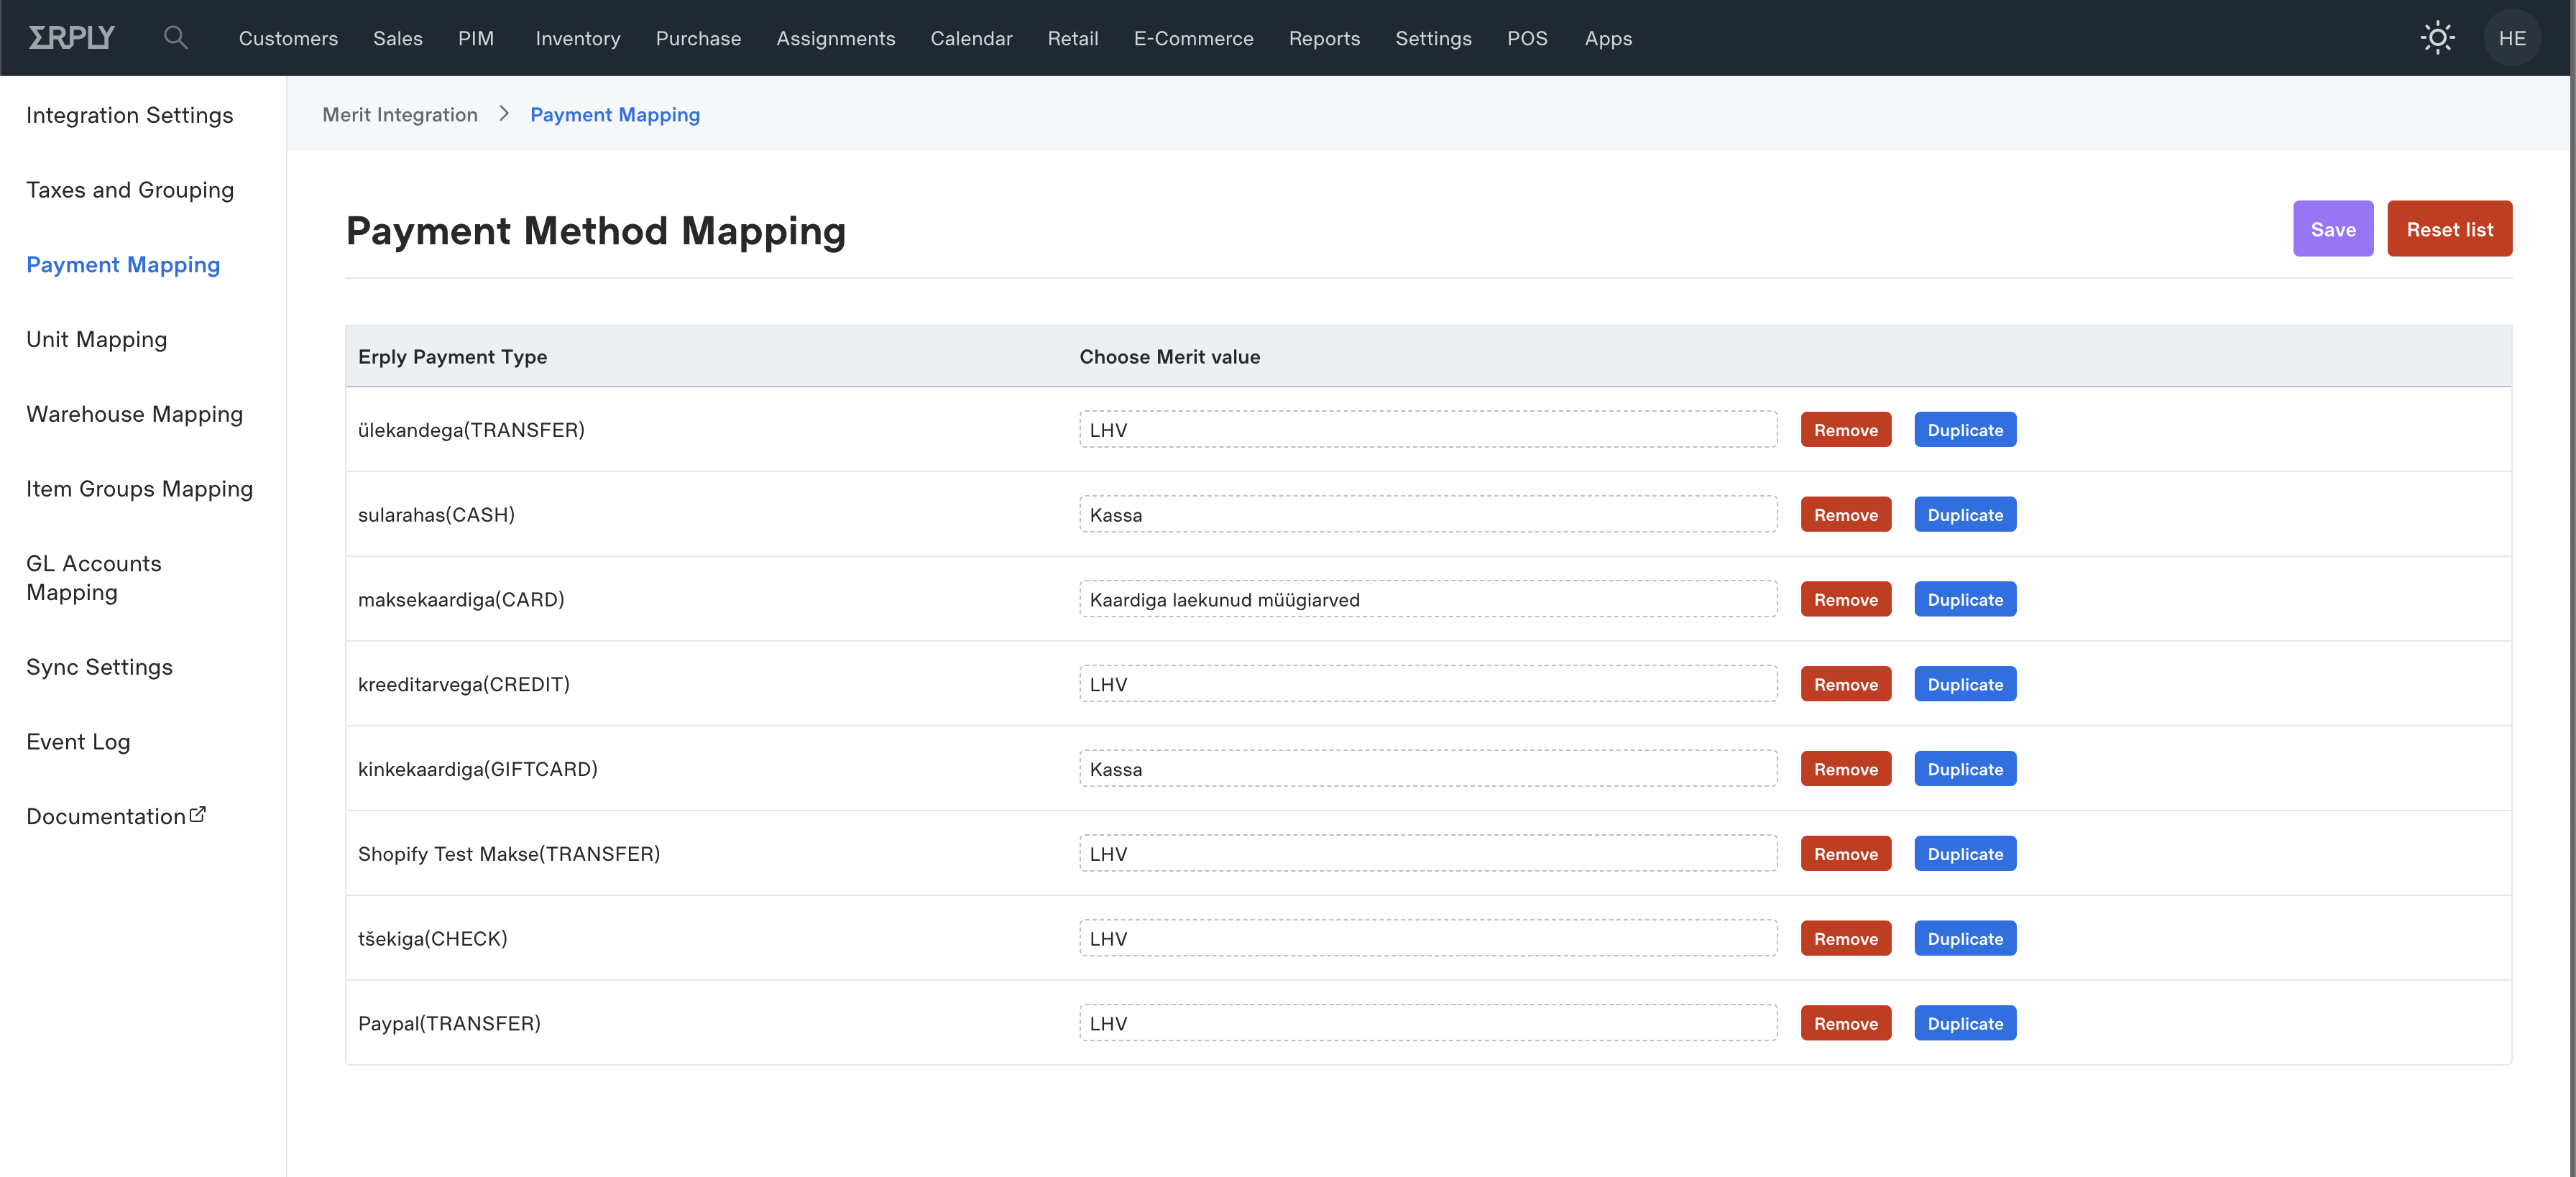
Payment Types Mapping
The next step in the setup flow is to map together payment types between Merit and Erply. All payment types that you have in Merit are also shown in the configuration view where you can easily associate the payment type in Merit with the matching payment type in Erply. If your Erply account has missing payment types then you can create additional payment types from the general settings.
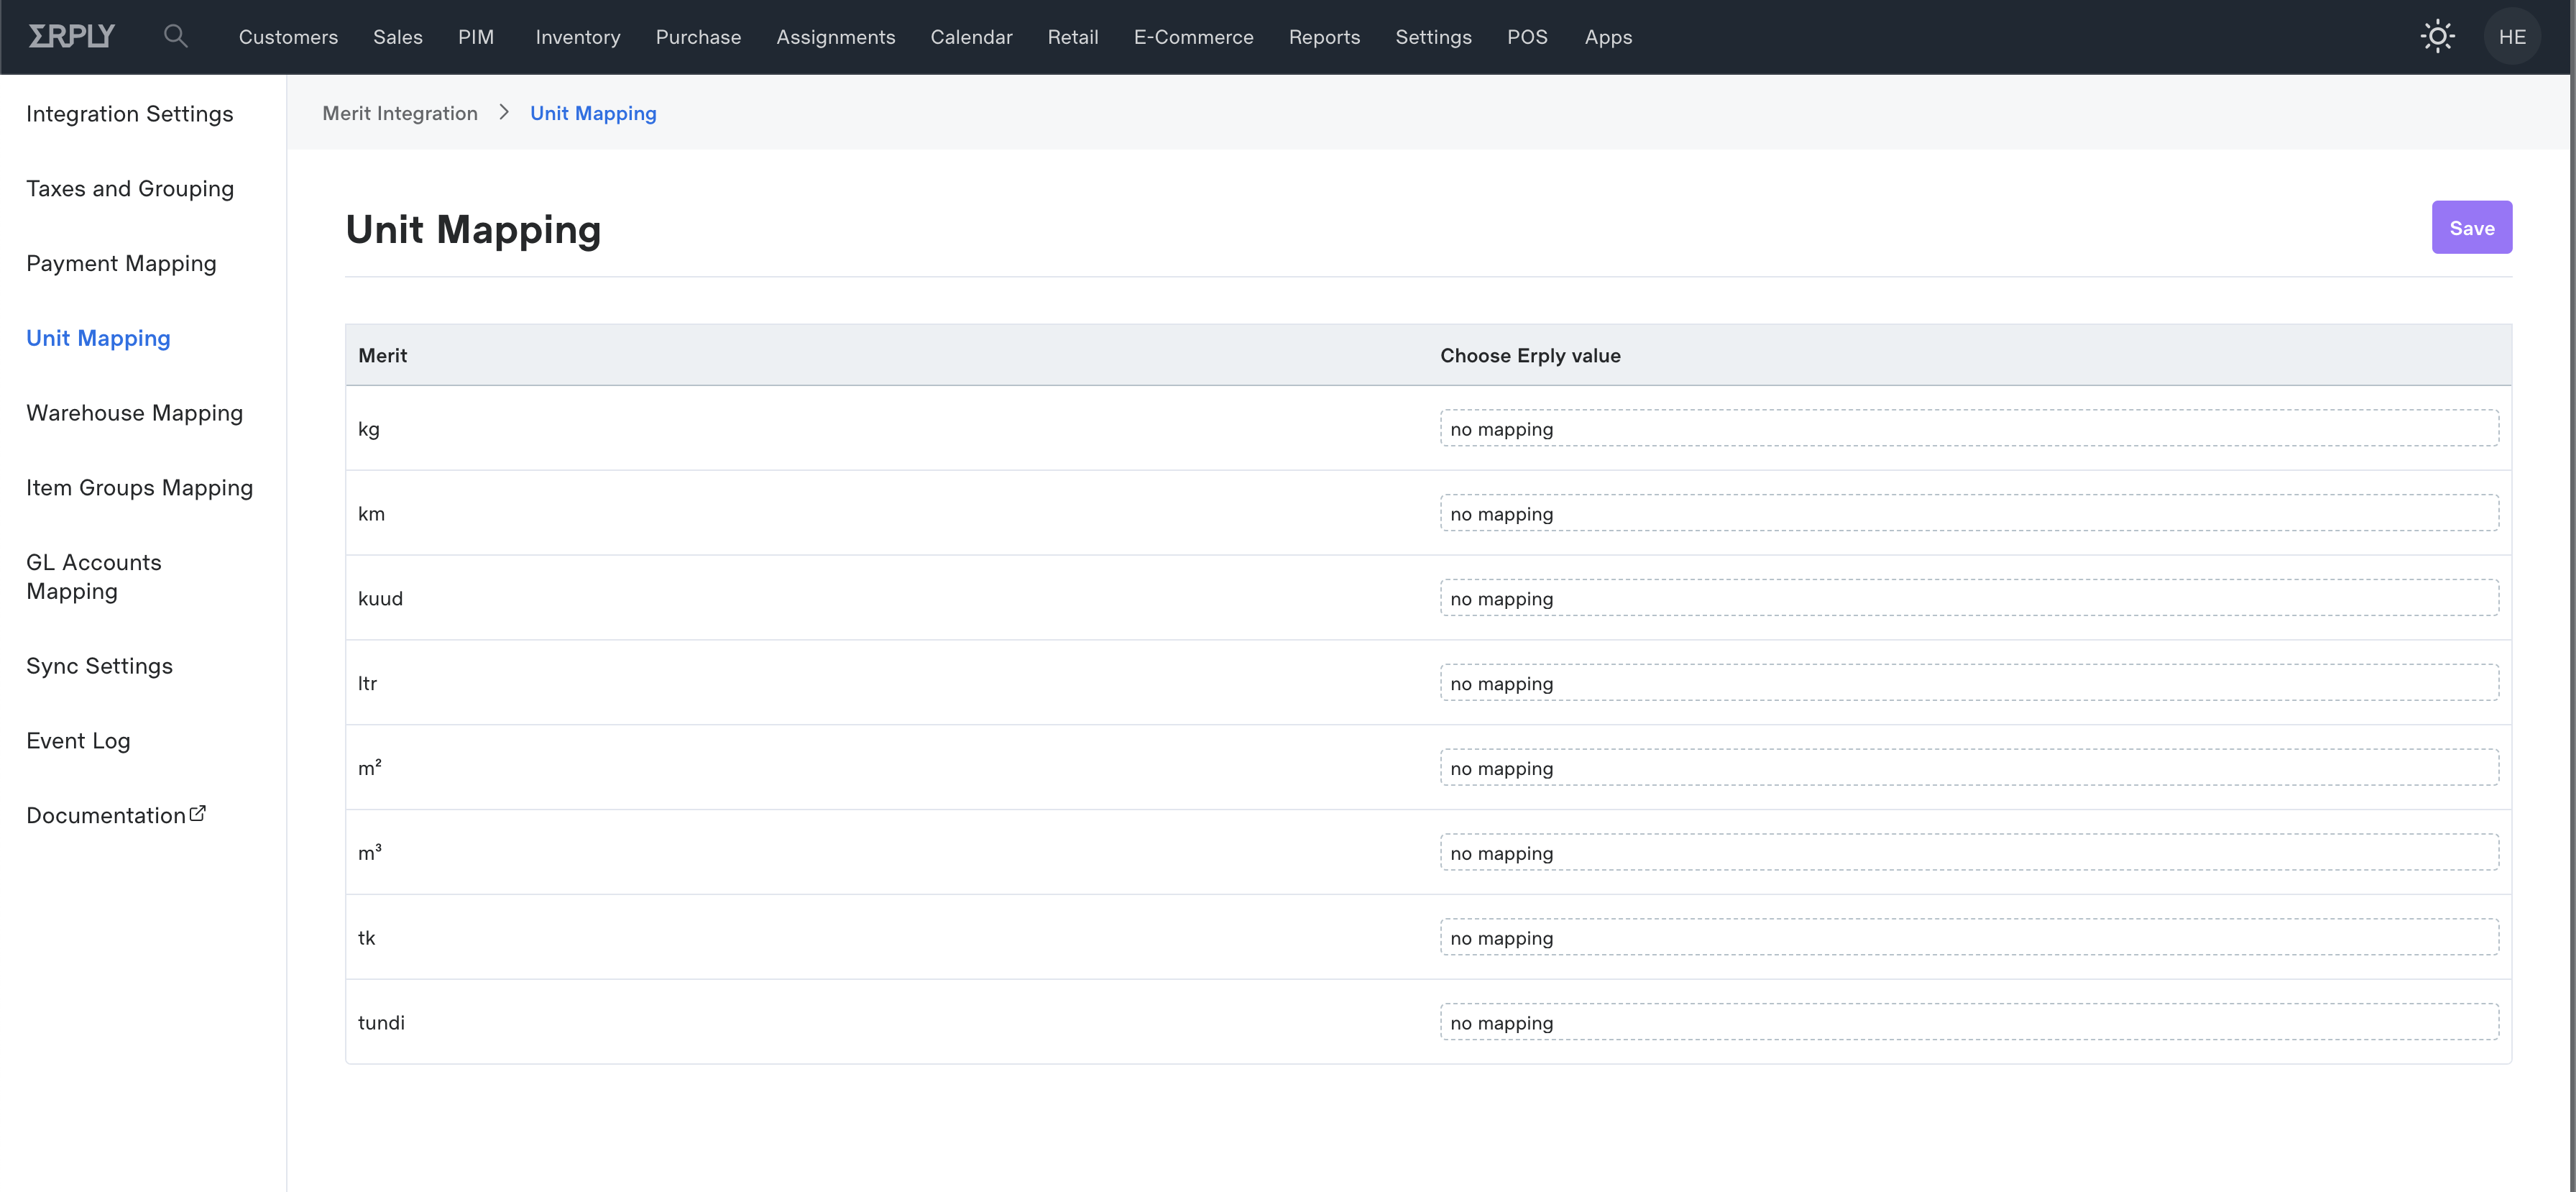
Units Mapping
The next step in the configuration flow is to map together your sale units in Merit and in Erply. All units that you have in Merit are also shown in the configuration view where you can easily associate the sales unit in Merit with the matching sales unit in Erply.
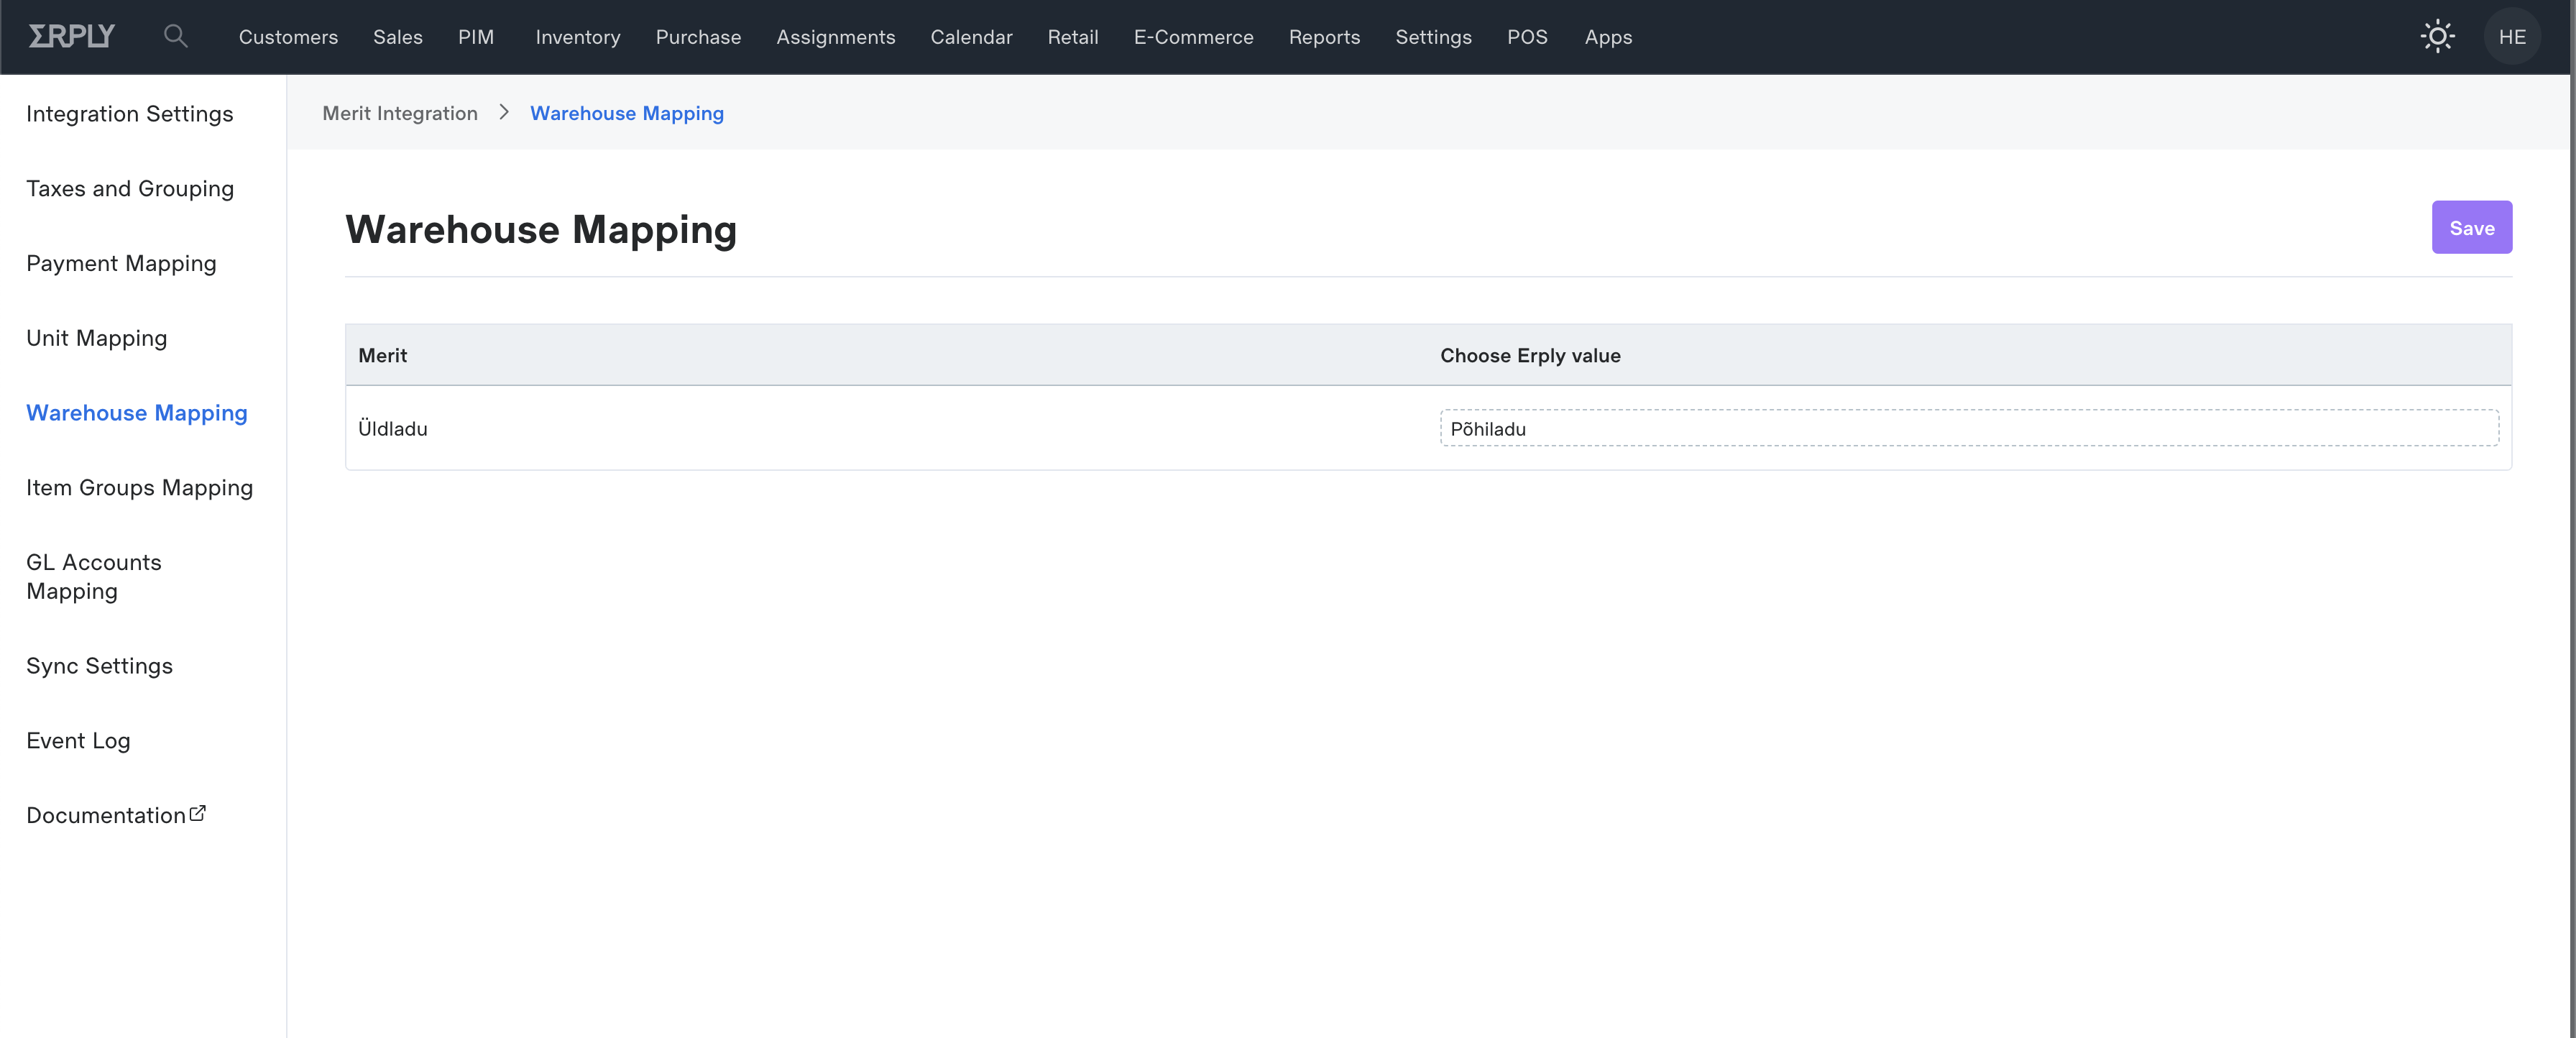
Warehouse Mapping
The next step in the configuration flow is to map together your locations in Merit and in Erply. All locations that you have in Merit are also shown in the configuration view where you can easily associate the location in Merit with the matching warehouse in Erply.
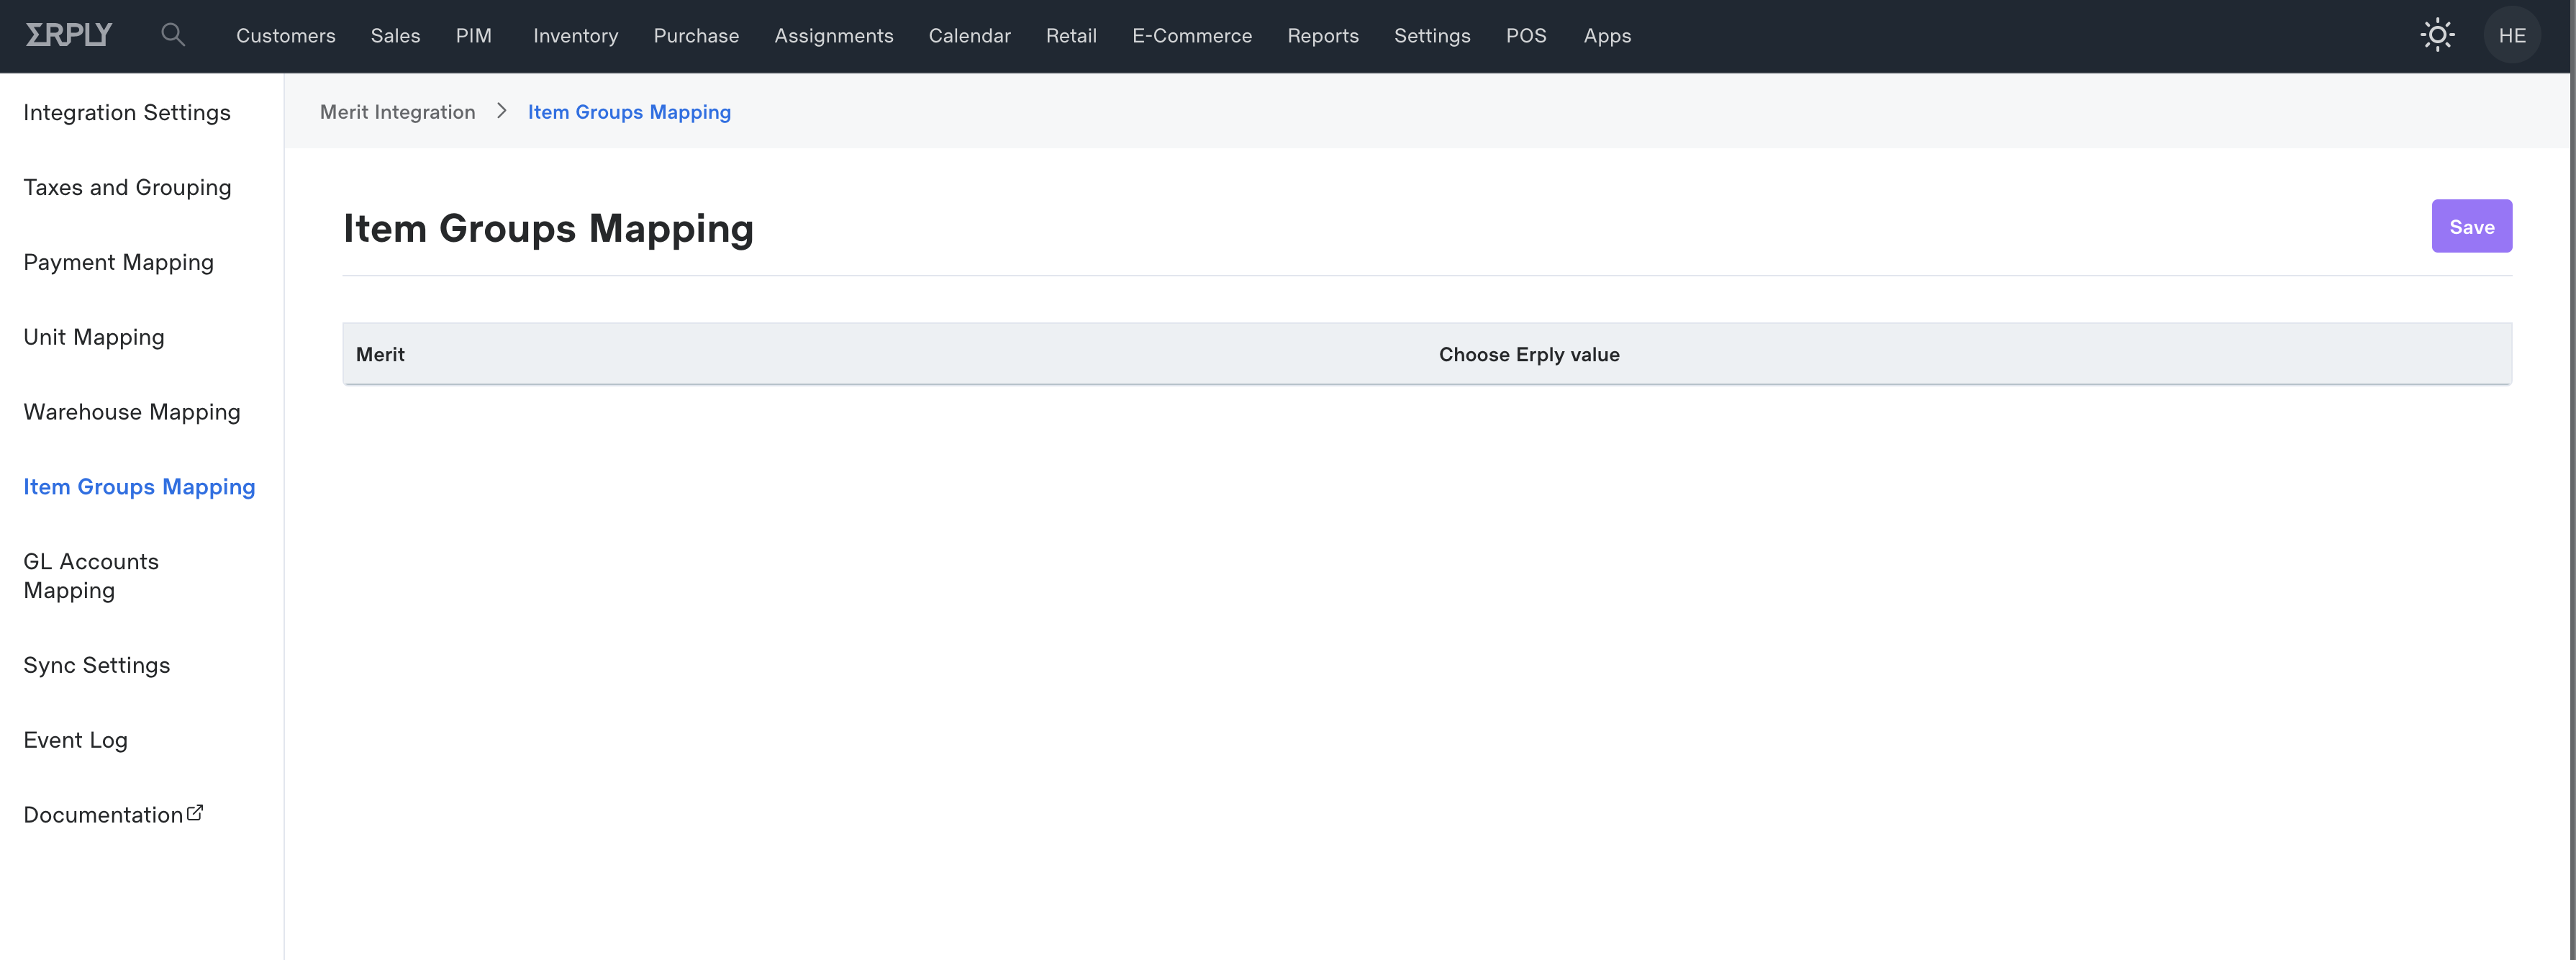
Product Groups Mapping
The next step in the configuration flow is to map together your product groups in Merit and in Erply. All groups that you have in Merit are also shown in the configuration view where you can easily associate the product groups in Merit with the matching product groups in Erply.
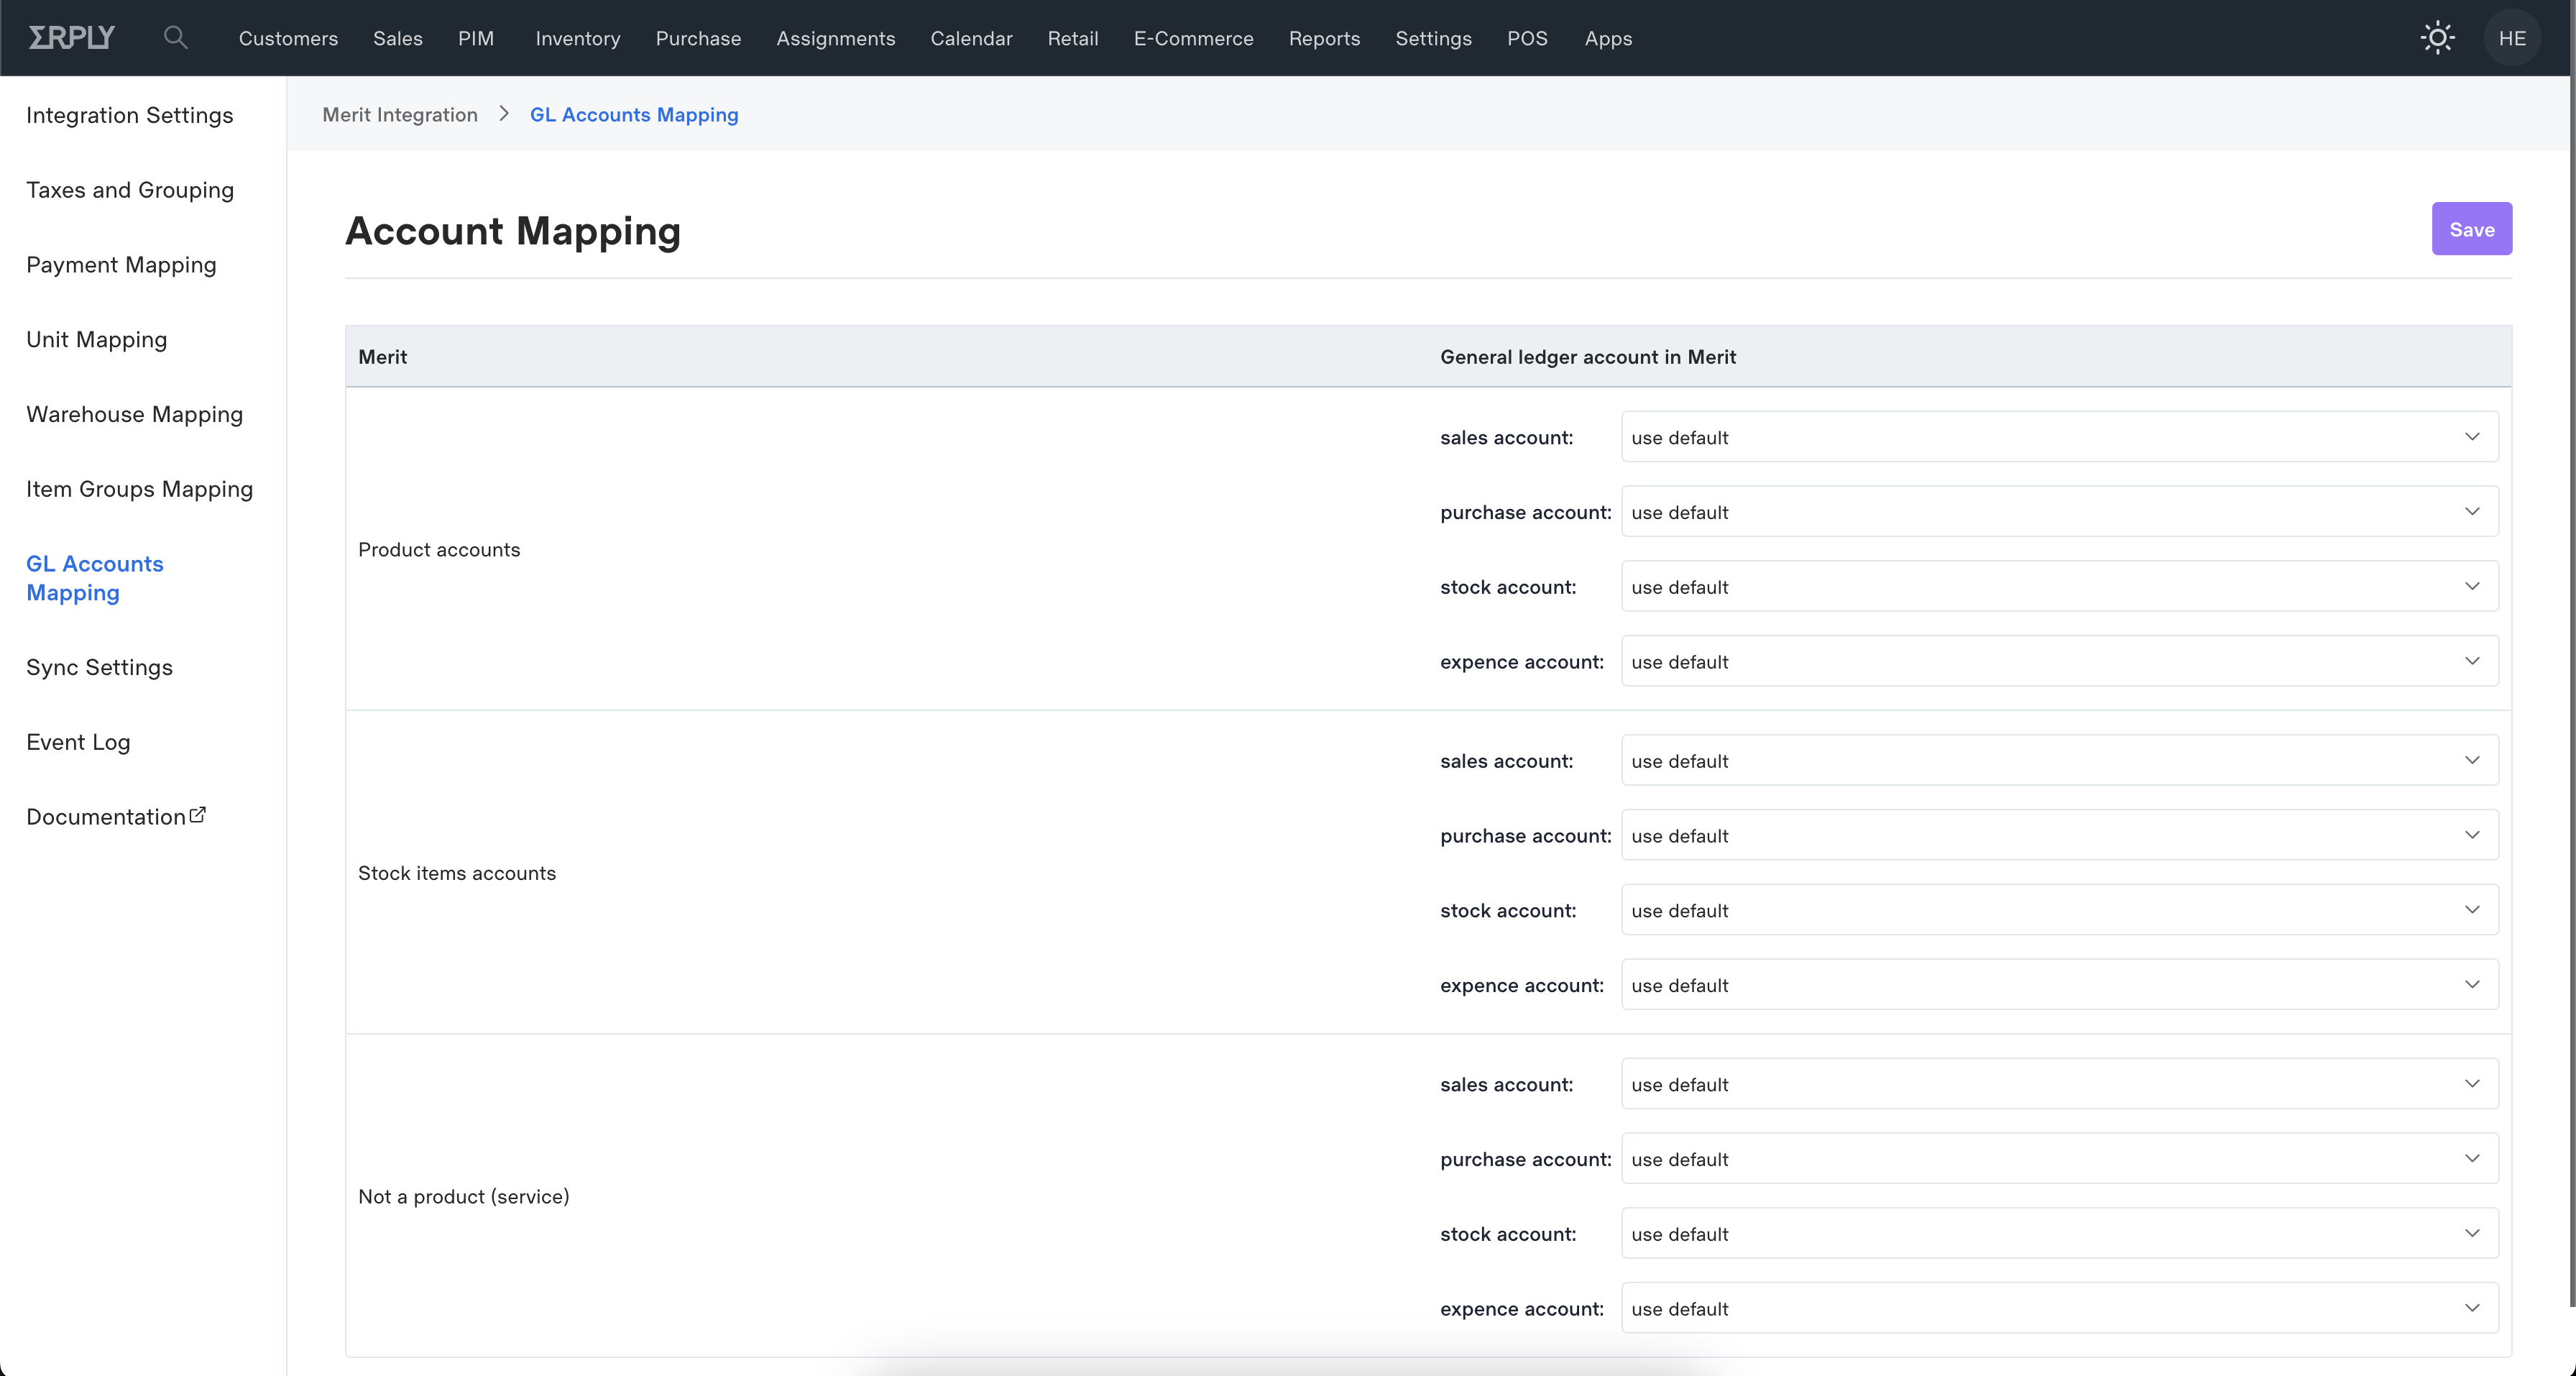
GL Account Mapping
From the GL Accounts Mapping you can map specific GL accounts to each product type. From the mapping dropdown you will find all your GL accounts from Merit Aktiva.
Mapping is not mandatory and without specific mapping the default values specified in Merit will be used.
Sync Settings
From the sync settings you are able to configure the data exchange times for each entity and for both data exchange directions. You are also able to manually initiate a new sync for each entity.
As an additional option you can also group invoice rows as well as define how purchase invoices reach to Merit. Once all the settings have been set, please click on “Save” at the bottom of the page

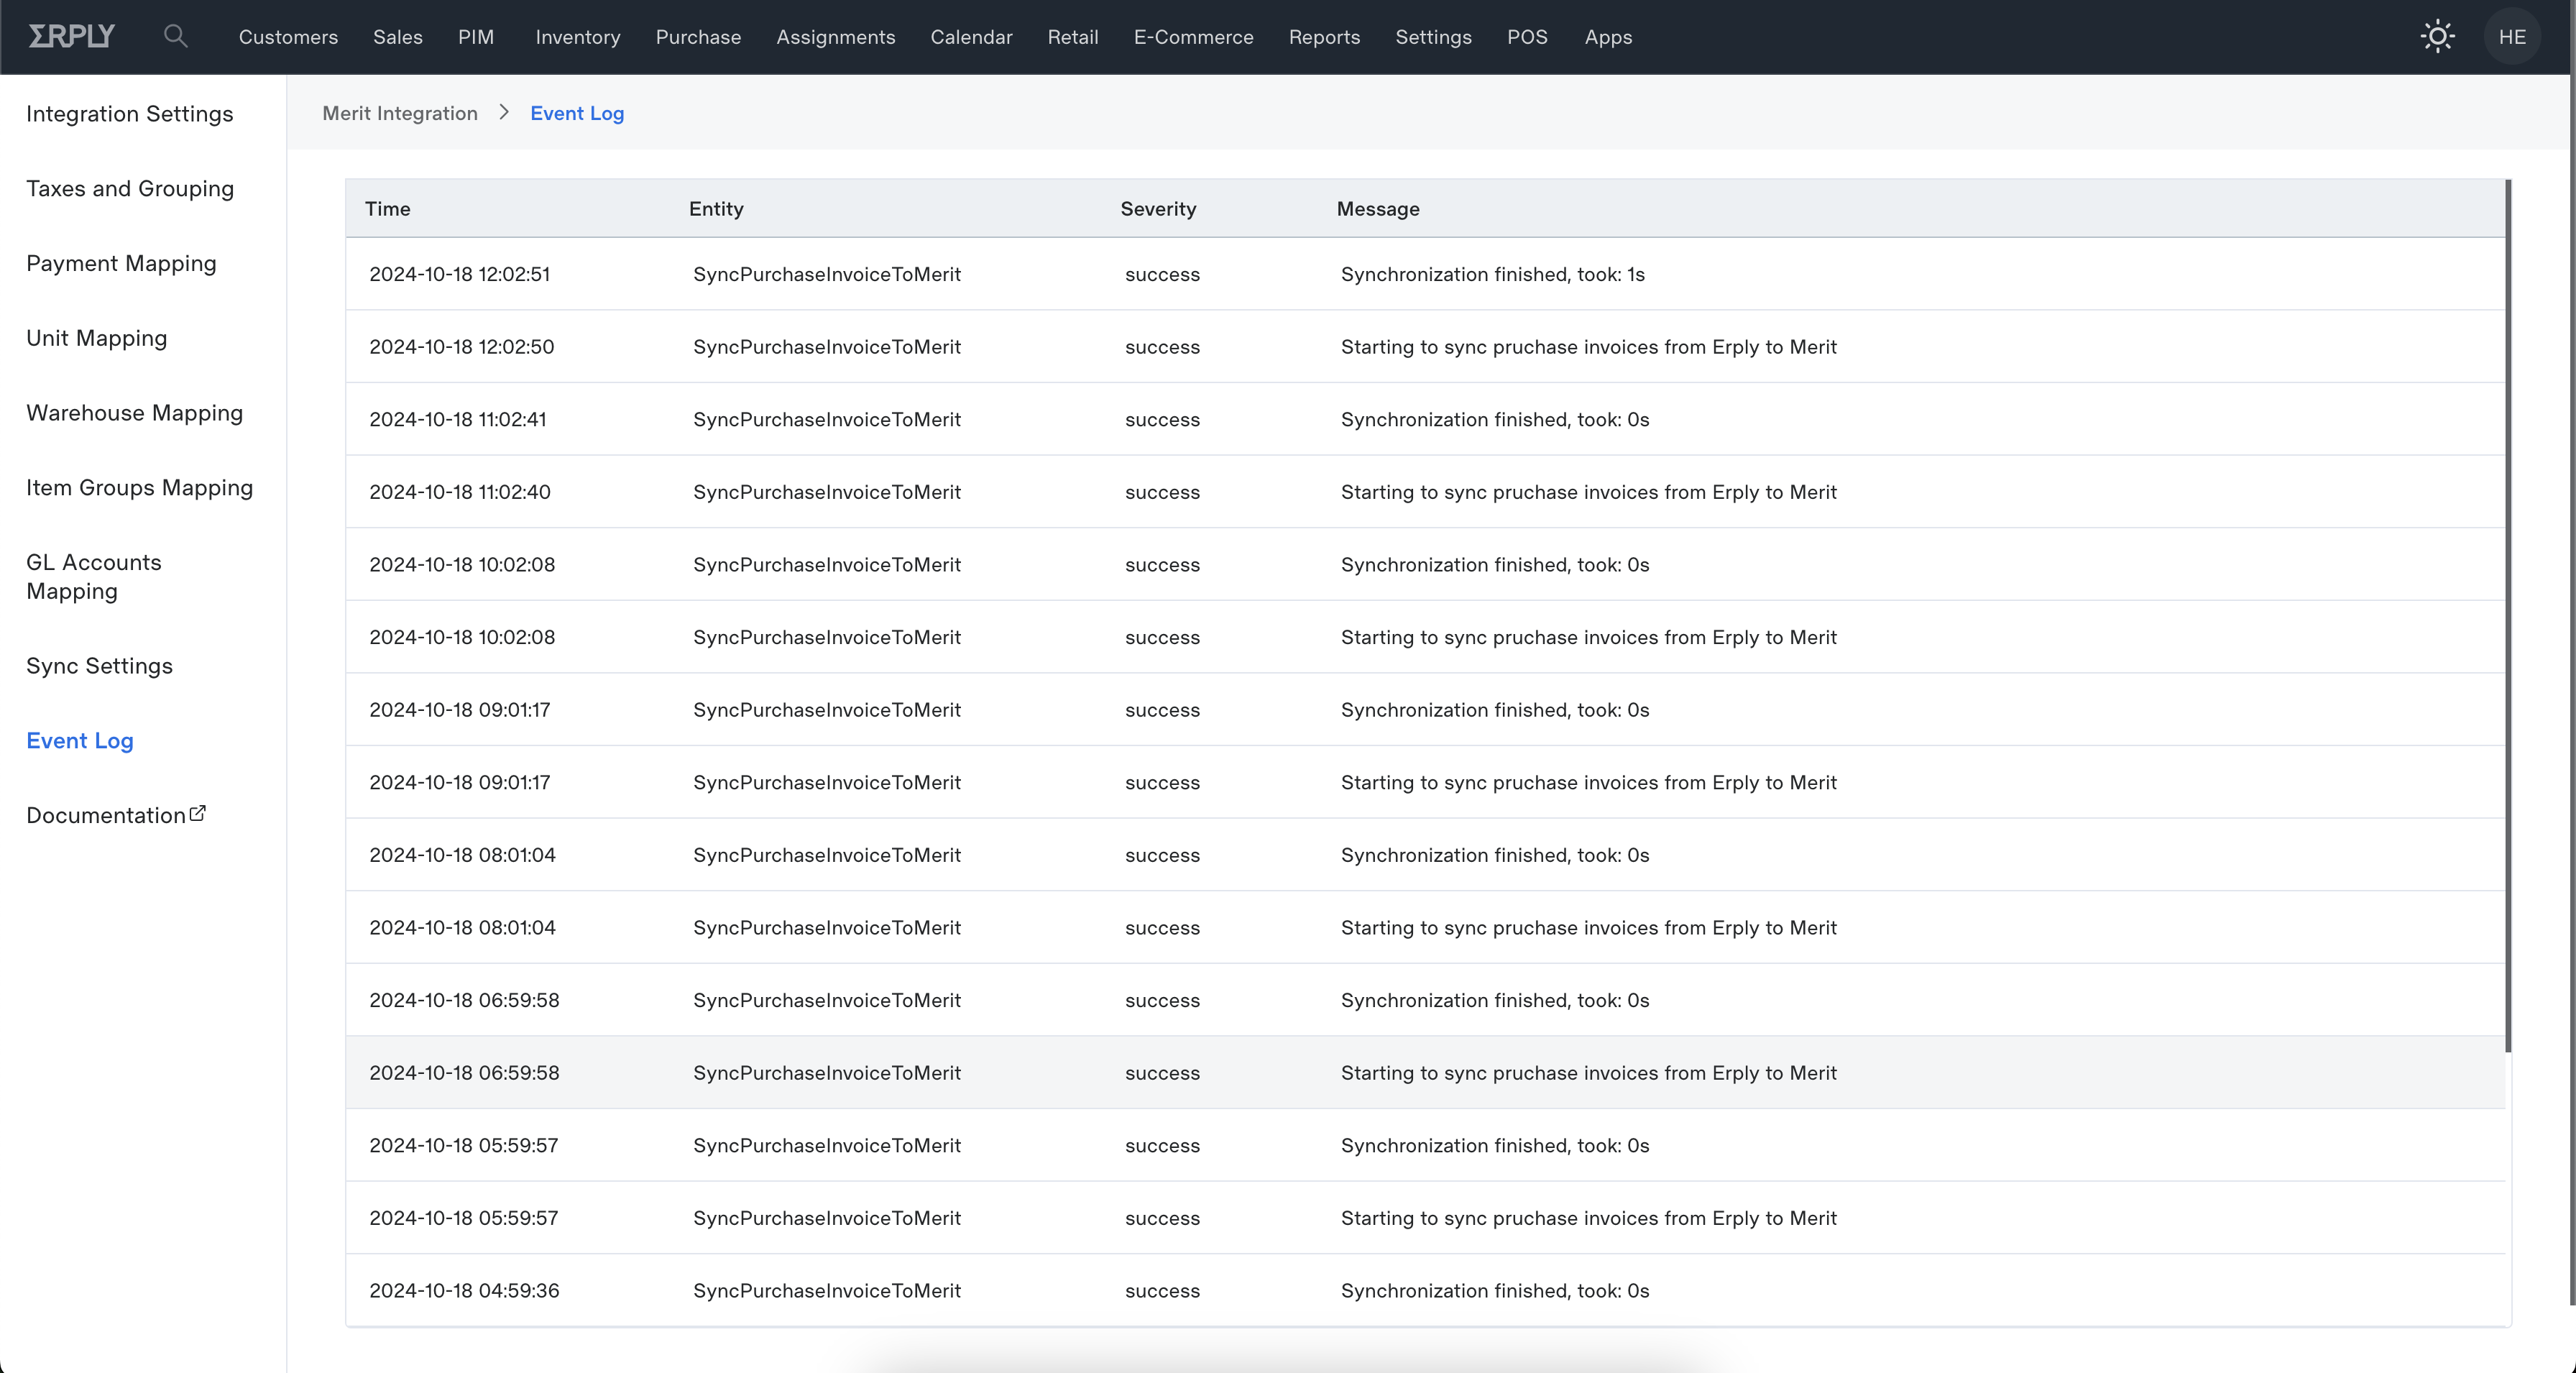
Integration Log
From the event log view you have a clear overview of all recent data exchanges as well as errors. If an error has occurred then it will show the error in the log view with a detailed description so it would be easy to fix the issue and re-sync the document or item in question.