Installation Instructions
- Navigate to the Erply backoffice
- Open “App Store”
- Search for: “Local Inventory on Google”
- Click on “Instal”
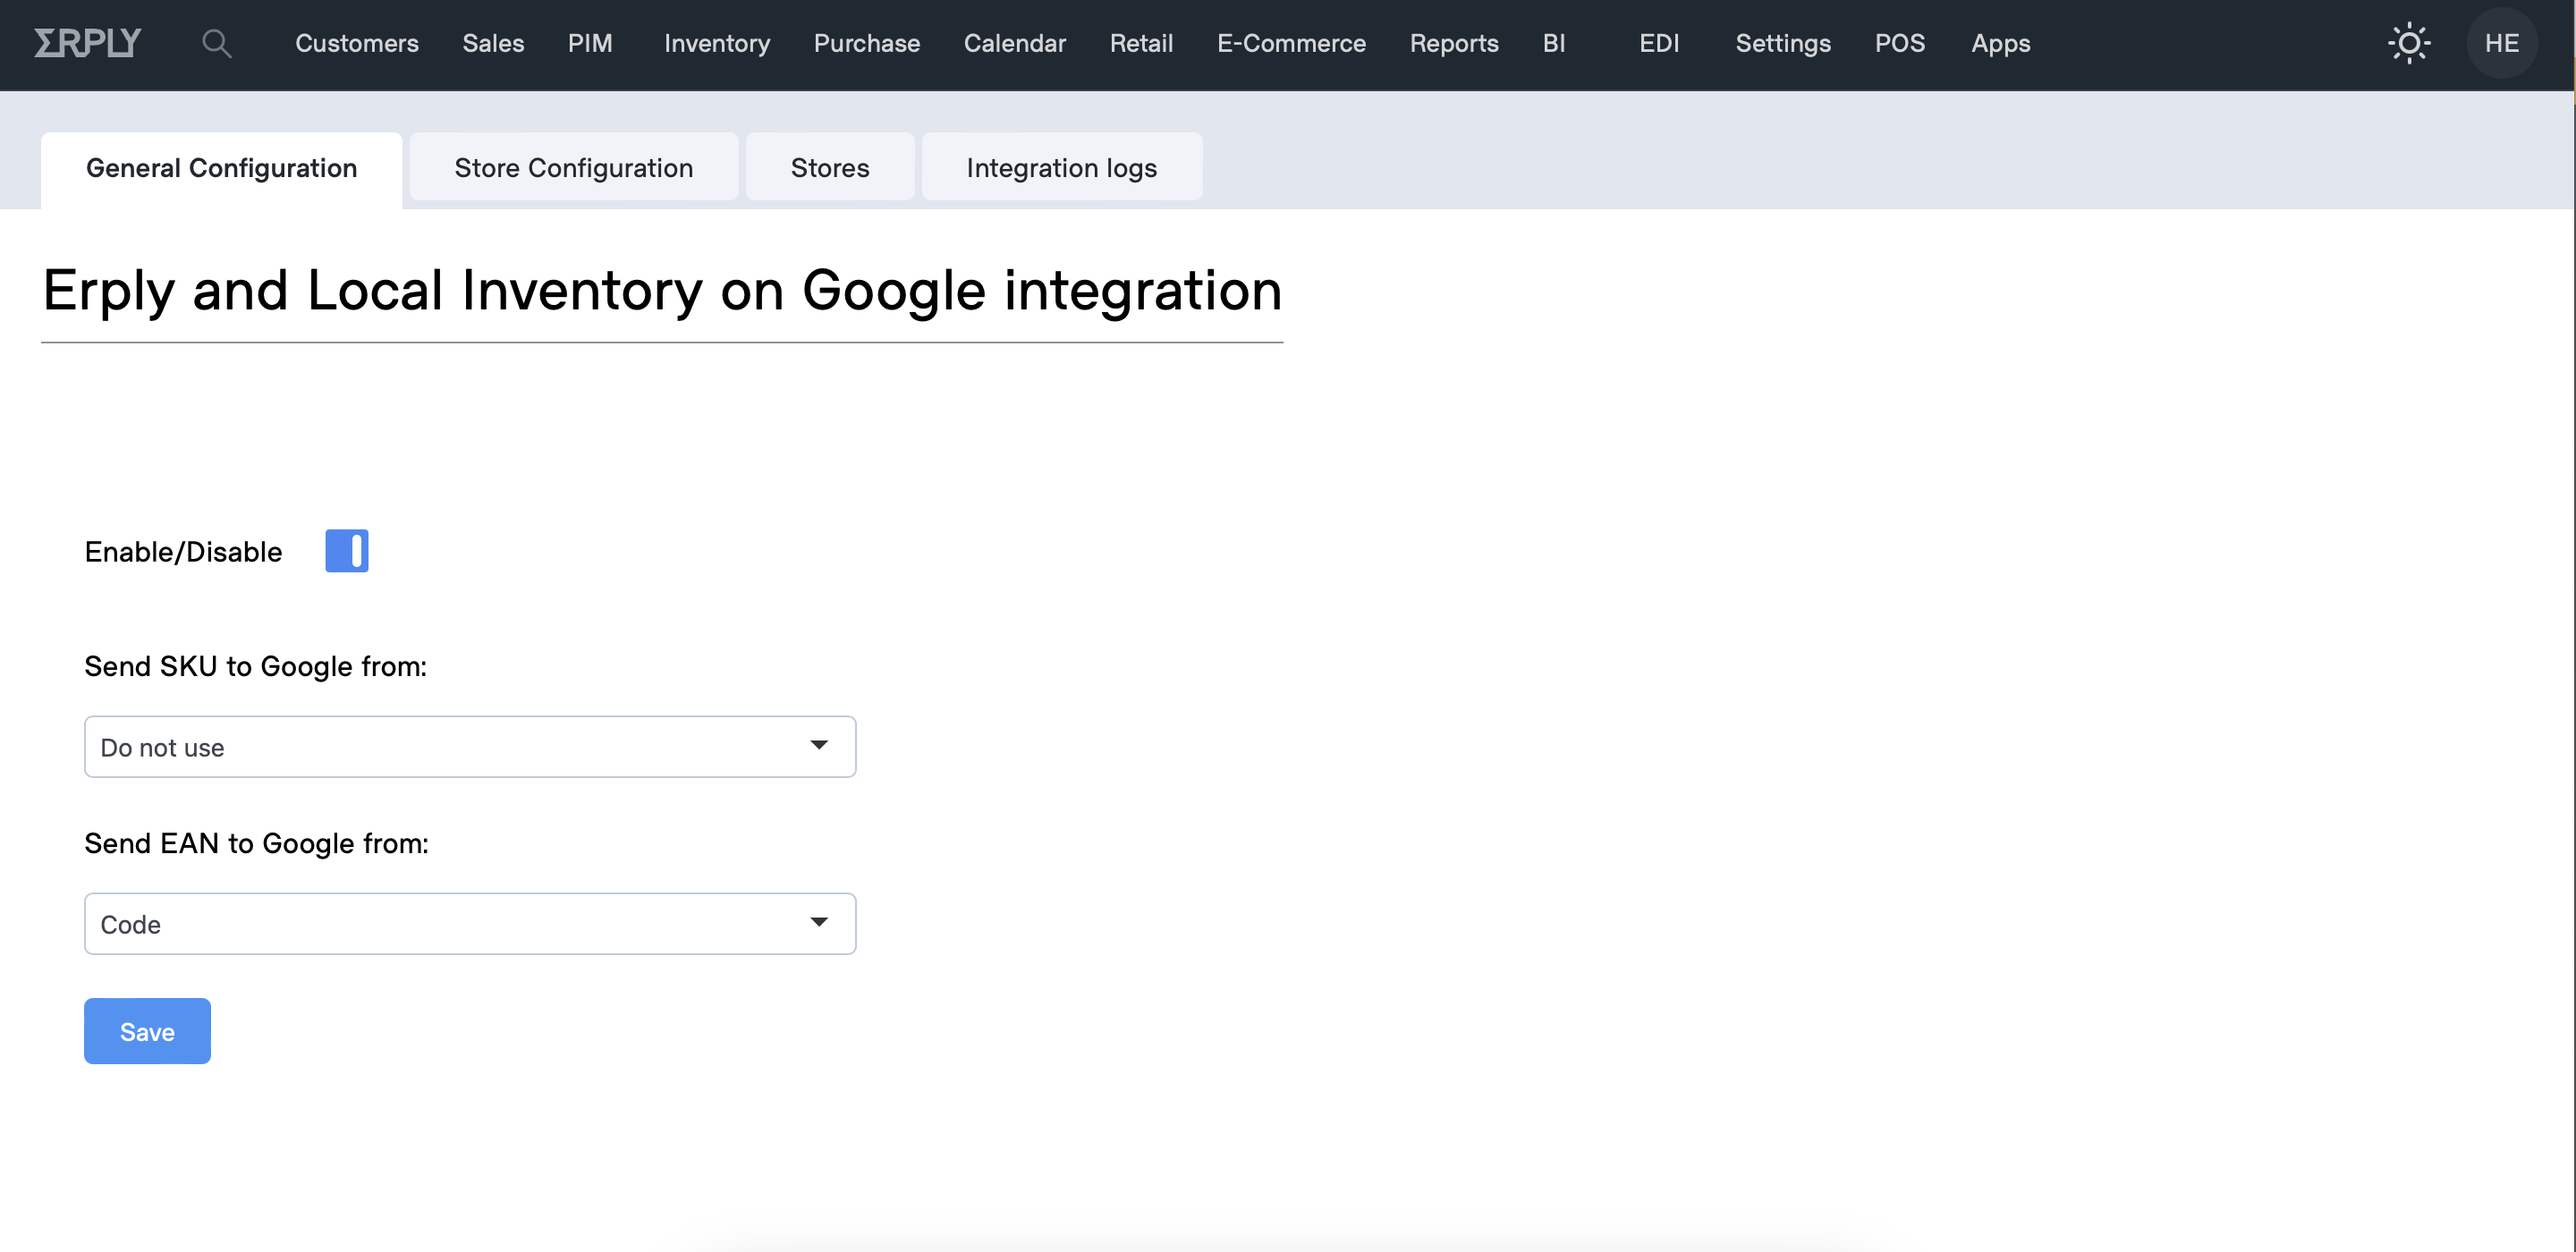
Configuration Instructions
- Navigate to the Erply backoffice
- Open “Local Inventory on Google” from the Apps menu
- Choose the code value for SKU
- Choose the code value for EAN
- Click on “Save”
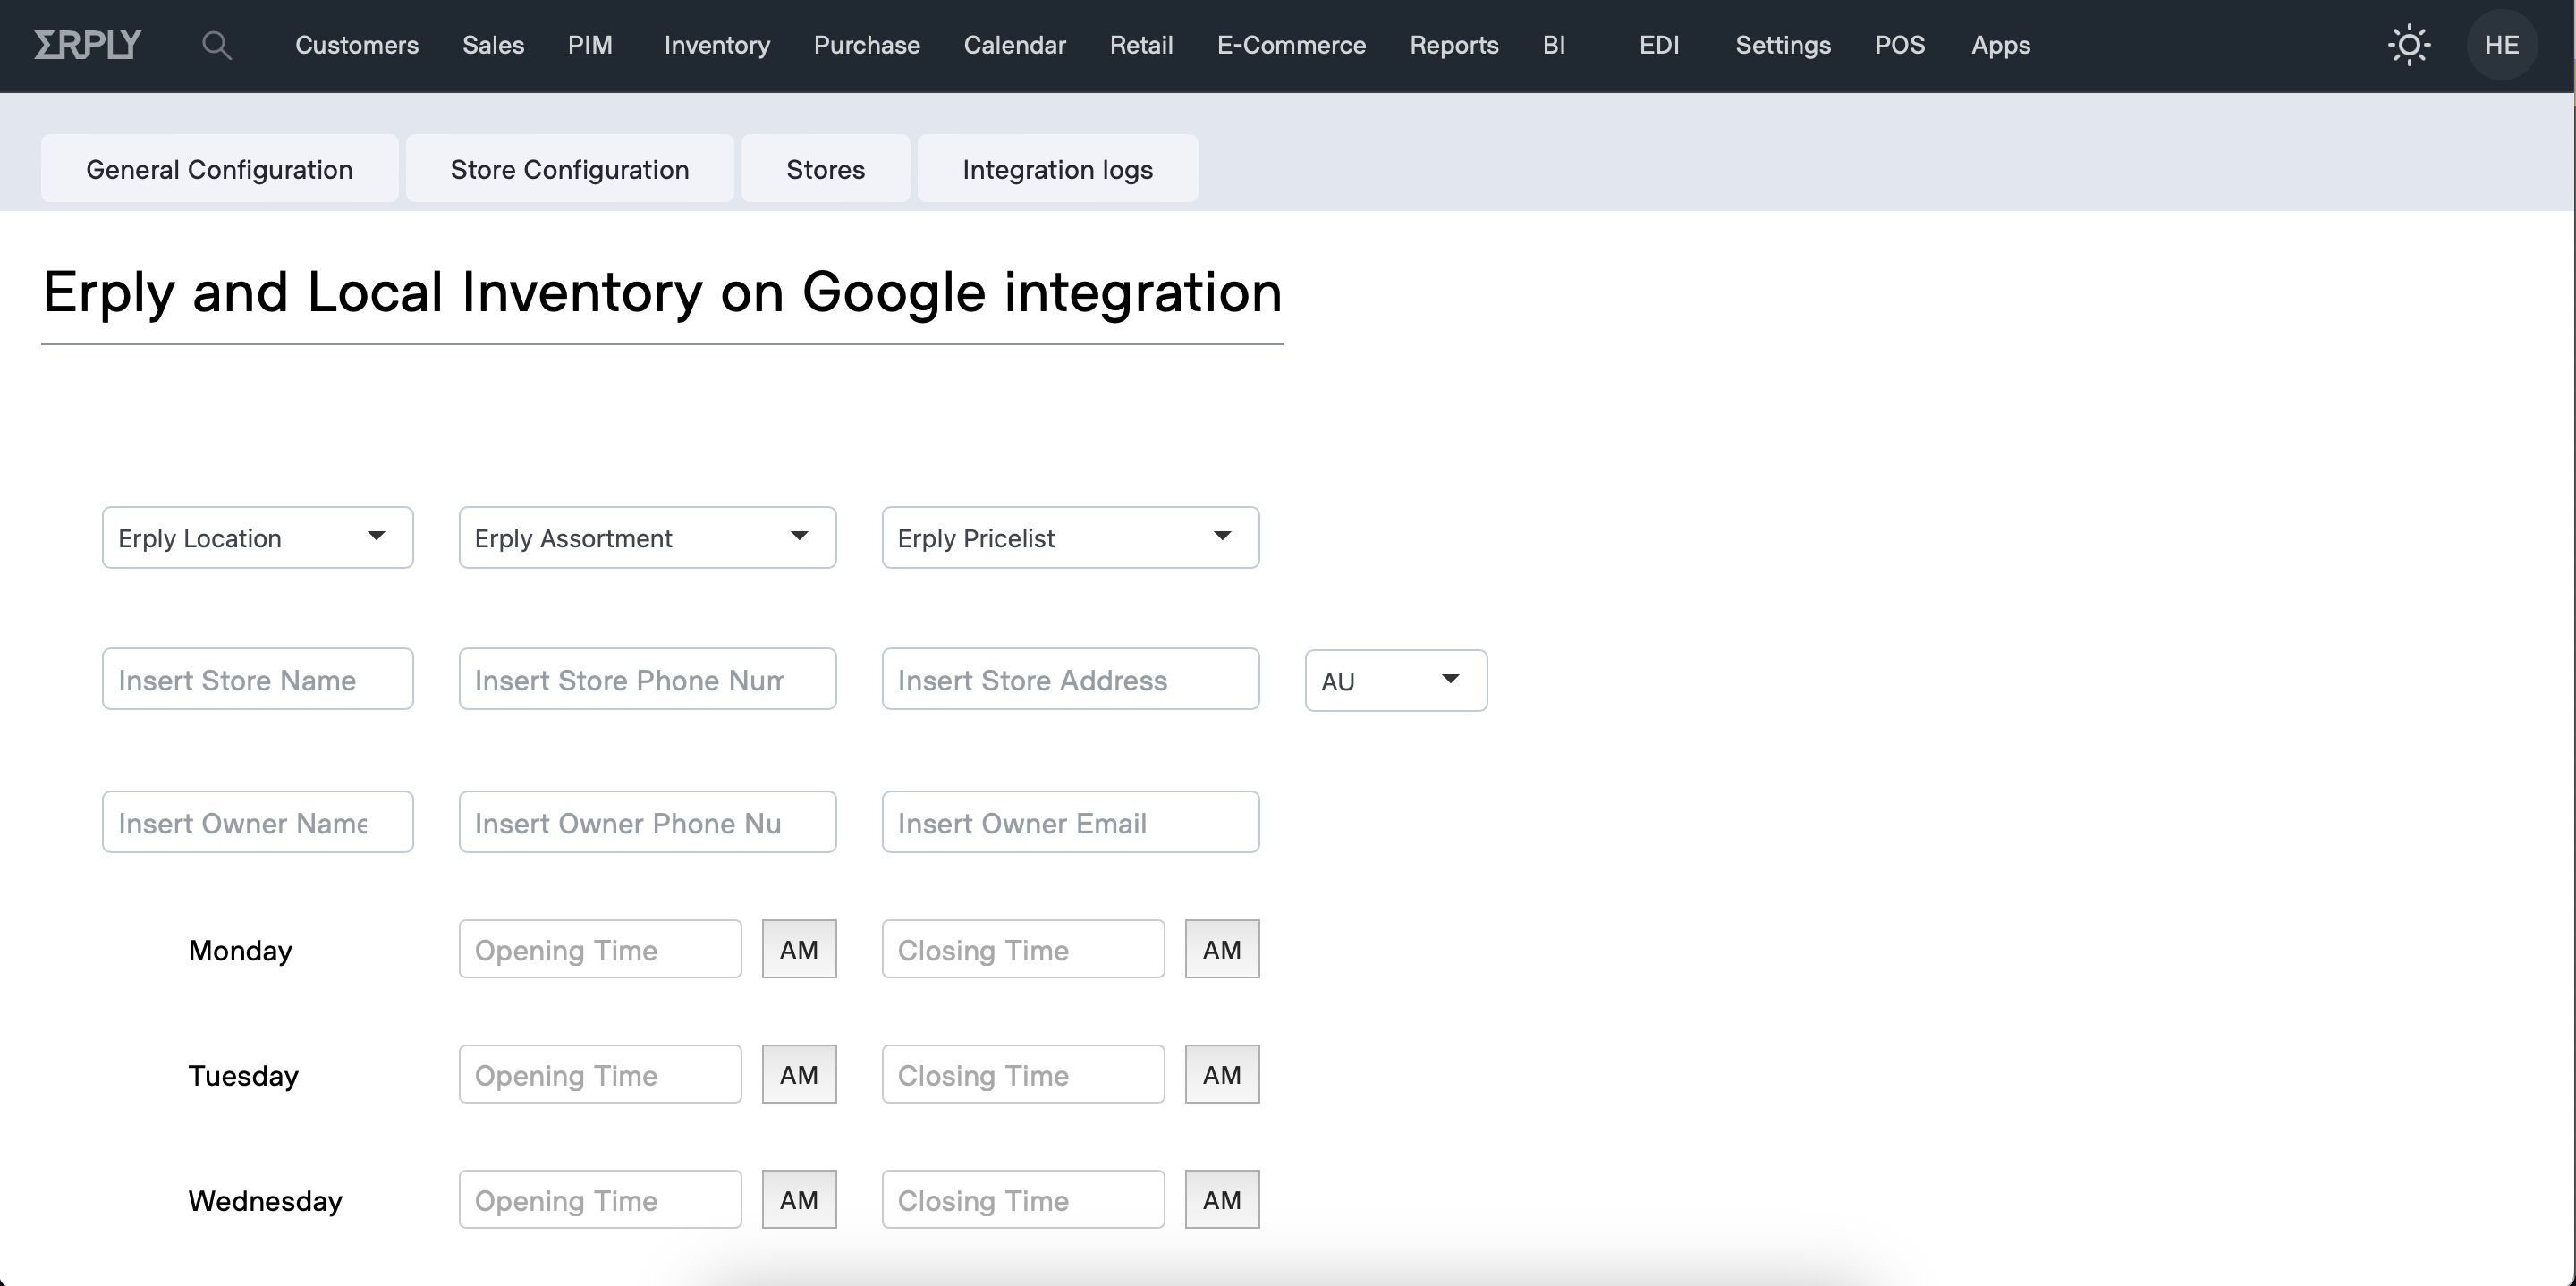
Adding a new store
- Click on “Stores”
- Click on “Create new store”
- Fill in the required fields
- Erply Location (please select the Erply warehouse that is associated with the store)
- Erply Assortment (please select an assortment if you wish to sync only a specific selection of items to Google)
- Erply Price List (please select a price list that will be used for syncing prices to Google)
- Store name
- Store phone number
- Store address
- Store owner name
- Store owner phone number
- Store owner e-mail address
- Select region
- Set opening and closing times for each day
- If your store is closed on a given day, then leave the opening and closing time fields blank
- Click on “Create new store”
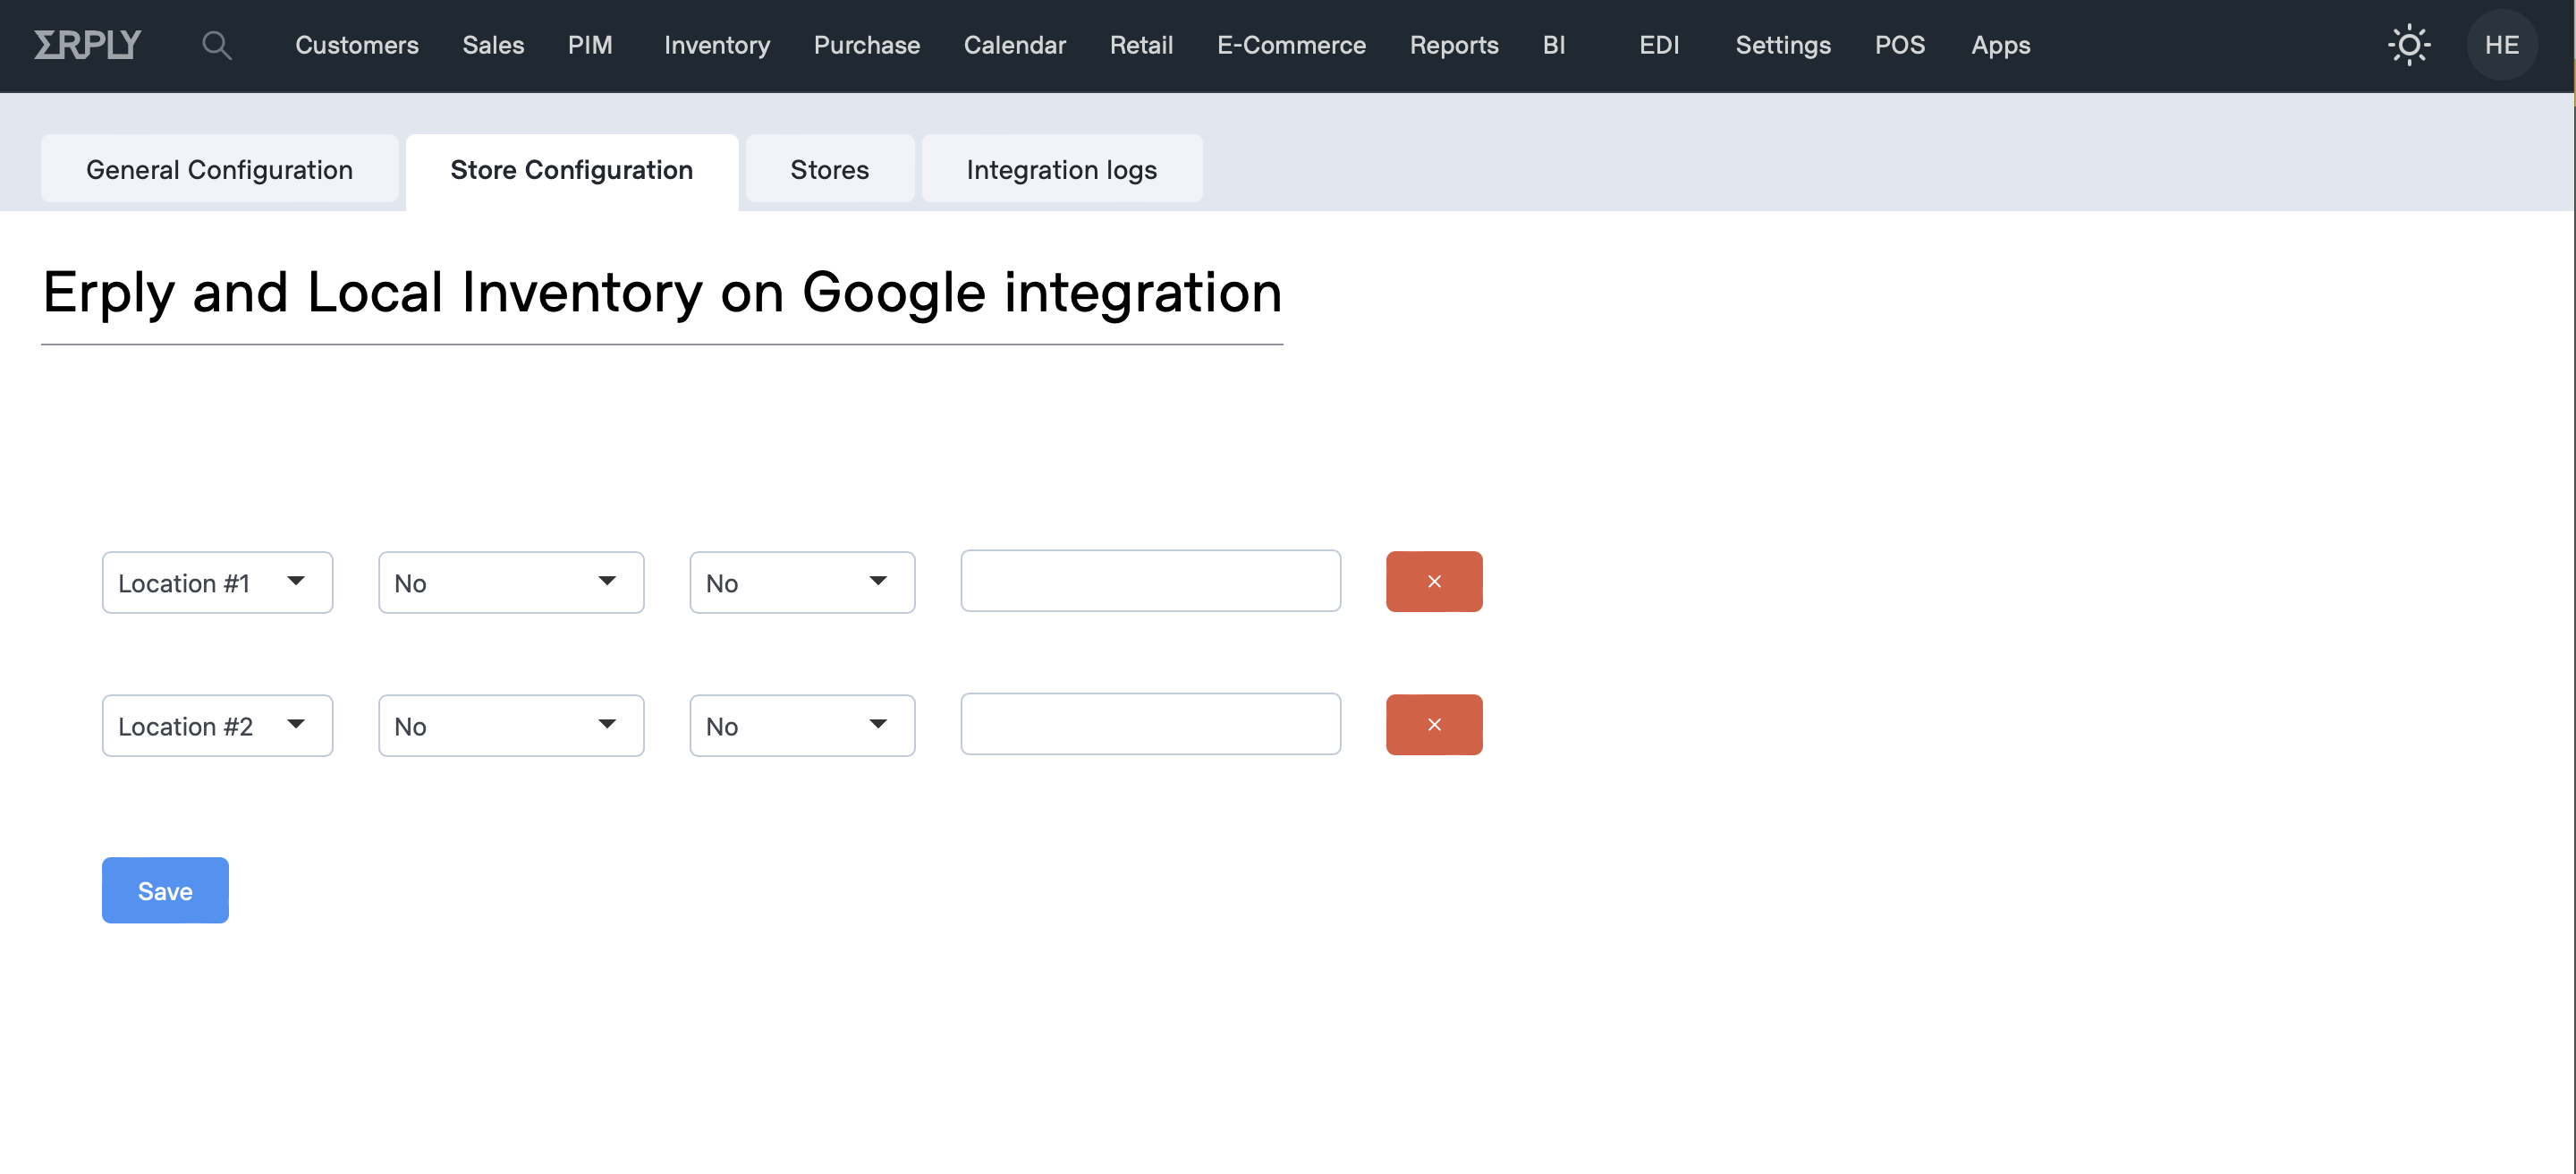
Managing store settings
If you wish to change your stores settings or delete a store from the integration entirely then you can do that by navigating to the “Store Configuration” view.
From here, you are able to see all active stores and also change the store settings in regards to the assortment or price list associated with a specific store.
Activating the integration
- Navigate to the “General Configuration”
- Toggle the “Active/Inactive” selection
- Click on “Save”
- Integration is active