Benefits of User Groups
Maintain secure systems
Reduce administrative errors and protect business processes by grouping employees based on their daily responsibilities. User groups give your employees the freedom they need to do their jobs properly without awarding them too much access in your system.
For example: allow managers to give discounts at the POS, but prevent them from ordering new inventory. Allow warehouse workers to conduct stocktaking, but prevent them from creating invoices.
Eliminate internal fraud
Discount abuse can contribute to 34.5% of retail shrinkage. User groups keep your profits high by letting you choose exactly who has the ability to create or approve discounts. Give your new employees basic POS functionality, and leave the sensitive tasks to your most trusted workers.
Support scalable processes
Add, change, or remove employee groups at any time as your business grows. If you prefer security on a more granular level, user groups can be used to add or remove access to very specific features for individual employees.
Pro Tip: Create a “former employee” group to keep a history of your employees without the risk of a past worker accessing your system.
Create a user group
In the back office, navigate to the Settings module and select User groups.
Click New to create a new user group.
From here, you can name the user group and define its levels of access. Below, we’ll describe all levels of access that you can assign to a user group.
Be sure to check out our guide on how to create a user group that has the minimum level of access required to make a sale at the POS.
Module access section
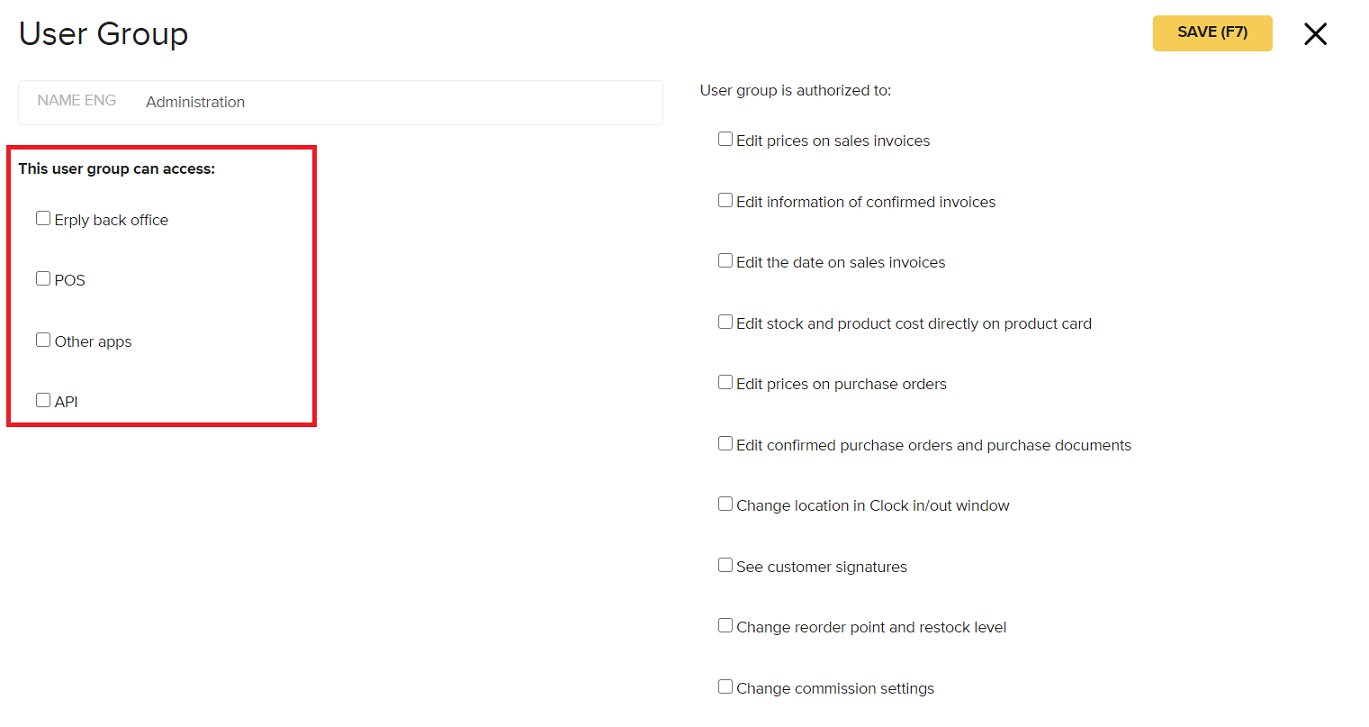
This section allows you to grant access to the POS and back office. Access levels should be granted based on the tasks that a user needs to perform.
API access is required in order for the user to have the ability to access the POS. This is because the POS data is managed through the API.
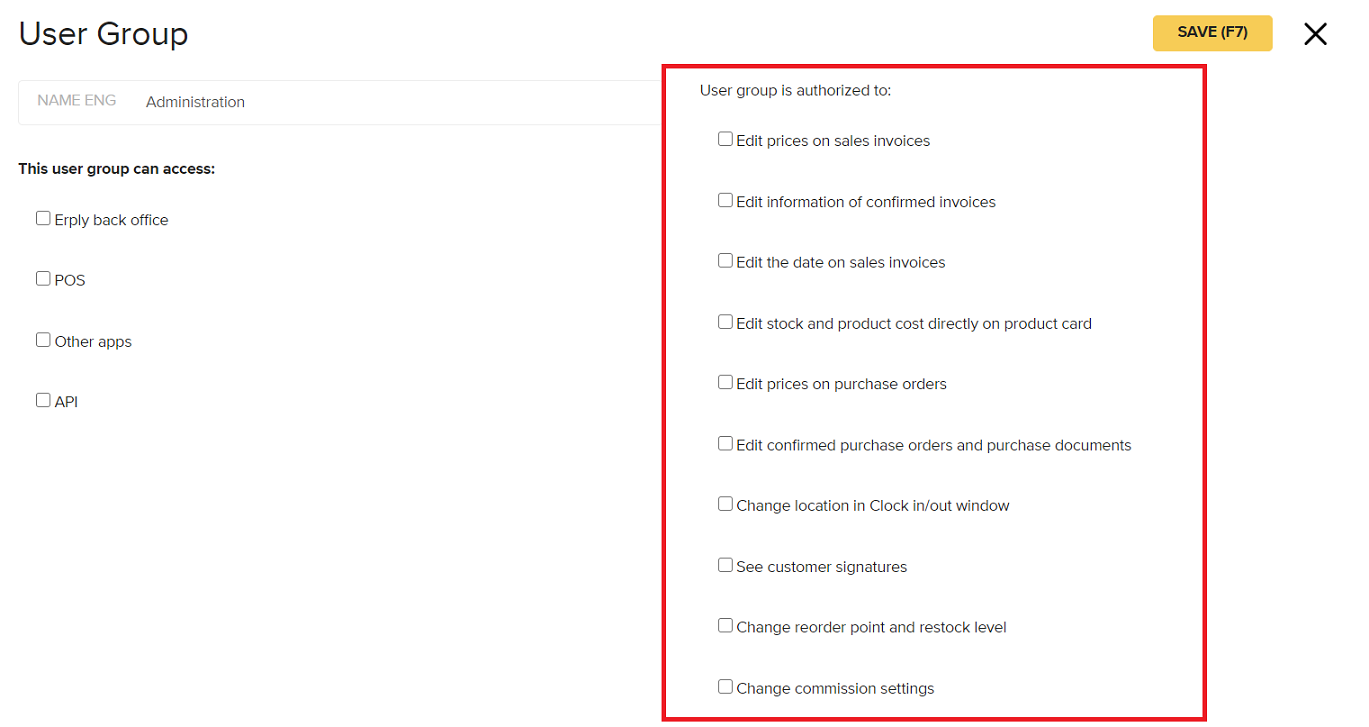
User group authorization
On the right hand side, you will see a list of specific functions. You can check/uncheck to enable or disable these actions for employees in this user group.
Main modules
In this section you can grant permissions module by module. There are two sections, first section is "Main modules: sales, purchase and inventory documents" and the second one is "Other main modules".
Each module allows you to determine a user’s level of access when they are viewing, adding, editing, and deleting things in that module.
Modules can contain the following access options:
- ALL- User can access everything in that module
- ADDED BY MYSELF- User can only access things in the module which they added
- LEAVE BLANK- User does not have access to this module
Note: If a module has a checkbox, that means the user either has access to the module, or they do not. There is no in-between.

Settings
This section allows you to grant users access to different settings within Erply. If an item is checked off, the user will have the ability to edit those settings.
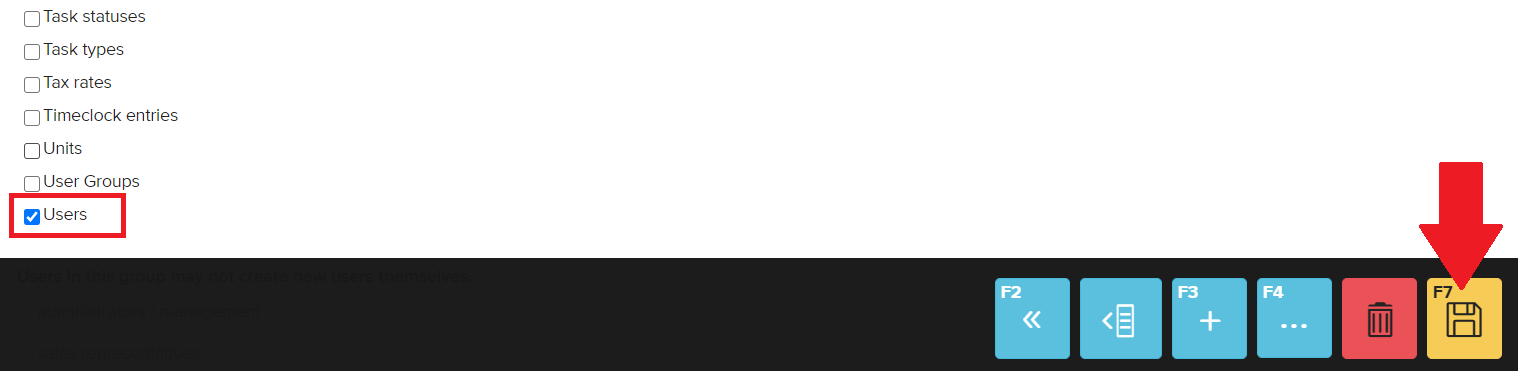
“Users” setting:
If you check off the “Users” setting and save the page, a new module will open up.
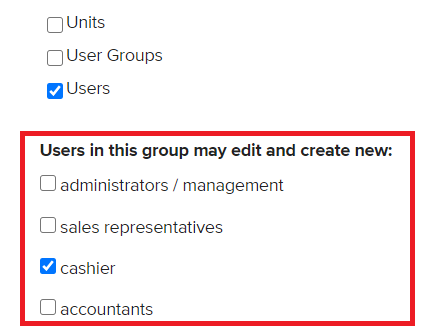
This section will allow you to determine what level of users employees in this user group can create and edit.
In the below example, users cannot create Admins, Sales reps, or Accountants, but can create new Cashiers.
Restricted access
If a user tries to do something at the POS that is outside of their user permissions, such as discounting an item, Erply will display an error message or hide the feature altogether.