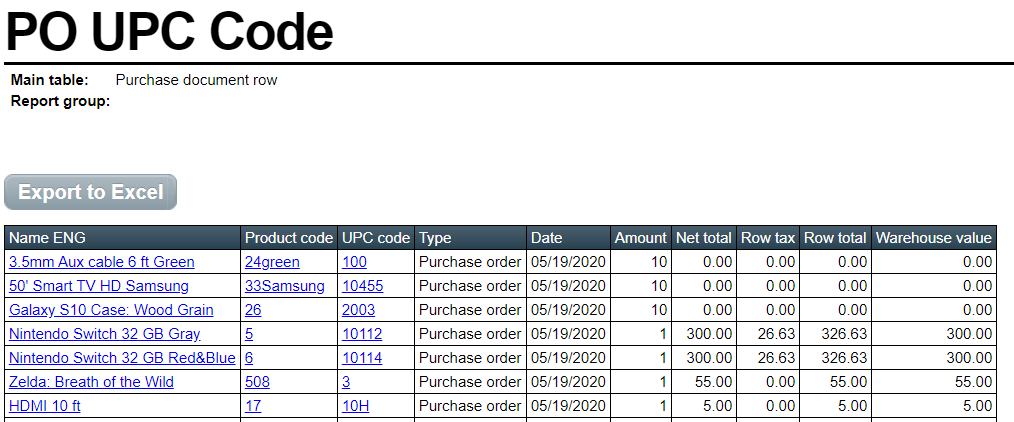
This guide will show how to create a basic, custom report that displays purchase orders with inventory UPC codes.
Please note that this guide only includes minimum information, but more data can be added in the report generator tool.
If you’re unfamiliar with our custom report generator, please see our guide on how to create custom reports.
Creating a custom Purchase Order report with UPC codes
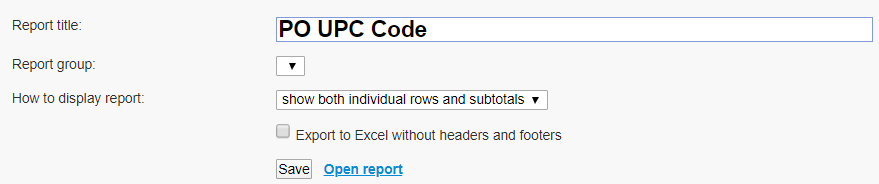
Start by naming your report. You may also choose to nest it within a group of reports.
On the left-hand Tables column, check off Product, Purchase document and Purchase Row.

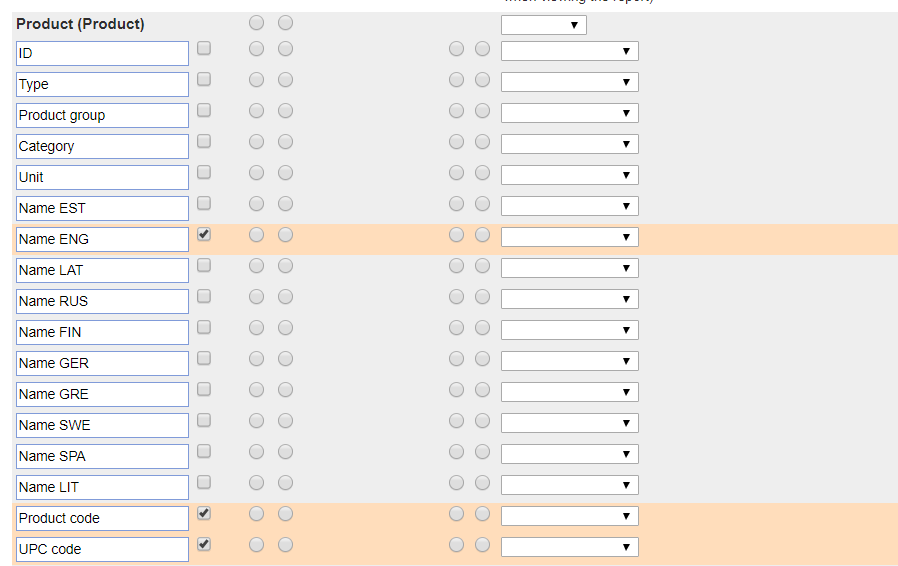
Product section
This section allows you to decide what product information you would like included in your PO report.
For the purpose of this report, we’ll check off the Name ENG, Product code, and UPC code boxes. You may check off additional boxes if you would like to view more information. Filters can also be used to target specific products.
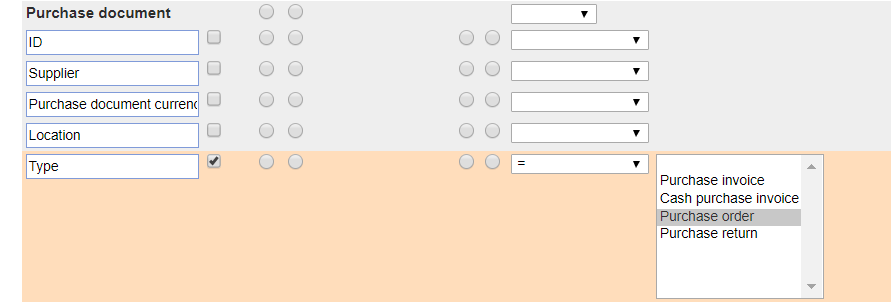
Purchase document section
Check off Type. Choose the equals sign (=) as the Constraint and Conditions, then select Purchase order from the dropdown list.
If you wish to display additional purchase document types, you can hold down the Control button on your keyboard and select multiple document types.
Check off Date. Choose the equals sign (=) as the Constraint and Conditions, then type in the date you wish to view orders generated.

A;ternatively, you can view all orders within a certain date range by selecting is within range as the Constraint and Conditions, then typing in your preferred date range.

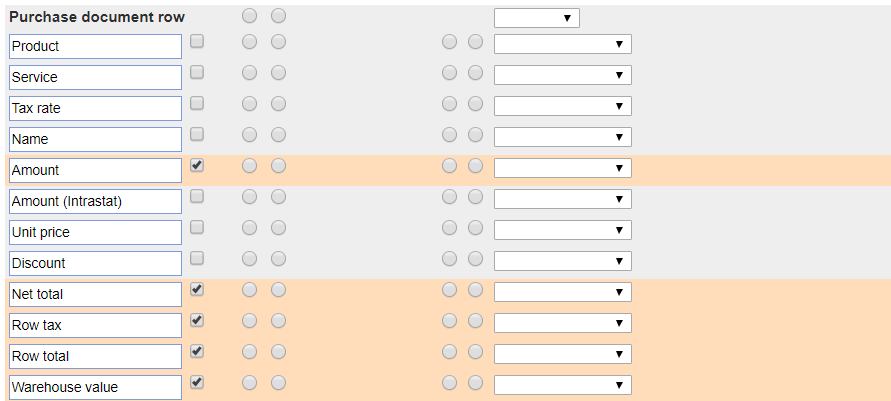
Purchase Document Row section
In this section, you may add any information that displays on a standard purchase order document.
For this example, we checked off the Amount, Net total, Row tax, Row total, and Warehouse value boxes.
Scroll to the top of the report generate and click Save.
Press Open report to view the report.