This guide explains how to install and set up Star printers for your Windows device. Please be advised that this guide is only applicable to Erply accounts using Berlin POS.
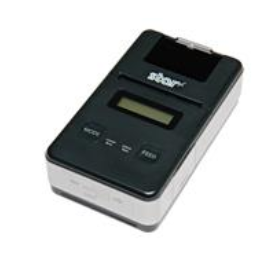
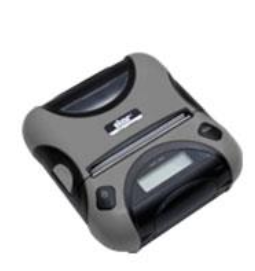
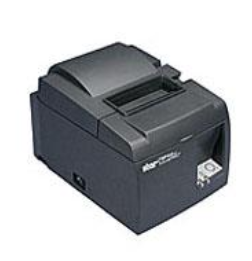
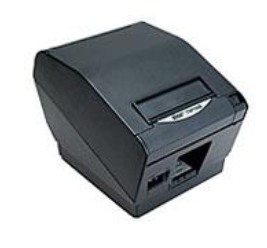
Berlin POS currently supports all Star printers, including:
Star:

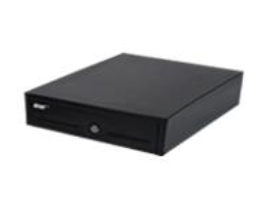
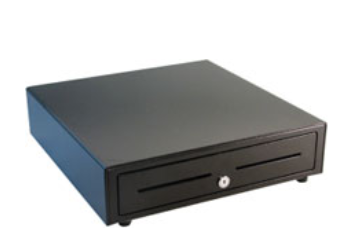
Cash Drawers
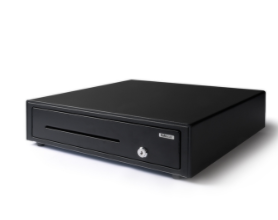
SAFESCAN LD-4141
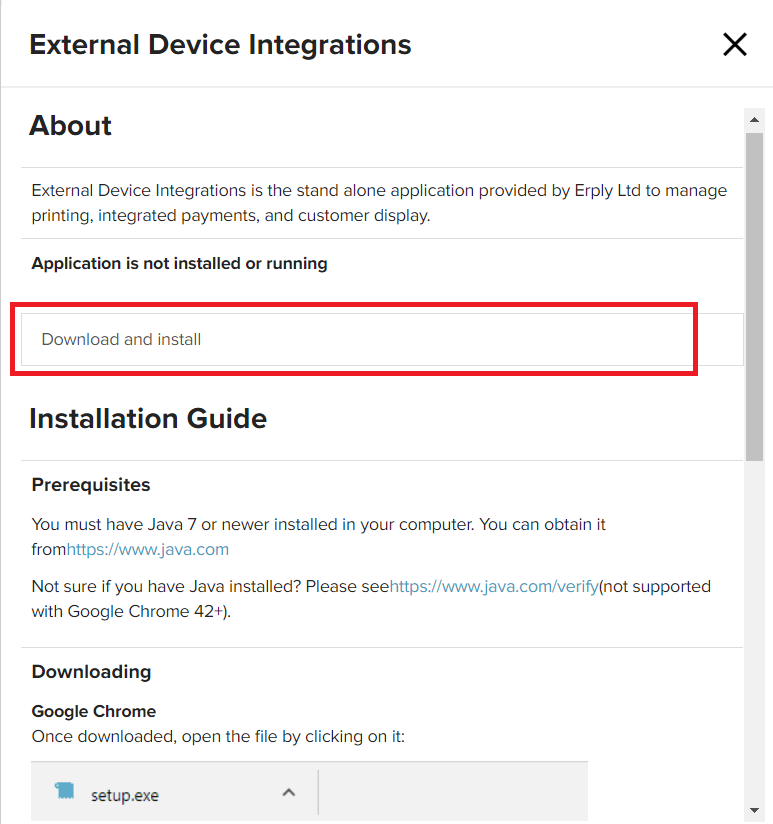
EPSI (Erply Point of Sale Integrator) Connector
The EPSI connector is a downloadable Windows Desktop app which allows you to seamlessly print receipts and swipe credit cards without the print dialog box from popping up. Click on configuration>>external device integration in the POS System to download EPSI. The EPSI connector needs to be running to use your hardware.
General Setup Guidelines
Step 1: Make sure all cables are properly connected. Make sure the customer has the right cables connected to the right ports. The cables may say “Printer” and “Cash Drawer” on the ends, you must plug the “Printer” side into the printer, and “Cash Drawer” side to the cash drawer. If the ends are switched, then the cash drawer will not pop open.
Step 2: Download the correct drivers for the printer. Drivers for all Startronics printers can be found here: http://www.starmicronics.com/support/default.aspx
Step 3: Make sure Windows is configured correctly.
- Click on Start menu, then Control Panel < Printers and Faxes
- Right-click on the Star TSP printer, and select Printer Properties
- TSP643, click on the Raster Print Options tab. TSP650 and TSP143, click on the Device Settings tab.
- Print Mode = Raster
- Paper Type = Receipt
- Page Cut Type (TSP654 Cutter Model Only) = No Cut
- Document Cut Type (TSP654 Cutter Model Only) = Partial Cut
- Document Feed Type (TSP651 Tear Bar Model Only) = Tear Bar
- Peripheral Unit Type = Cash Drawer
- Peripheral 1 = Document Top
4. Save the changes
Step 4: Save the changes.
Setting up the Star TSP650II Printer (Bluetooth) with your iPad
These are steps to setting up the printer while using the Erply iPad application “Erply Point of Sale (POS)” and Touch POS.
Note: Your TSP650 printer must have bluetooth feature to complete this setup
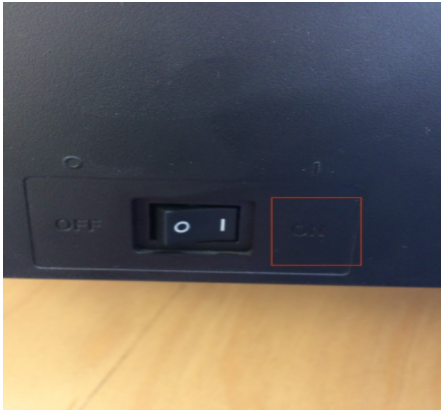
Step 1: Plug in the printer’s power cord and turn the power switch in the ON position.
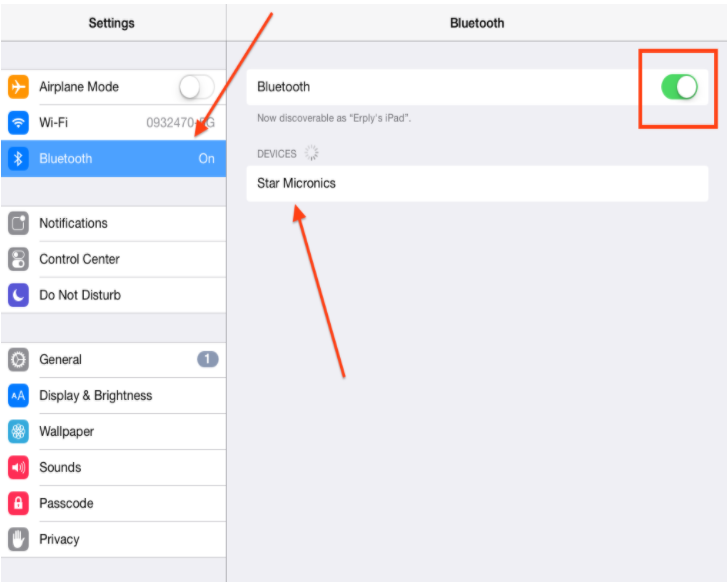
Step 2: Go to the ‘Settings’ on your iPad and select ‘Bluetooth’.

Step 3: Make sure the Bluetooth option is turned on for the iPad, the iPad will then begin scanning for devices and your printer should appear “Star Micronics”.
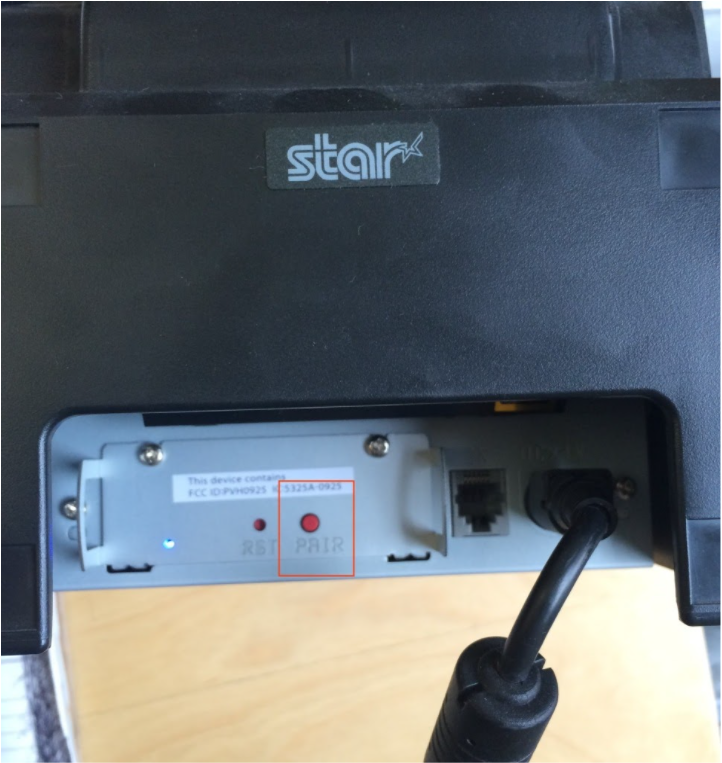
Step 4: On the back of your printer there is a small red button ‘PAIR’, hold down the red button and select to connect to the printer on the iPad. Continue to hold the button and the status on the iPad will change to ‘connected’.
Step 5: Let go of the red button on the back of the printer.
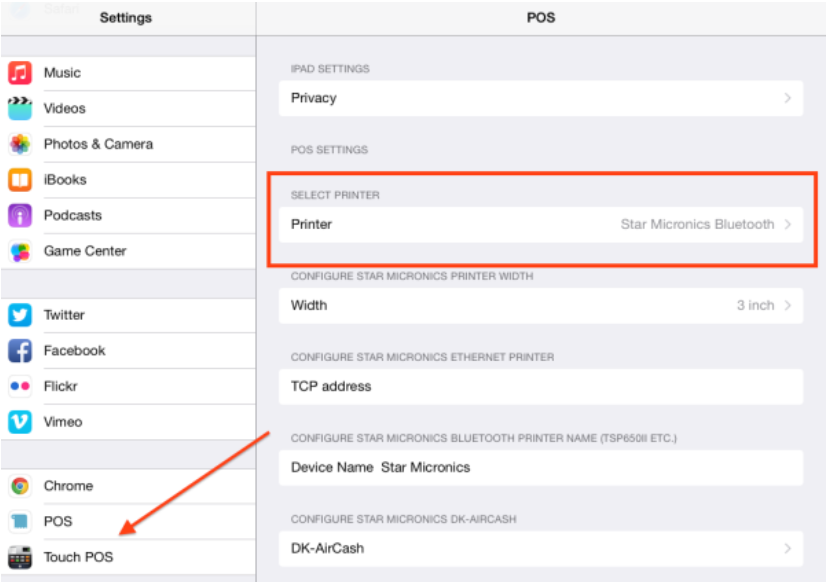
Step 6: Now, scroll down the settings menu on the iPad until you see the Erply app ‘POS’ or ‘Touch POS’ and select.
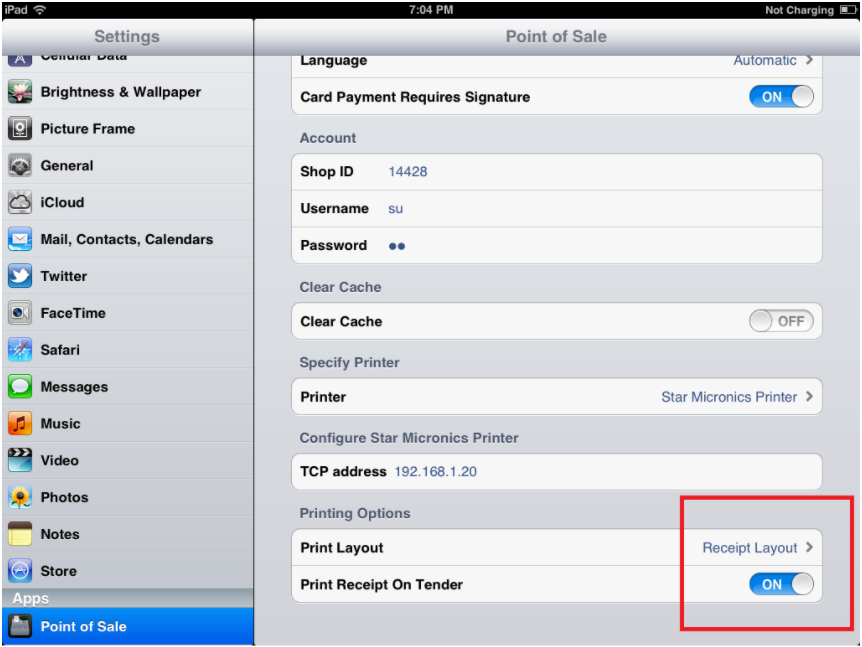
Step 7: Click on the option to Select Printer and choose “Star Micronics Bluetooth”. Your settings should now look like the below image.
Step 8: Refresh the Erply application and you are now ready to begin printing.
POS iPad App: Setting up the Star TSP650
This section describes how to set up the Star TSP650 with the newer version of the iPad app called ‘POS’. If you are running our older app ‘Point of Sale’ please consult the section of this guide for that.
Step 1: Plug in Start TSP 650 power cord and an Ethernet cable from the printer to a port on your router.
Step 2: Ensure power button is in off position, hold feed button in front, and then turn switch on.


Step 3: One sheet of paper will print out and tear off, after a few seconds another will print.
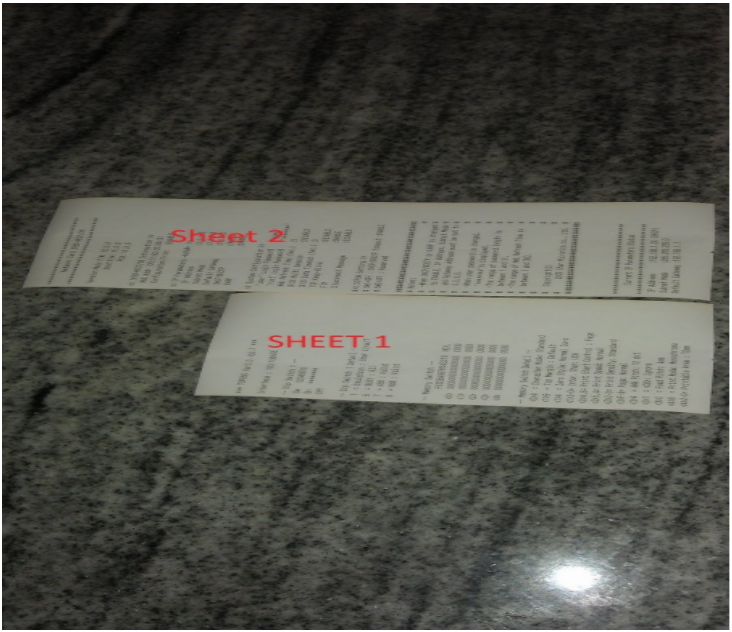
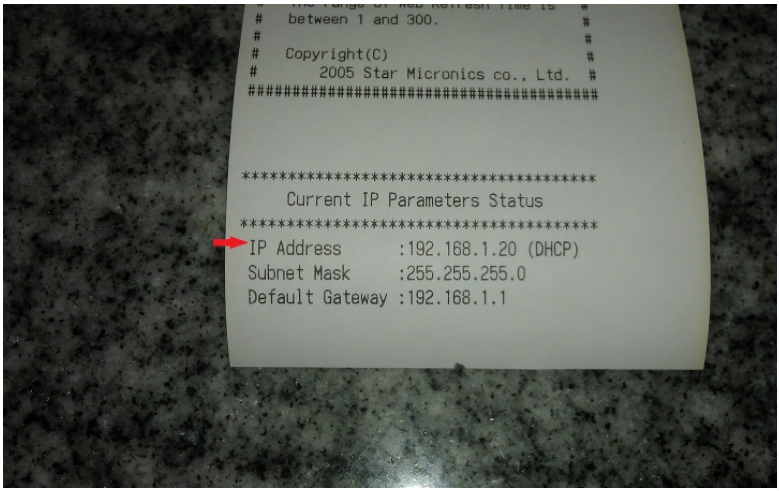
Step 4: On the second sheet of paper locate the area on the bottom that says “Current IP Parameter Status”
Step 5: Go to your iPad and select Settings icon.

Step 6: Scroll down to and select “POS” under Apps.
Note:
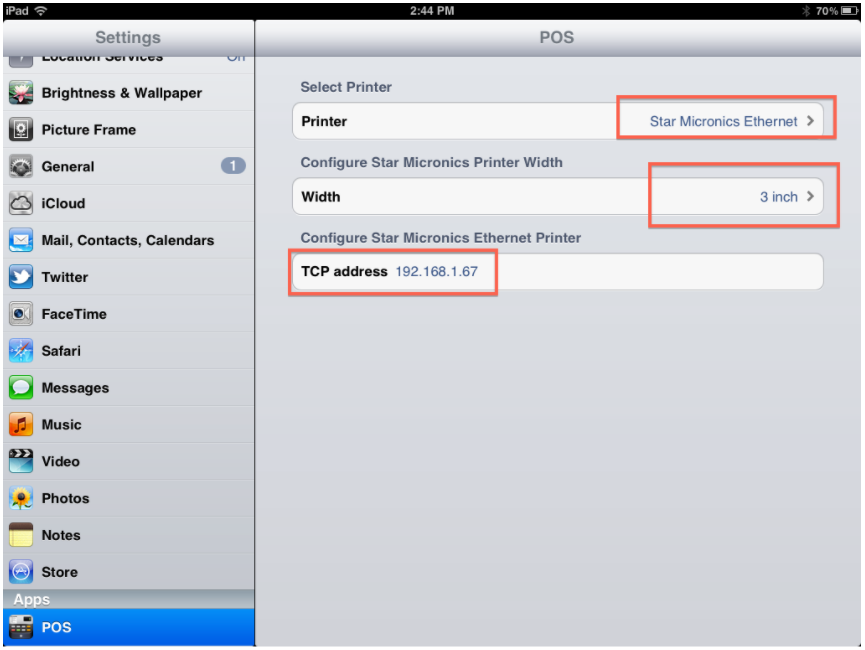
For the Star Micronics TSP650 with Ethernet interface select:
- Printer to Star Micronics Ethernet
- Width to 3 inch
- TCP Address to the IP address you retrieved in Step 4
Step 7: Select home key to go back to and open up the POS app.
Step 8: Login process transactions as normal and receipt will print from the TSP650 when transaction is complete
Point of Sale iPad App: Star TSP650 POS Printer Setup (Ethernet Interface)
This section of the guide pertains to the iPad app called ‘Point of Sale’. Please consult the POS iPad App guide for instructions to setup your printer with that app.
Note: Your TSP650 must have an Ethernet interface in order to use this setup.
Step 1: Plug in Start TSP 650 power cord and an Ethernet cable from the printer to a port on your router.
Step 2: Ensure power button is in off position, hold feed button in front, and then turn switch on.


Step 3: One sheet of paper will print out and tear off, after a few seconds another will print.

Step 4: On the second sheet of paper locate the area on the bottom that says “Current IP Parameter Status”.

Step 5: Go to your iPad and select Settings icon.
Step 6: Scroll down to and select “Point of Sale” under Apps.
Step 7: Select “Specify Printer”.
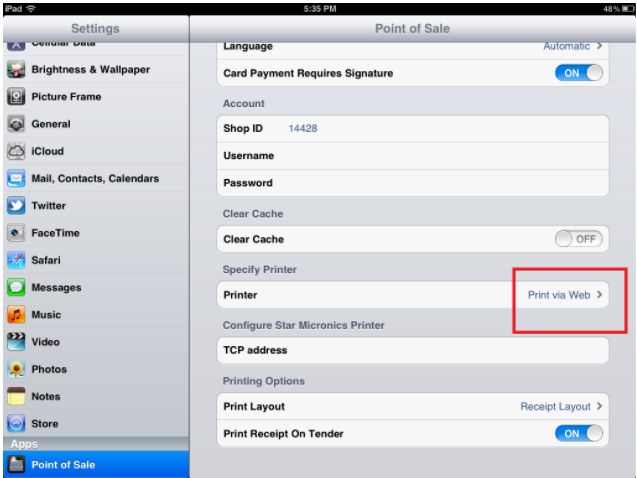
Step 8: Select“Star Micronics Printer”, once selected press “Point of Sale” to go back.

Step 9: Select “Configure Star Micronics Printer” and enter in the IP Address from the bottom of the sheet of paper mentioned in step 4
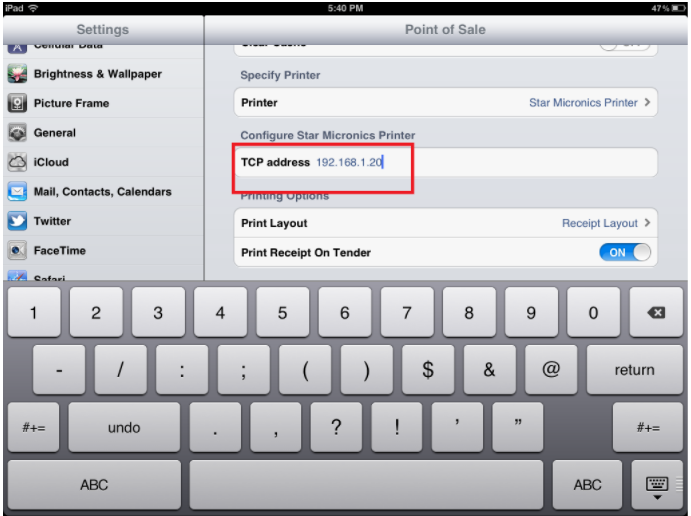
Step 10: Ensure that under “Printing Options” Receipt Layout is chosen as well as “Printer Receipt on Tender is in the “On” position.
Step 11: Select the home key to go back to and open up the Point of Sale app.
Step 12: Log in process transaction as normal and receipt will print from the TSP650 when transaction is complete.
Printer Troubleshooting
This section describes the troubleshooting steps that should take place when a printer is not working properly within the Erply system.
Step 1: Attempt to print a test page through the printer driver. If this doesn’t work, reinstall printer, or consult your printer manufacturer.
Step 2: On your desktop, go to Control Panel > Printers and Faxes > select the printer and confirm the status = “Ready”.
If status is not “ready”, try to unplug printer for at least 30 seconds and plug it back in
If status does not change you may need to contact your printer’s manufacturer