How to Use Quick Select keys
Back Office -> Retail Chains -> Locations -> Quick Selection
Quick select keys are set up in the back office. Different Quick Select key templates can be created and assigned to individual locations.
Quick select keys can be rearranged at any time.
Adding a quick select item to an order
At the point of sale, pressing a Quick Select key will automatically add it to the cart. Press a quick select key multiple times to increase its cart quantity.
If a Quick Select item is weighted, Erply will prompt you to enter the item’s weight once the item is selected.
Product button Quick Select keys usage
Product quick select keys are displayed in the POS main view:
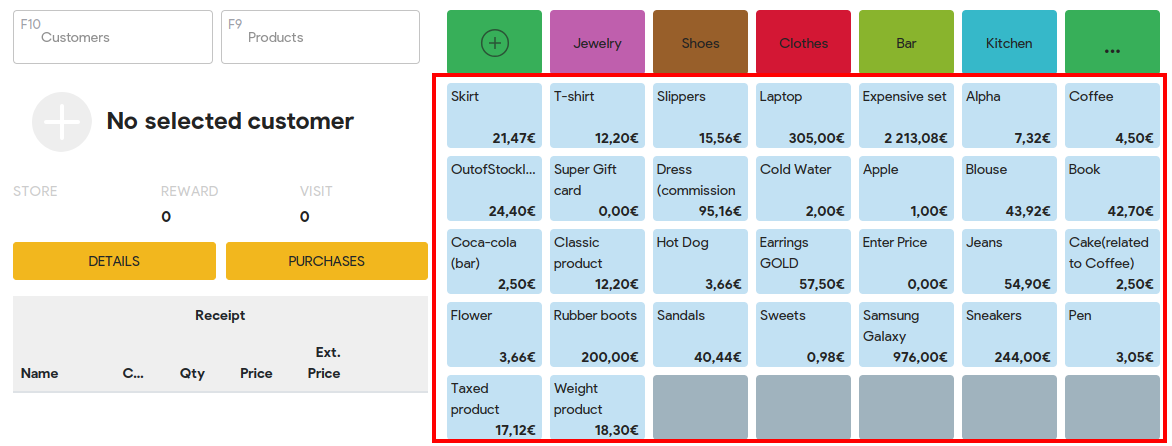
Quick select keys are set up in the Back Office. Different Quick Select key templates can be created and assigned to individual locations.
Add quick select product
Navigate to the ERPLY back office and press Retail

Find the theme Store Operations

Press on Edit POS Quick Selections
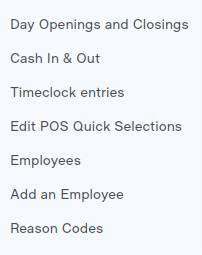
Press on the location name you wish to add the product button to

Scroll down below and press on the theme card “Quick selection”

In the field of “Add a product:” press on the magnifying glass and select the product

Press Add

Quick select keys can be rearranged at any time.
Change buttons queue
To change the product button queue in the POS view navigate to the right side of the table and press the arrows up and/or down to move the buttons.

Delete quick select product button
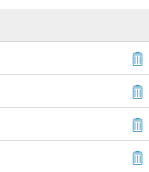
To delete the product button press on the “trash bin” image on the right side (Berlin Back Office) or click on the cross button(Classic Back Office).
View more quick select keys at the POS
Erply allows you to view up to 33 quick select key buttons at a glance.
If you added more than 33 quick select items, press the green “ … ” button will allow you to access the rest of your quick select items.
Creating a customized view
A customized view allows you to display different quick selection keys for products at each store location/checkout.
Select Retail in the menu.

Find the topic Locations and select Locations.
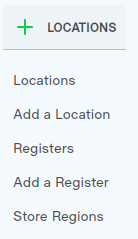
Select a specific location or store from the list to which you want to apply the change.

A view for configuring the location/store will open for you.
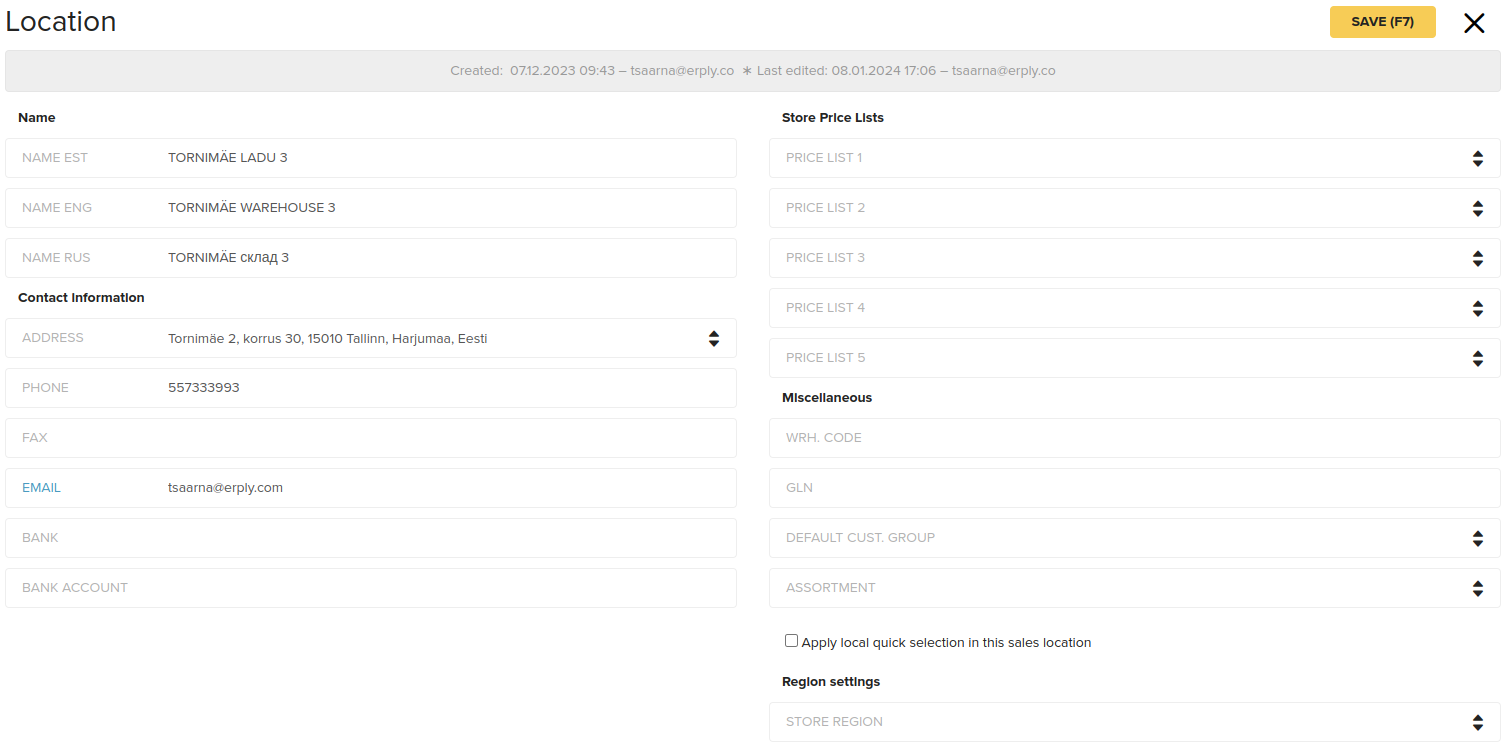
Check the box in front of the function “Apply local quick selection in this sales location”.

Press Save.

Terms to Know
Location: The digital representation within Erpy of a physical retail store.
Register: A POS station, usually within a location.