Setup the Printing for Barzil POS
Important note: If you are using Mac OS please TURN OFF “Air Play Receiver” in the System Settings on your Mac computer.
Install the Installer App
In order to download and install the Installer App please refer to the following article.
Install printing micro-service
- From the Wizard, choose Hardware -> Installer App -> Micro-service Manager
- After which it'll display Add new micro-service where you can choose printing-micro-service from the dropdown list
- Press Continue
- After that it'll display printing microservice configuration view. There is status “Not installed” on the red background.
- Click on the Install latest (blue button)
- Not the micro-service status is “Installed but stopped” on the yellow background
- Click on the green Start button. Then Start button becomes Stop (yellow) and micro-service status is “Installed and running” on the green background.
- Now the printing microservice is running and you can proceed with printer configuration.
Set up the Receipt Printer
- In the Wizard navigate to the Hardware -> Integrations and choose if you want to connect the printer to the company, warehouse or POS(cash register).
- Select needed company, warehouse or POS from the dropdown list
- Click on the Printer
- Press Continue
- Choose Golang printing micro-service and press on the slider to activate the setting (should become blue).
- Afterwards click on the Golang printing micro-service row.
- Check the Get full printer list box and choose the correct printer. After that, press Save.
Perform printer connection test
- Navigate to the POS https://epos.erply.com/
- Login with Erply credentials (client code, username, password)
- Click on the Recent Sales POS grid button
- Choose any sale and click on the “paper and printer” button:

Setup the Payment integration for Barzil POS
Before payment terminal set up, make sure that the terminal is turned ON and is in the same network as your computer!!!
Enabled the Payment integration
- From the Wizard, choose Hardware -> Installer App -> Micro-service Manager
- From ADD NEW MICRO-SERVICE choose needed payment integration (if there is no integration that you need check it from UPDATE EXISTING MICRO-SERVICE)
- Once payment integration is selected - press Continue
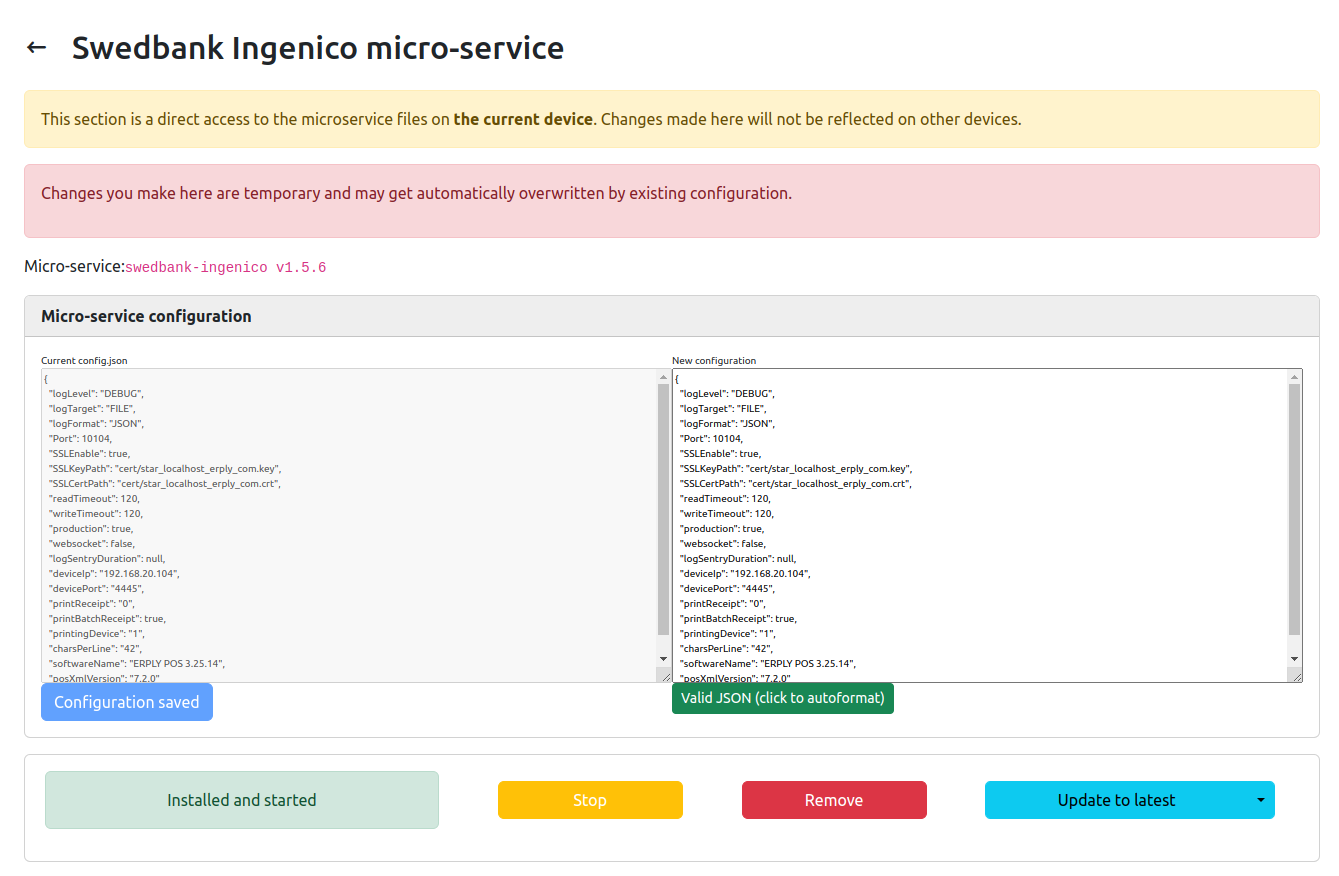
- After that it'll display the micro-service configuration view. There is status “Not installed” on the red background.
- Click on the Install latest (blue button)
- The micro-service status is “Installed but stopped” on the yellow background
- Click on the green Start button. Then Start button becomes Stop (yellow) and micro-service status is “Installed and running” on the green background.
- Now the payment microservice is running and you can proceed with terminal configuration!
Integrating the Payment terminal
- In the Wizard naviagte to the Hardware -> Integrations and choose the category POS
- Select a POS from the dropdown list
- Click on the Payment Terminal
- Press Continue
- Under the Available integrations for POS level, choose needed payment integration
- If the needed payment micro-service is not displayed there then select it from the “Add New Integration” list
- Click Add
- Then the payment terminal configuration view is opened.
- Fill all the fields in this view and press Save.
Configure payment integration in the Brazil POS
- Go to the Brazil POS https://epos.erply.com/
- Go to the POS Settings -> Payment Configuration -> Setup Payment gateways
- Select the payment integration from the dropdown list
- Check that Allow fallback to external integration box is ticked (if not please check it!). More information about this option is available here.
- Make sure that other payment integration fields are filled. If yes, please Save configuration
- Lat's do a test sale using a card payment in order to make sure that the payment micro-service is running and a payment terminal is properly configured and connected with a POS.
Updating Printing and Payment terminal microservice
From the Wizard, navigate to the Hardware -> Installer App -> Micro-service Manager, after which you'll choose the microservice you'd like to update from the Update existing micro-service dropdown menu.
Once microservice is selected press Continue.
Status of the microservice is “Installed and started” on the green backround.
In order to update the microservice, click on the Update to latest button
Refresh the Wizard page
Go back to the POS page https://epos.erply.com/ and refresh it!
Check on the integrations button in the POS menu bar (three vertical cables). This button should be green - it means that all installed mircoservices are running properly!
Frequently Asked Questions
I have a Star TSP143iii printer connected to my iPad. I am using the Point of Sale App and I have selected printing by wrapper. Why am I getting the fonts printed small?
Please make sure you are using a setup with 48 characters per line and paper size 3 inches. You can check these settings in Wizard.
Why do I get "Unable to fetch printer options from printing-microservice" message when I am trying to set up go microservice printing in Erply Wizard?
This message is displayed when you have printing-microservice installed in your device, but it's not running. You can fix it with just starting the microservice (pressing the green "start" button).
How do I know how many characters per line should I configure?
At the moment, there is no "test print feature" in Erply Wizard, but you can test the prinout and characters per line when pasting this command into your web browser: https://localhost.erply.com:5000/testpage
Is it possible to configure merhcant and customer receipt?
Merchant and customer receipt configuration is meant for payment integrations that are using POS receipt printer for printing out terminal receipts. In these occasions it is possible to configure the terminal receipt through the Wizard.
What is legacy printing in Brazil POS?
Legacy printing is an initial printing solution that was used before patchscript templates were implemented in Brazil POS. This solution won't be supported in the newer releases of Brazil POS.
Legacy printing doesn't support different templates and it is not possible to add a logo on these templates.