This guide explains how to:
- Add a new register to your Erply account
- Delete a register to your Erply account
- Grant employees access to specific registers (required)
- Log into the register at the POS
Show all types of registers in POS
PS! Erply is billed on a per-location basis. When you add a new location, an Erply consultant will contact you to discuss your account and any help you might need getting your new location going.
Be sure to contact us at sales@erply.com whenever you need to add a register.
PS! Please note that registers must be associated with a location. Check out our guide on how to add a new location in Erply.
Adding a register
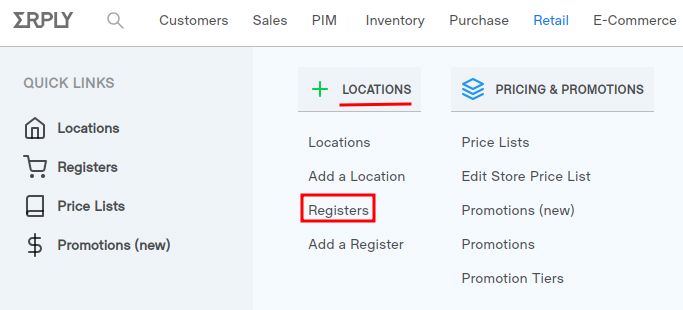
In the back office, select Retail
Navigate to Locations -> Registers
Erply will display a list of all registers. This screen will also list all registers that have been opened for the day and what time they were opened.
Click on a register name to edit the register
To add a new register, press the button New

Name your register so it can be easily identified at the POS, and fill in other important information:

All registers must be associated with a location.
Clicking on the Location field will generate a list of locations added to your account. If you do not see the correct location listed, please read our guide on how to add a new location.

Press Save

Delete register to your Erply account
If you wish to delete Registers, please select Retail from Erply menu

Find Locations -> Registers

Click the cross button in front of the register you wish to delete

System will ask you to confirm the action:

Press OK button
Now the register is deleted!
Granting employees access to specific registers
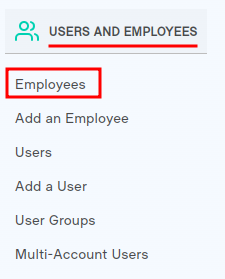
Select Settings

Find Users and Employees. Select Employees
Erply will display a list of all employees. Click on the employee’s name who you want to change POS register access levels
Scroll down to the User information section.
Mark the box in front of the registers that you wish to give employee access to.
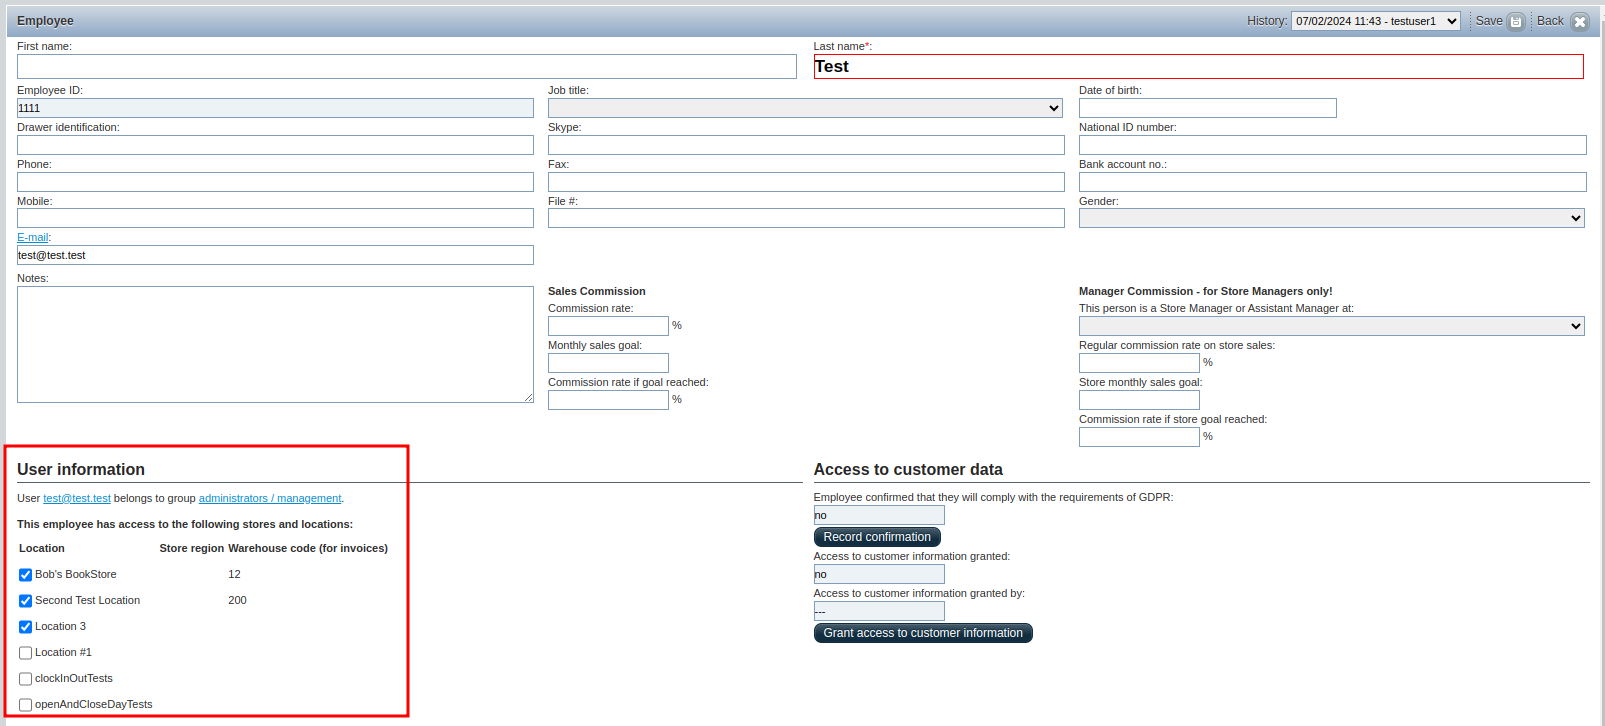
Press Save or the button F7 (on the keyboard)

Logging into a register at the POS
Login to the POS epos.erply.com and enter your Erply credentials (client code, username and password):
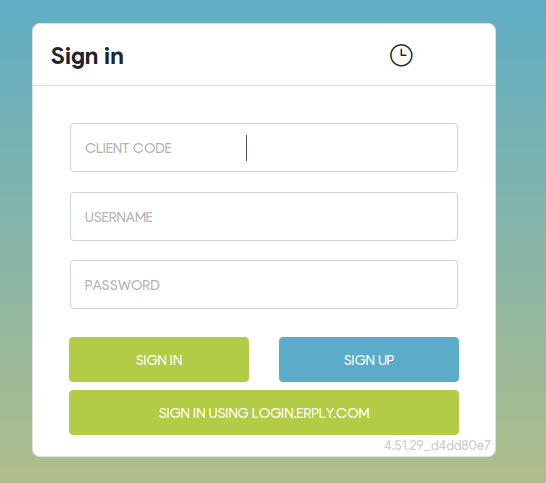
Once data is entered click 'Sign in':

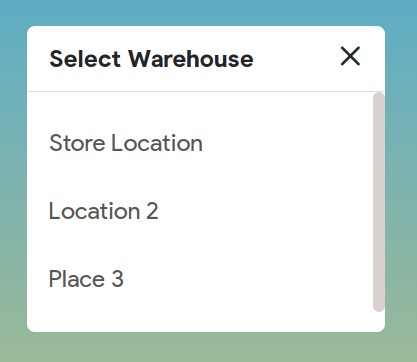
They’ll see a list of all locations and registers that they have access to. Each register will be listed as a separate item under the parent location.
Select a Warehouse
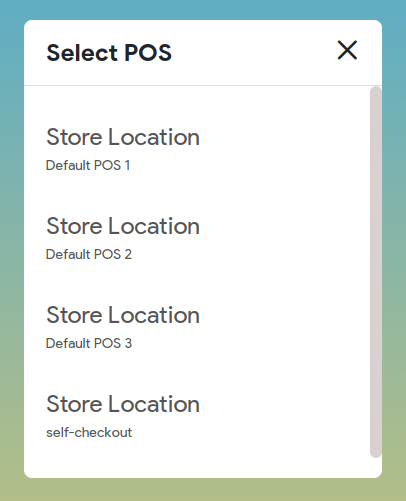
Select the register you wish to enter
Start working in POS!
Show all types of registers in POS
Most customers are using several applications and services. Thus the user may have different types of registers and they can be created in the Back Office:
- Regular POS
- E-commerce channel
- Self-service POS
- mPOS app
- Invoice app
In the Back Office select Retail from Erply menu

Find Locations -> Registers

You will see the list of registers
While logging into POS the user is able to see the list of registers and select what they need to use. By default the POS will show all types of registers except e-commerce registers.
If the user needs to have the e-commerce registers in the list as well, then the following setting should be enabled:
Log into POS
Go to the Settings (gear icon)

Select Configuration

Find General section
Mark the box in front of the field “Show all types of registers”

Press Save
