Location in warehouse is a useful feature in making it easy to physically track your products in your warehouse. The use of locations in warehouse goes through 2 steps: creating locations in warehouse and assigning them to products.
Note that this guide is suitable for a one location warehouse. If you wish to use this feature with multiple locations, it is recommended that you begin the name of the location by an abbreviation of the location. For instance, for a product that exists in Providence, in Aisle 1, the name would be “PVD - Aisle 1”. After all, you can name a location with anything that makes the warehouse work easy for you.
Creating locations in warehouse
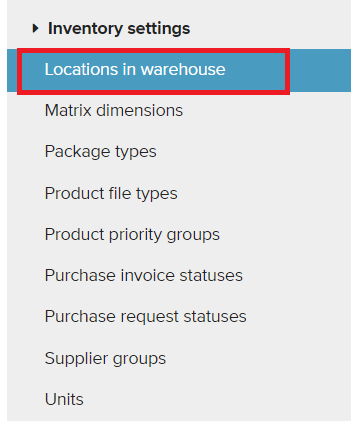
To create a location in the warehouse, click on SETTINGS -> Configuration. On the left grey bar, click on “Locations in warehouse” to open the card.
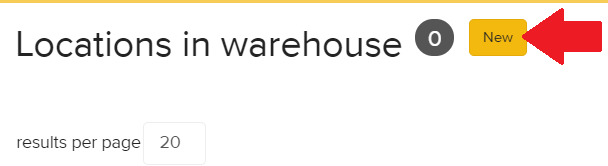
Now, you can start creating locations in your warehouse. Click on “New” to create a new location.
Locations can be as detailed as you wish. In this example, we will create one location named “Aisle H - ay 9”. Click “Save” when you are done editing and X to go back an create a new location of you wish.

Assigning locations in warehouse to products
Locations in warehouse are assigned to individual products. A field representing additional details is also provided for more granularity.
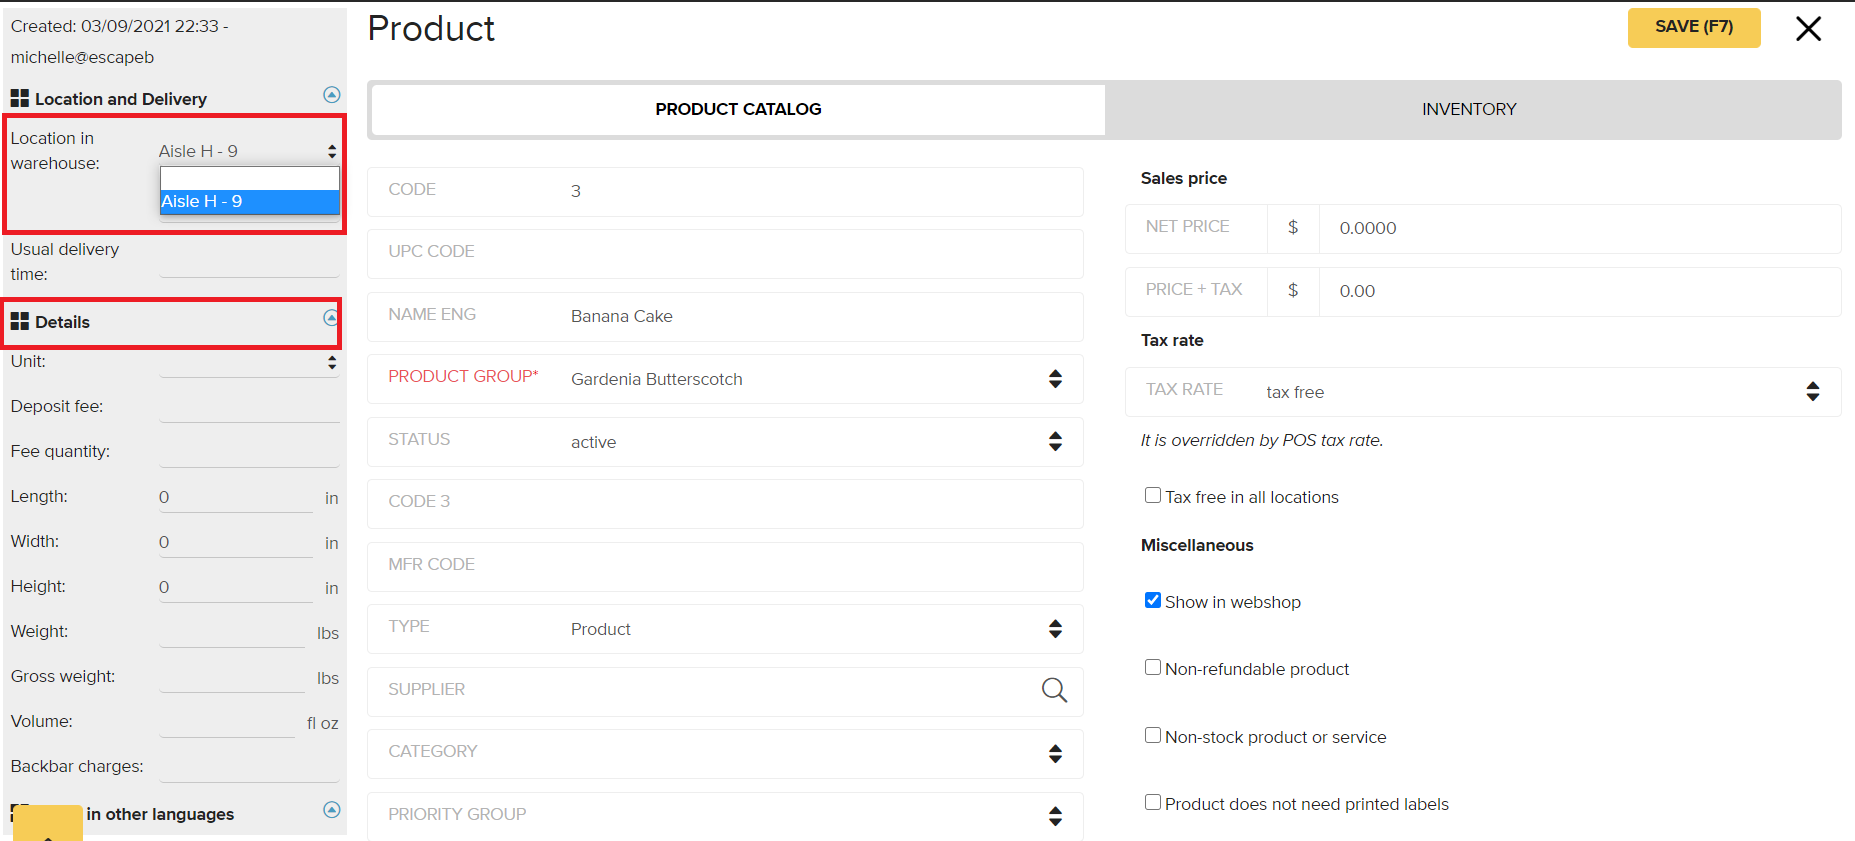
Open the product card for which you wish to add a location in warehouse. On the left grey bar, in front of “Location in warehouse:”, use the drop-down menu to select the location of your product in the warehouse. You can also use the available field underneath it to manually assigning additional location details.
Making use of locations in warehouse
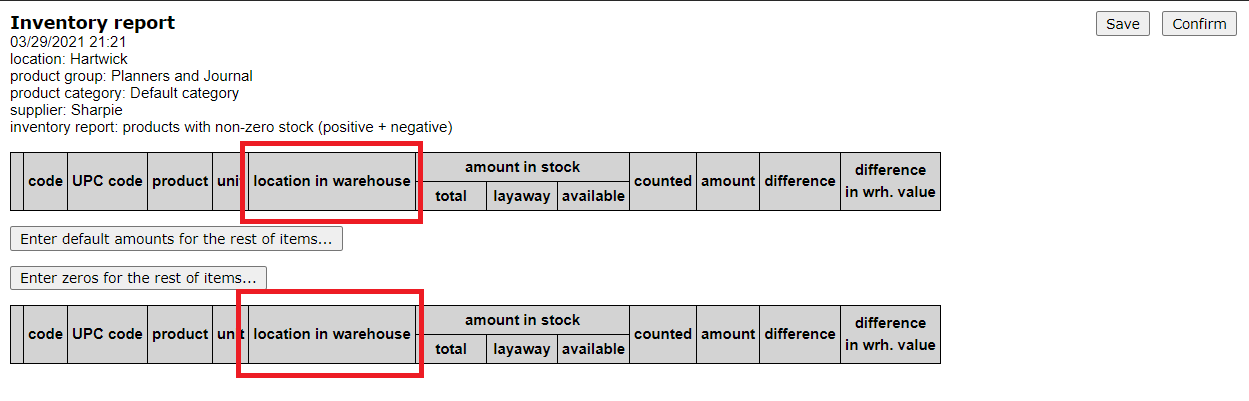
Locations in warehouse are helpful when doing physical stock-taking. In the following example, we will see how we can start a physical stocktakings and sort locations by name so we can easily work in an organized fashion inside our warehouse.
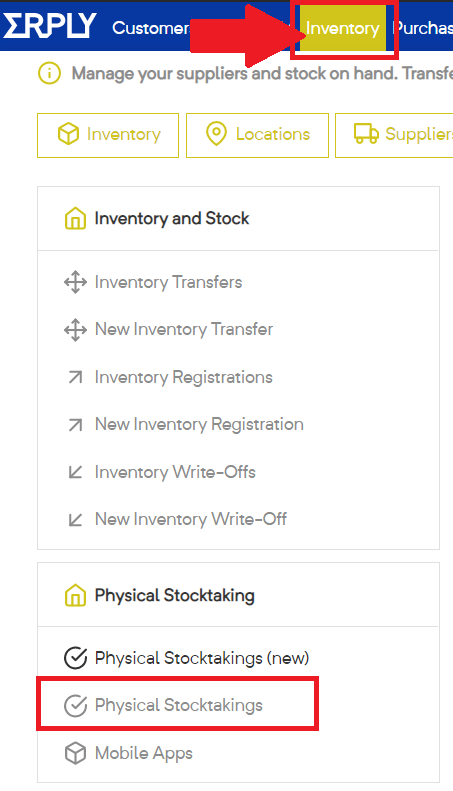
To create a new physical stock-taking, click on INVENTORY -> Physical stocktakings.
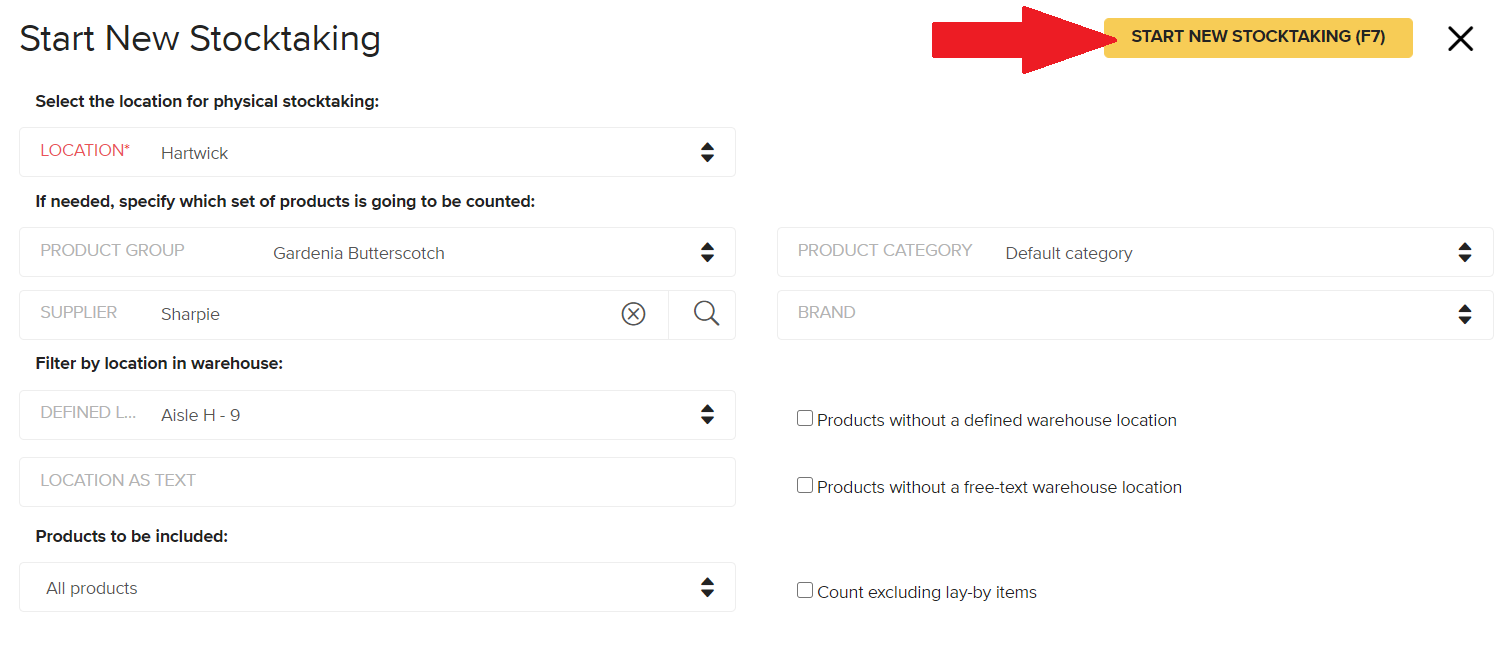
Click on “New stocktaking”, select the location, select any additional filters you might want to use and click on “Start new stocktaking”.
The stocktackings windows will open. Click once on the header of the table that says “Location in warehouse” to sort the locations from A to Z and click again to sort them from Z to A.