Change language in the Brazil/Berlin POS
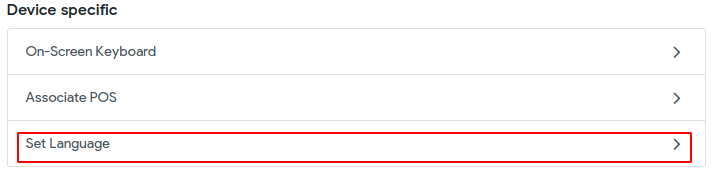
Naviagte to the POS Settings -> Set Language.
Select laguage and Save.
Languages supported in Brazil POS
Erply supports the following 12 languages:
Arabic, Saudi Arabia
Czech
English, United States
English, Australia
English, United Kingdom
English, South Africa
Estonian
Finnish
French
German
Italian
Spanish
Russian (in progress)
Faroese (in progress)
Turkish (in progress)
Languages supported in Berlin POS
Erply supports the following 23 languages:
Arabic, Saudi Arabia
Chinese Simplified
Danish
Dutch
English, Australia
English, United States
Estonian
Faroese
Finnish
French
German
Greek
Indonesian
Italian
Latvian
Lithuanian
Norwegian
Polish
Russian
Spanish
Swedish
Thai
Turkish
How to change the language in Erply
The default standard language in Erply is chosen based on your region. Please note that only users with the proper level of user rights may edit the default language in your Erply account.
In order to add extra defauöt languages to your account to be able to choose please contact Erply customer support.
Changing the language in the Back Office
1. In the back office, navigate to the Settings module and select Configuration.
2. Navigate to the General section.
You can select a new default back office language from the default language dropdown menu.
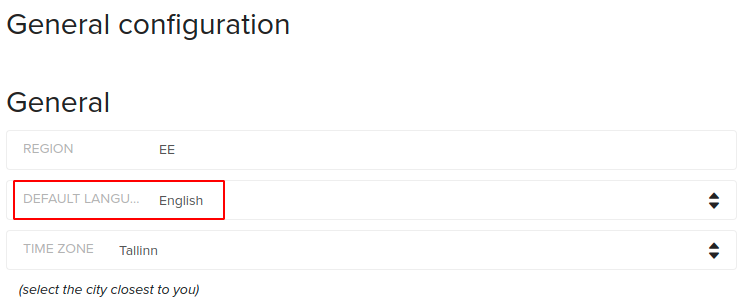
Note: Only languages downloaded to your Erply account will populate as a language option.
3. Select Save.
Changing the default language for document types
1. In the back office, navigate to the Settings module and select Configuration.
2. Navigate to the Sending invoices by e-mail section.
Erply will allow you to select a default language for invoices, waybills, receipts, quotes, and more.
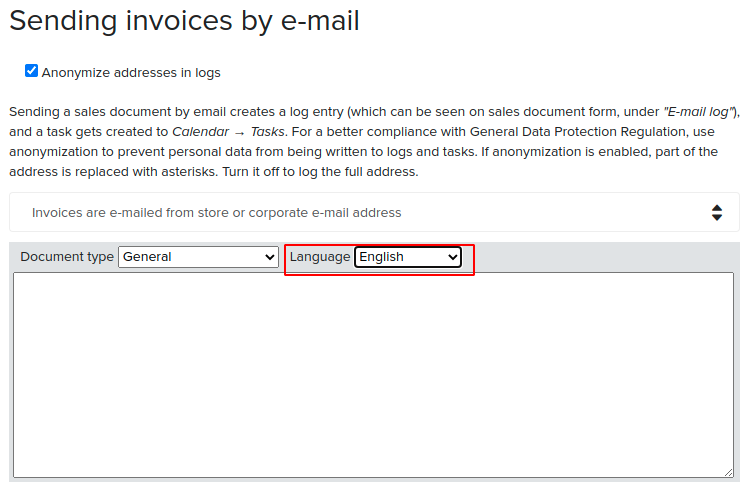
Note: Only languages downloaded to your Erply account will populate as a language option.
3. Select Save.
Changing the language at the POS
1. At the POS, navigate to Settings and locate the Device-specific section. Select Set Language.
2. Check off a language that you would like the POS to be set to.
Please note only 1 language may be selected at a time.
3. Select Done.
Note: if the default language is selected for the POS the language will be used that is configured in the BO -> Settings -> Configuration -> Default language.