This guide covers:
Minimum user group settings required to make a return.
How to make a user group with minimum rights to make a return.
How to add a user into a user group, and how to grant them access to a specific store location.
Minimum user group settings required to make a return
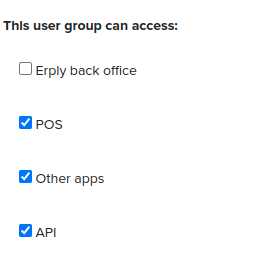
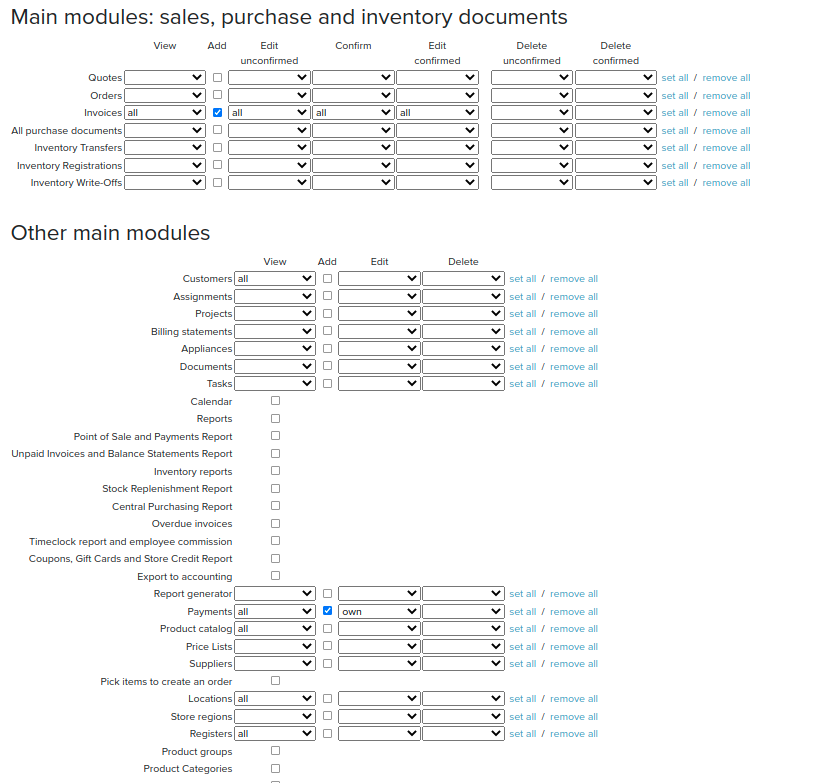
Below are the minimum user group settings required to make a return:


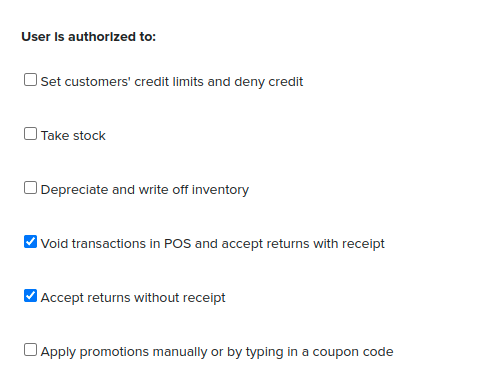
User needs to have some rights selected as well to make return in the POS:

Create a user group with rights to make a return
First, you must make a new User Group where your minimum rights employees will be placed.
In the back office, navigate to the Settings module and select User groups.
Click New to create a new user group.
From here, you can name the user group and define its levels of access. Ensure POS, Other apps, and API are checked off. This ensures users in this group can access the point of sale.
If needed, you can define additional user rights for specific back office actions in the Main Module section as noted above. Save your user group when you’re done.
Granting employees rights to make a return
Click the Settings module and select Users.
Click on the user that you want to grant access to make a return. Find the User groups field and select your newly created user group.
Scroll down to the User information section. Be sure to check off boxes next to every store location you’d like that employee to have POS access to.
Press the Save button to save these changes.
Manager Override for returns at Brazil POS
If the logged in user does not have the required permission to make a referenced return, he/she will be prompted with a manager override, which appears after confirming the return in the Return modal.
If the logged in user does not have the required permission to make an unreferenced return, he/she will be prompted with a manager override, which appears once the negative qty has set in the shopping cart.