ERPLY Point of Sale (Superwrapper) for iOS

July 5, 2024


Introducing new ERPLY - Point of Sale for iOS devices.

Download ERPLY - Point of Sale from the Apple App Store today and step into the future of professional, mobile POS systems, without the hefty cost.

Currently available integrations

Payment Integrations

-PAX 

-Adyen

-Cayan

-Cayan Mini

-Moneris

Printing Integrations

-Citizen

-Star

-Epson

In order to set up the printing please steps here.

System Requirements and Compatibility

To ensure optimal performance and compatibility, your device must meet the following system requirements:

  • iPhone: Requires iOS 15.0 or later.
  • iPad: Requires iPadOS 15.0 or later.
  • iPod touch: Requires iOS 15.0 or later.
  • Apple Vision: Requires visionOS 1.0 or later.

Make sure your device is updated to these versions or later to use ERPLY - Point of Sale effectively.

Installation Guide for ERPLY - Point of Sale

Download the App

Navigate to the Apple App Store on your device.
Search for "ERPLY - Point of Sale."
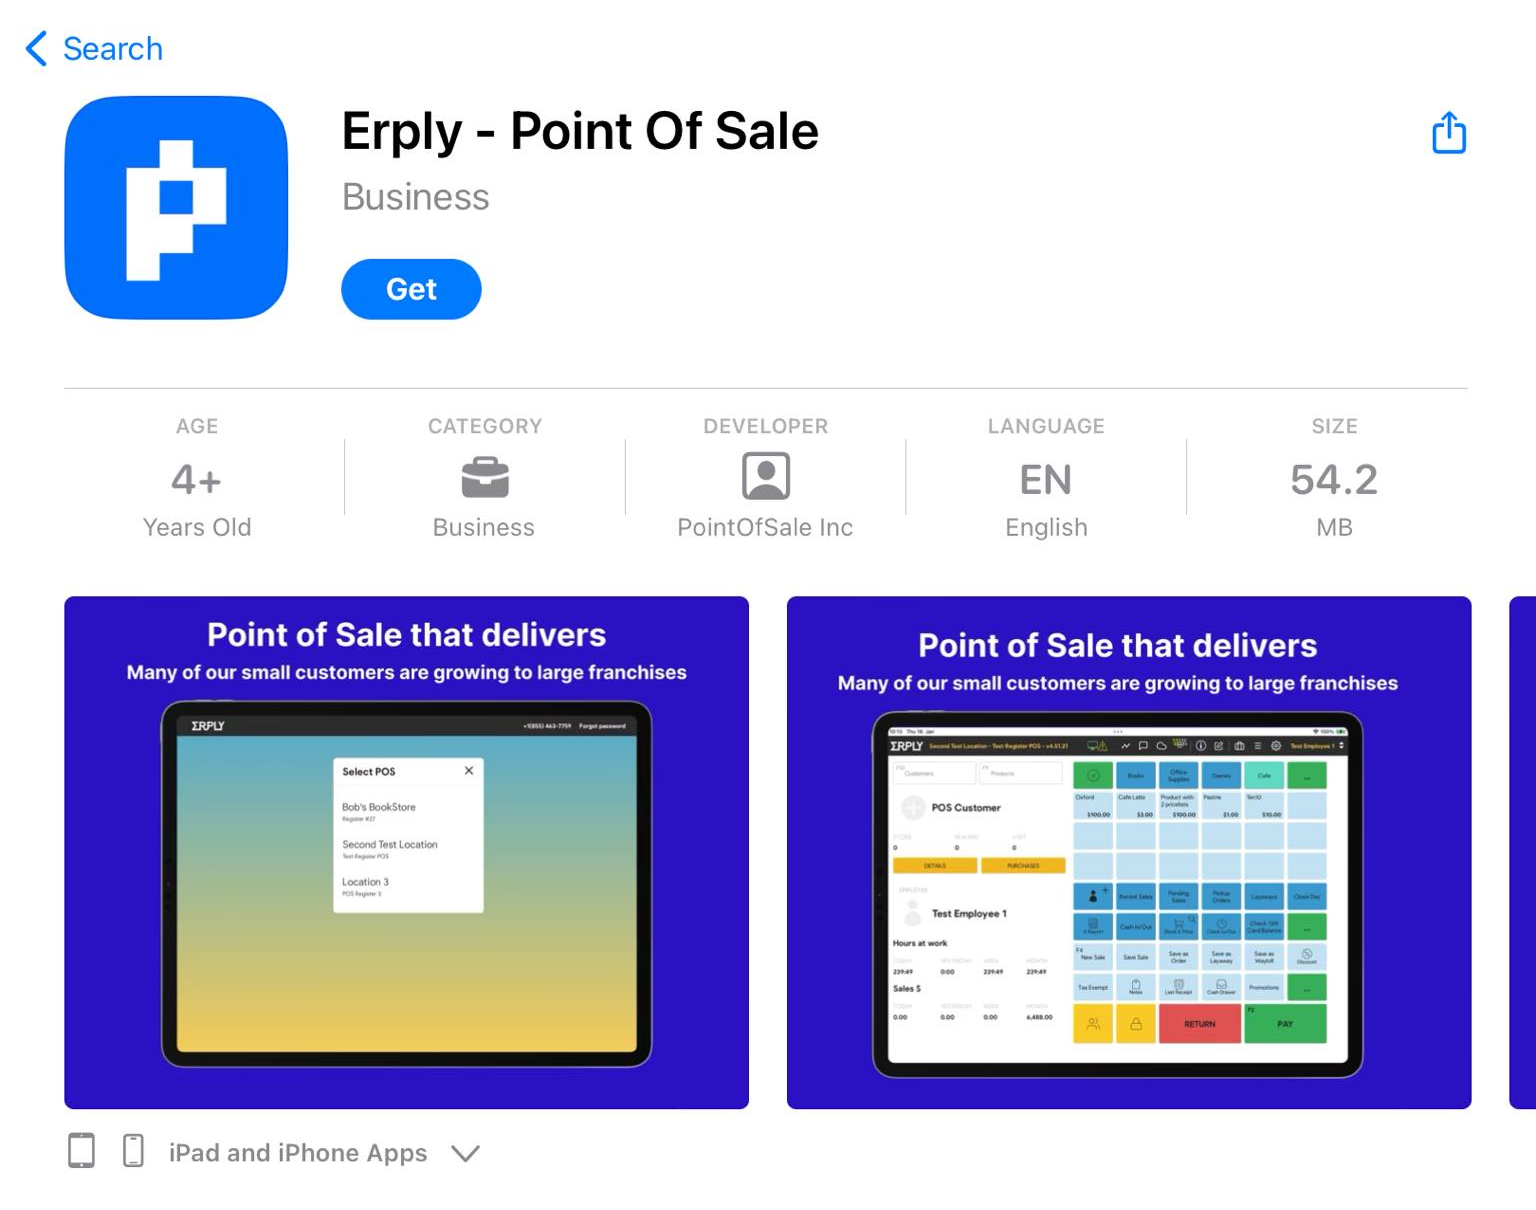
 

Click on the “get” or download button to install the app on your device.


Setup Payment Integration

Pax WiFi

Click on the “Settings” (gear icon) -> Payment Configuration
Go to "Setup Payment Gateways”.
Select the "Native Wrapper (iOS/Android)" from the dropdown list.
Click on "Open Payment Settings".  
Payment settings modal is displayed:

Select "PAX/Shift4" and choose the Connection Type "WiFi” -> click OK to allow (if it asks):

Insert a valid IP and port -> click “Connect”

Tap "Save." You should see the PAX terminal added in the background.
Terminals, the terminal IP should be shown, Network type “WiFi” , Switch disabled.

To make the terminal active, use the toggle on the right side  "Active." The Active switch should turn green (enabled) or tap on the switch and it will activate the terminal:

In the Payment Settings modal, click on the "X" to close. Then, in Setup Payment Gateways click the "Save" button.

A notification "Configuration saved" will be displayed, confirming the successful setup.

PAX Bluetooth

Tap on the “Settings” (gear icon)
Select "Payment Configuration."
Go to "Setup Payment Gateways."
Ensure the current integration is set to "Native Wrapper (iOS/Android)."
Tap on "Open Payment Settings."  
Payment settings modal is displayed
Select "PAX/Shift4" and choose the Connection Type "Bluetooth."
Click “Ok” to allow (If it asks)
List of bluetooth devices is displayed

Select the needed payment device and click on "Connect" -> Save. Afterwards you should see the PAX terminal added in the background.
To make the terminal active, use the toggle on the right side  "Active". The Active switch should turn green (enabled) or tap on the switch and it will activate the terminal.
Close the terminal modal by clicking the "X" button.

In the Payment Settings modal, click on the "X" to close. Then, in Setup Payment Gateways click the "Save" button.

A notification "Configuration saved" will be displayed, confirming the successful setup.

This method allows you to set up multiple terminals and select any one of them as active and check the connection. It enables easy navigation within the payment settings to make selections. The settings will be saved per device, meaning that closing the application, restarting, or logging in with a different account and then logging back into the configured account will not result in the loss of any saved integrations, and there will be no need to set them up again.


How to test connection with the terminal?

POS Settings -> Payment configuration -> Setup Payment gateways ->  “Open Payment Settings."  Click on the configured terminal.

Click on the  “Test Connection”. The loader displays “Connecting” after successful connection “Connected” message displayed.

How to remove terminal from payment settings?

Option 1.

POS Settings -> Payment configuration -> Setup Payment gateways ->  “Open Payment Settings."  Click on the configured terminal.

Click on the "Remove Terminal" button. The payment terminal will be removed and will no longer be visible.

Option 2.

POS Settings -> Payment configuration -> Setup Payment gateways ->  “Open Payment Settings"  

Slide with finger from left to right and tap remove.The payment terminal will be removed and will no longer be visible.

Set up Printing via Payment Integration

(This is only for terminals that have printing capabilities)

POS Settings -> Payment configuration -> Setup Payment gateways ->  “Open Payment Settings" . Slide with the  finger from left to right and click to “Configure”:

Terminal Printing Options are opened with following options:

  • None 
  • Merchant Only
  • Customer Only
  • Both

Select the needed one and click “Close”. Then, in Setup Payment Gateways, tap the "Save" button. A notification "Configuration saved" will be displayed, confirming the successful setup. 

Setup Printing Integration

Connect the printer to your iPad 

There are multiple options to connect the printer:

  • Bluetooth
  • USB
  • connect to the LAN

Navigate to the “Settings” (gear icon) -> Printing configuration ->  "Try printing by wrapper".
Click on the downward arrow -> click on the "Open printing settings". 

Tap on one of the printers that you have configured for printing. The 'Searching for printer' modal will be displayed. After it has been fetched, it will show available printers for configuration, USB, Bluetooth, or LAN.

Click "Configure" for the preferred printer and/or connection.

Once configured click "Save." You should see the printer added in the background.

You can close the modal by tapping on "X," or you can set the printer as active by tapping on "Set as Active."
If you closed the modal with "X," you can tap the switch to enable the terminal.

Printer settings and test print

Navigate to the POS Settings -> Printing configuration -> Try by wrapper ->  “Printing Settings”. Select the configured printer.

You can set up the receipt paper size, characters per line, and gray depth in the settings. Under "Other Options," there is a "Print Test Receipt" option. Once you tap on it, a test receipt should print out from the printer to ensure that the printer is working and the connection is successful.

This approach enables you to set up multiple printing integrations and choose any one of them as active to check the connection. It facilitates easy navigation in the printing settings, allowing for seamless selection. The settings are saved on a per-device basis. This means that actions like closing the application, restarting, or logging in with a different account and then returning to the originally set up account will not erase any saved integrations, eliminating the need for reconfiguration.