What You Need
- Any mobile device, tablet, or laptop
- A Bluetooth or USB barcode scanner
Pair the mobile device with a Bluetooth scanner. Alternatively, you can plug a USB barcode scanner into a tablet or laptop.
Tips and Recommendations
Important: Do not create a physical stocktaking while sales are occurring.
Selling items while taking stock will cause errors in the stock level count.
The stock level of items in a physical stocktaking is generated at the time the document is created, but do not update as items are sold.
For other recommendations, please see the article about physical stocktakings in general.
Mobile Stocktaking Options
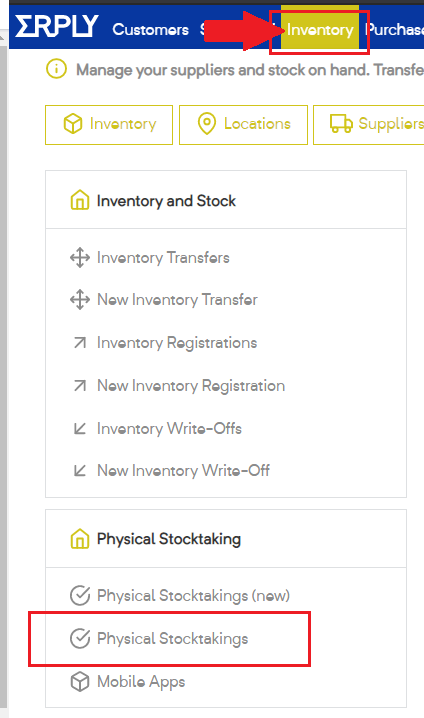
In the back office, please open the Inventory menu. Under Physical Stocktaking, select Mobile Apps.
We offer two options:
- The “Stocktake” mobile app. It is available for iOS and Android, and can be downloaded from App Store or Google Play Store.
- A web application. Link to this application is given at the end of that screen, and can be different for each account.
Mobile Stocktaking Web Application
Here are detailed instructions for using the web application.
1.1 Click on the link from the device you wish to use as your mobile scanner.
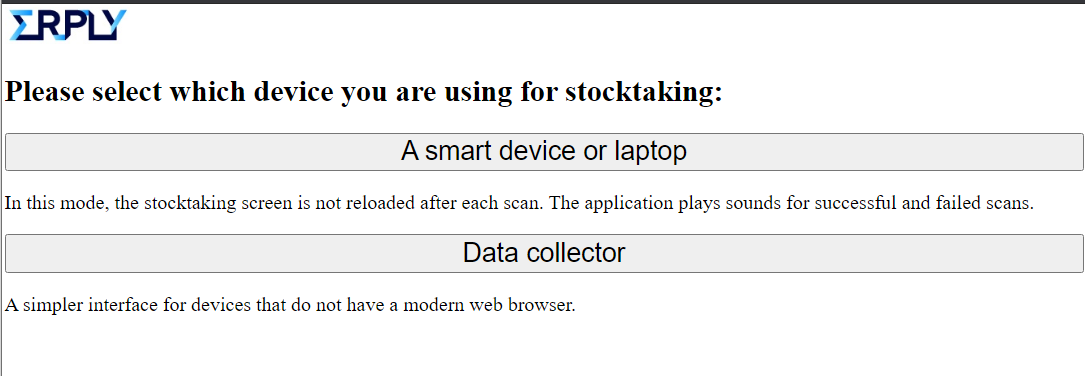
1.2 Select the type of device you are using to do your physical stocktaking.
1.3 Sign in with your Erply credentials.

2. Start a mobile stocktaking
2.1 Select New Stocktaking.

2.2 Select the location for the stocktaking from the dropdown menu and select Continue

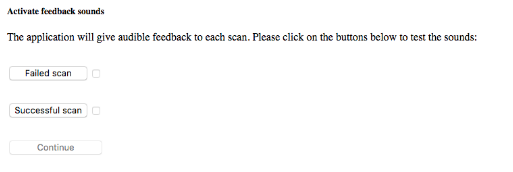
2.3 Test the sounds. Once tested, check the boxes and click Continue.
2.4 Begin scanning inventory and enter how many counts of a scanned item should be added to the inventory’s count. By default, the cursor will be in the Code field.
Checking the Rapid scanning box enables you to scan each item without confirming each scan.
Note: The checkbox Default amount is 1 indicates that each scan will document the quantity as being 1 for the specific product being scanned. If you are scanning unopened boxes of items, you can set this to the number of items in each package.
Click Save when you are finished scanning items.
3. Reviewing and editing stocktakings
3.1 In the back office, navigate to the Inventory module and select Physical Stocktakings.
Your recent stocktaking will populate here. Click on a stocktaking to view more information.

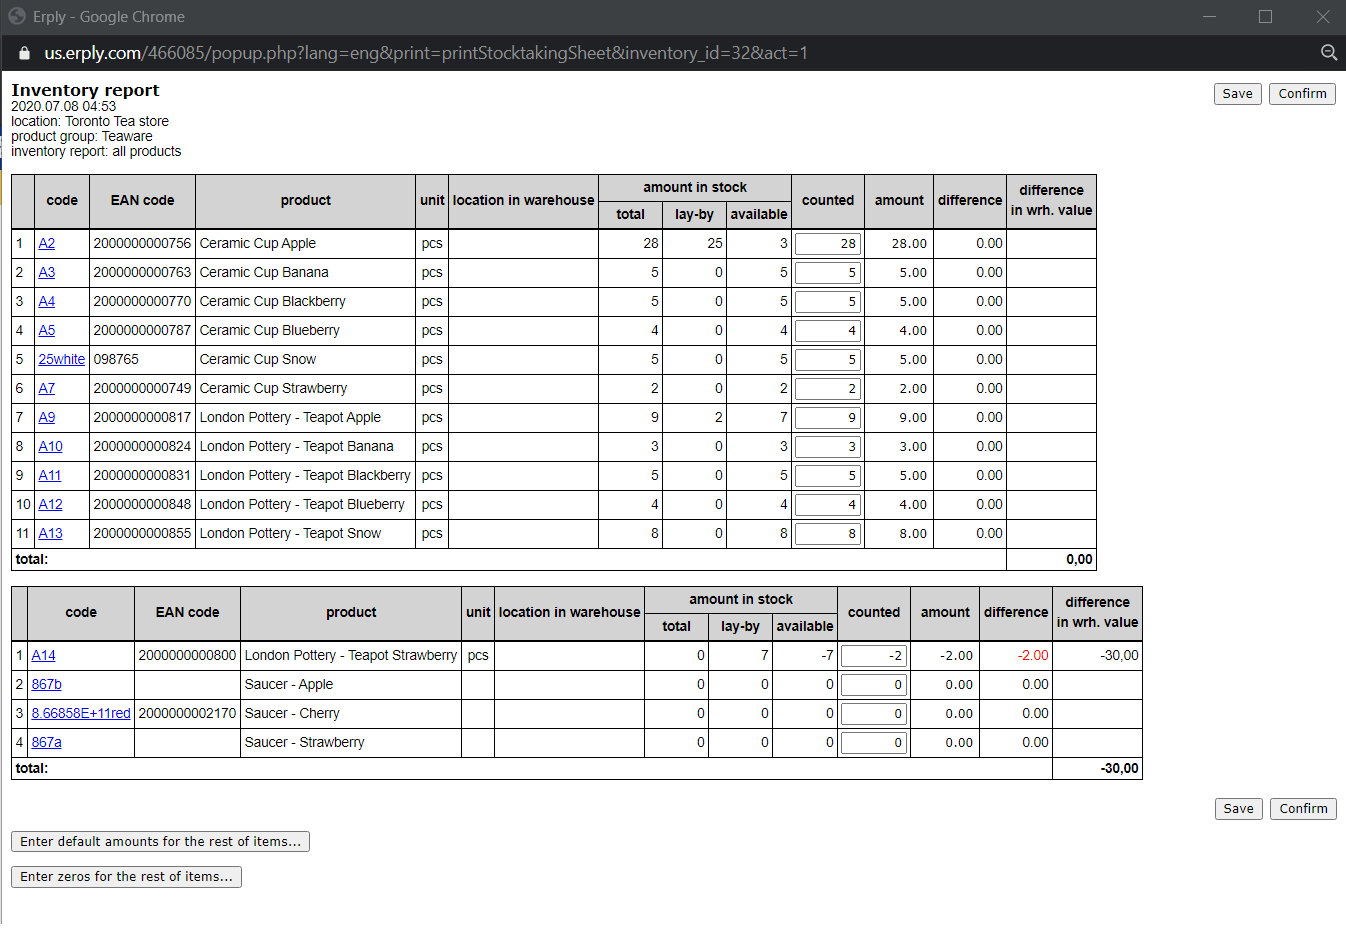
3.2 Clicking on a stocktaking record allows you to edit counts. An item’s scanned quantiies are displayed in the Counted column
Stocktaking edit options
Erply gives you the option to automatically fill out stock information in an existing stocktaking report. These options are permanent and cannot be undone once confirmed.
Open a stocktaking record and click on Enter default amount for the rest of the items to add items that were not physically scanned.

Click on Enter zeros for the rest of items to enter a “0” into the counted column for all products that were not scanned during your stocktaking.
3.3 Click Save and Confirm once you’re done editing your stocktaking record.
Note: AT THIS POINT YOUR STOCK LEVEL HAS NOT YET BEEN UPDATED
Stocktaking documents
Erply will create new stocktaking documents once a stocktaking has been completed.
Import Options: Erply document type | |
Receive Inventory | Is created if you have positive adjustments to your inventory.
Lists all items where inventory count is greater than the quantity registered in the system. |
Write off Inventory | Is created if you have negative adjustments to your inventory.
Lists all items where inventory count is less than the quantity registered in the system. |
4. Receive inventory from a mobile stocktaking
4.1 Click on Receive Inventory to open up the inventory report window.

4.2 Open the Write off Inventory and/or Receive Inventory links.
Review the numbers and that the prices are correct for items being registers or written off.
Click Confirm to add these items to your inventory.
Note: Registrations by default will populate with the price you last accepted that item in with, and Write-offs will write items off at the cost that those items came in with, according to FIFO rules.