To print completely custom POS receipts, contact Erply support to have the POS AR Receipt/Set Custom Printout for POS plugin added to your account.
There are multiple ways for configuring a receipt in Brazil POS:
a) Erply back office configuration settings page (Back office -> Settings -> Configuration)
b) Brazil POS configuration settings page (POS -> Settings -> Configuration)
c) Brazil POS patch script template editor (POS -> Settings -> Debug)
d) Actual Reports document creator
When to use which tool is mainly dependent on the requirements for the POS receipts in your company. If you only need to add a logo, edit a footer message and a few other fields, the back office and POS configuration page should give you the answers. However, if highly customised receipt template is needed, a user must look into customising the receipts with Brazil POS schema editor or Actual Reports.
Customizing the Default Receipt
Add new elements from the back office
You can customize the default receipt format in quite a few ways. One of them is adding a logo to it.
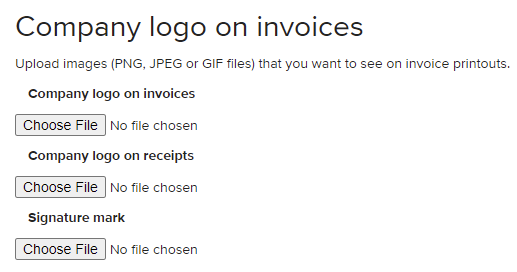
In order to configure Brazil POS receipts through the back office configuration settings, please log into the back office and open Settings -> Configuration -> Company logo on invoices -> Company logo on receipts
On the configuration page, it is possible to add a logo for your Brazil POS receipts. The logo is taken from the Company logo on receipts field.
If a customised message is required for the receipt footer, please navigate to Settings -> Configuration -> Receipt printouts and enter the customised message.
It is possible to enable a product code to be printed on the POS receipt. In that case, please navigate to Settings -> Configuration -> Receipt printouts and select the required code from the dropwdown menu.
In that case you would also need to enable this setting from the POS side. In order to do so, please navigate to POS > Settings > Configuation > Receipt > Show product code based on BO parameter.
If both settings are enabled, the product code is printed on the receipt.
It is possible to choose how the employee name gets displayed on the POS receipt. This can be done by navigating to Settings -> Configuration -> Receipt printouts in the back office. There, you can change the form of the employee identifier.
If a user wants to show total discount on the receipt, this setting needs to be enabled from the POS side. The back office configuration setting regarding total discount doesn't affect the Brazil POS receipt.
If a user doesn't want to print a receipt number as a barcode, barcode needs to be removed from the schema editor. The back office configuration setting regarding printing receipt number as a barcode doesn't affect the Brazil POS receipt.
Find the POS-side settings in POS Settings -> Configuration -> Receipt.
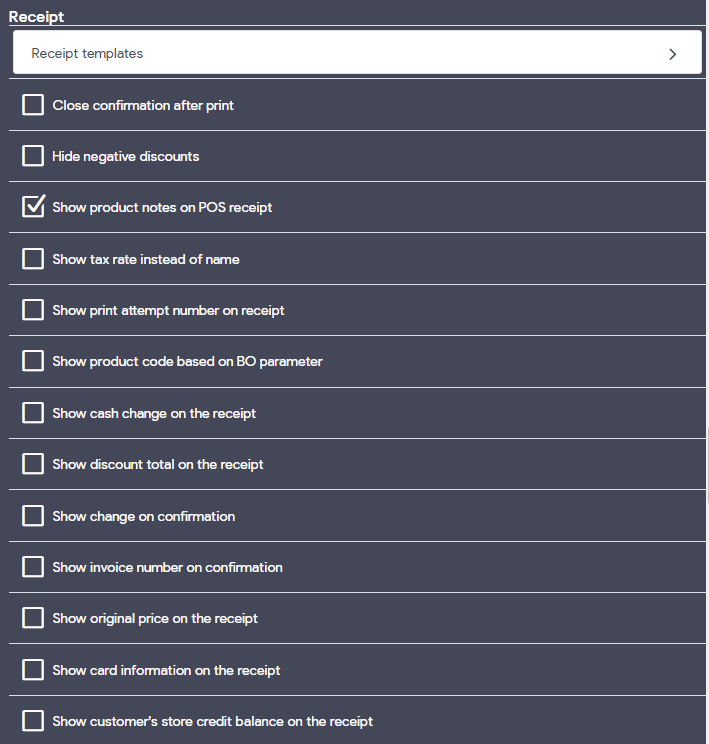
Add new elements from the POS
There are several configuration settings that allow adding new features on the POS receipt (notes for line items, print attemps, total discount, etc). Let's explore these options below.
In order to print notes for the line items, please enable the setting Show product notes on POS receipt.
Afterwards, the notes are printed on a separate line under the product description.
If you require tracking the printout numbers, please enable the setting Show print attempt number on receipt.
If you need to show the change and total discount amounts on a receipt, just enable Show cash change and Show discount total on the receipt in order to get these printed on the POS receipt.
For adding product codes after the product description, please enable Show product code based on BO parameter and select the required code from the back office Settings -> Configuration. This is also described in the first section of this article.
In Erply, it is possible to print discount percentages on each and every invoice line where the discount has been applied. In case of editing the initial product price and increasing the price, it is possible to hide negative discounts (price increases). In that case, please toggle on the following setting Hide negative discounts. Then the Total discount won´t be displayed in those cases.
When printing a receipt, a user can choose if the printout should include the tax rate or the name of the tax rate. For instance, you can print either 10% or GST on your receipt. Please toggle the following configuration on/off with Show tax rate instead of name.
If you would like to display the original price on the receipt while performing a sale with a discounted product, enable the Show original price on the receipt setting.
To show more detailed card information on the receipt, please toggle the setting Show card information on the receipt.
To display the customer´s store credit balance on the receipt, enable the setting Show customer's store credit balance on the receipt.
Note: all of the settings above will work only for the default receipt template.
Sales confirmation window settings
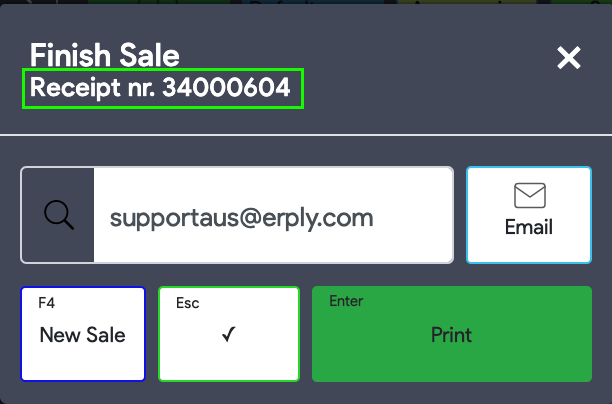
After finishing a transaction, the sales confirmation window opens up, and it is possible to choose whether you want to show the document number on that screen or not. If you do, please enable Show invoice number on confirmation.
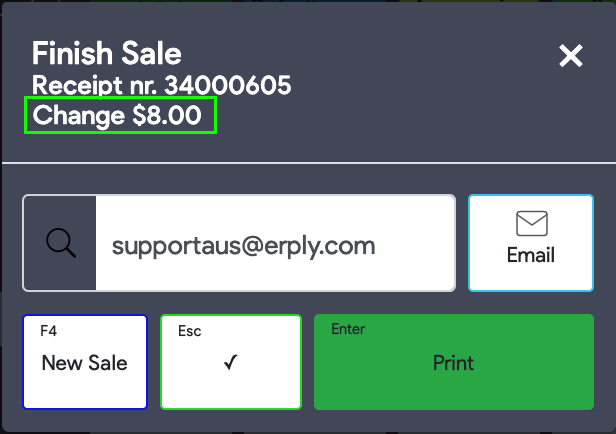
If you would also like to show the change on that screen, please enable Show change on confirmation.
There is a configuration setting for auto-closing sales confirmation window after printing a receipt. In that case, after pressing the Print button, the sales confirmation window is closed and a new sale screen is opened automatically. In order to use this feature, please enable Close confirmation after print.
Patch Script Template Editor
To create fully customised POS receipts, please open the PatchScript templates for printing in Brazil POS.
Note: In order to edit the POS receipt via patch script editor, please use the desktop device. Mobile devices are not supporting this feature. However, you can successfully use the customized templates in mobile devices once they have been created in the patch script editor in a desktop device.
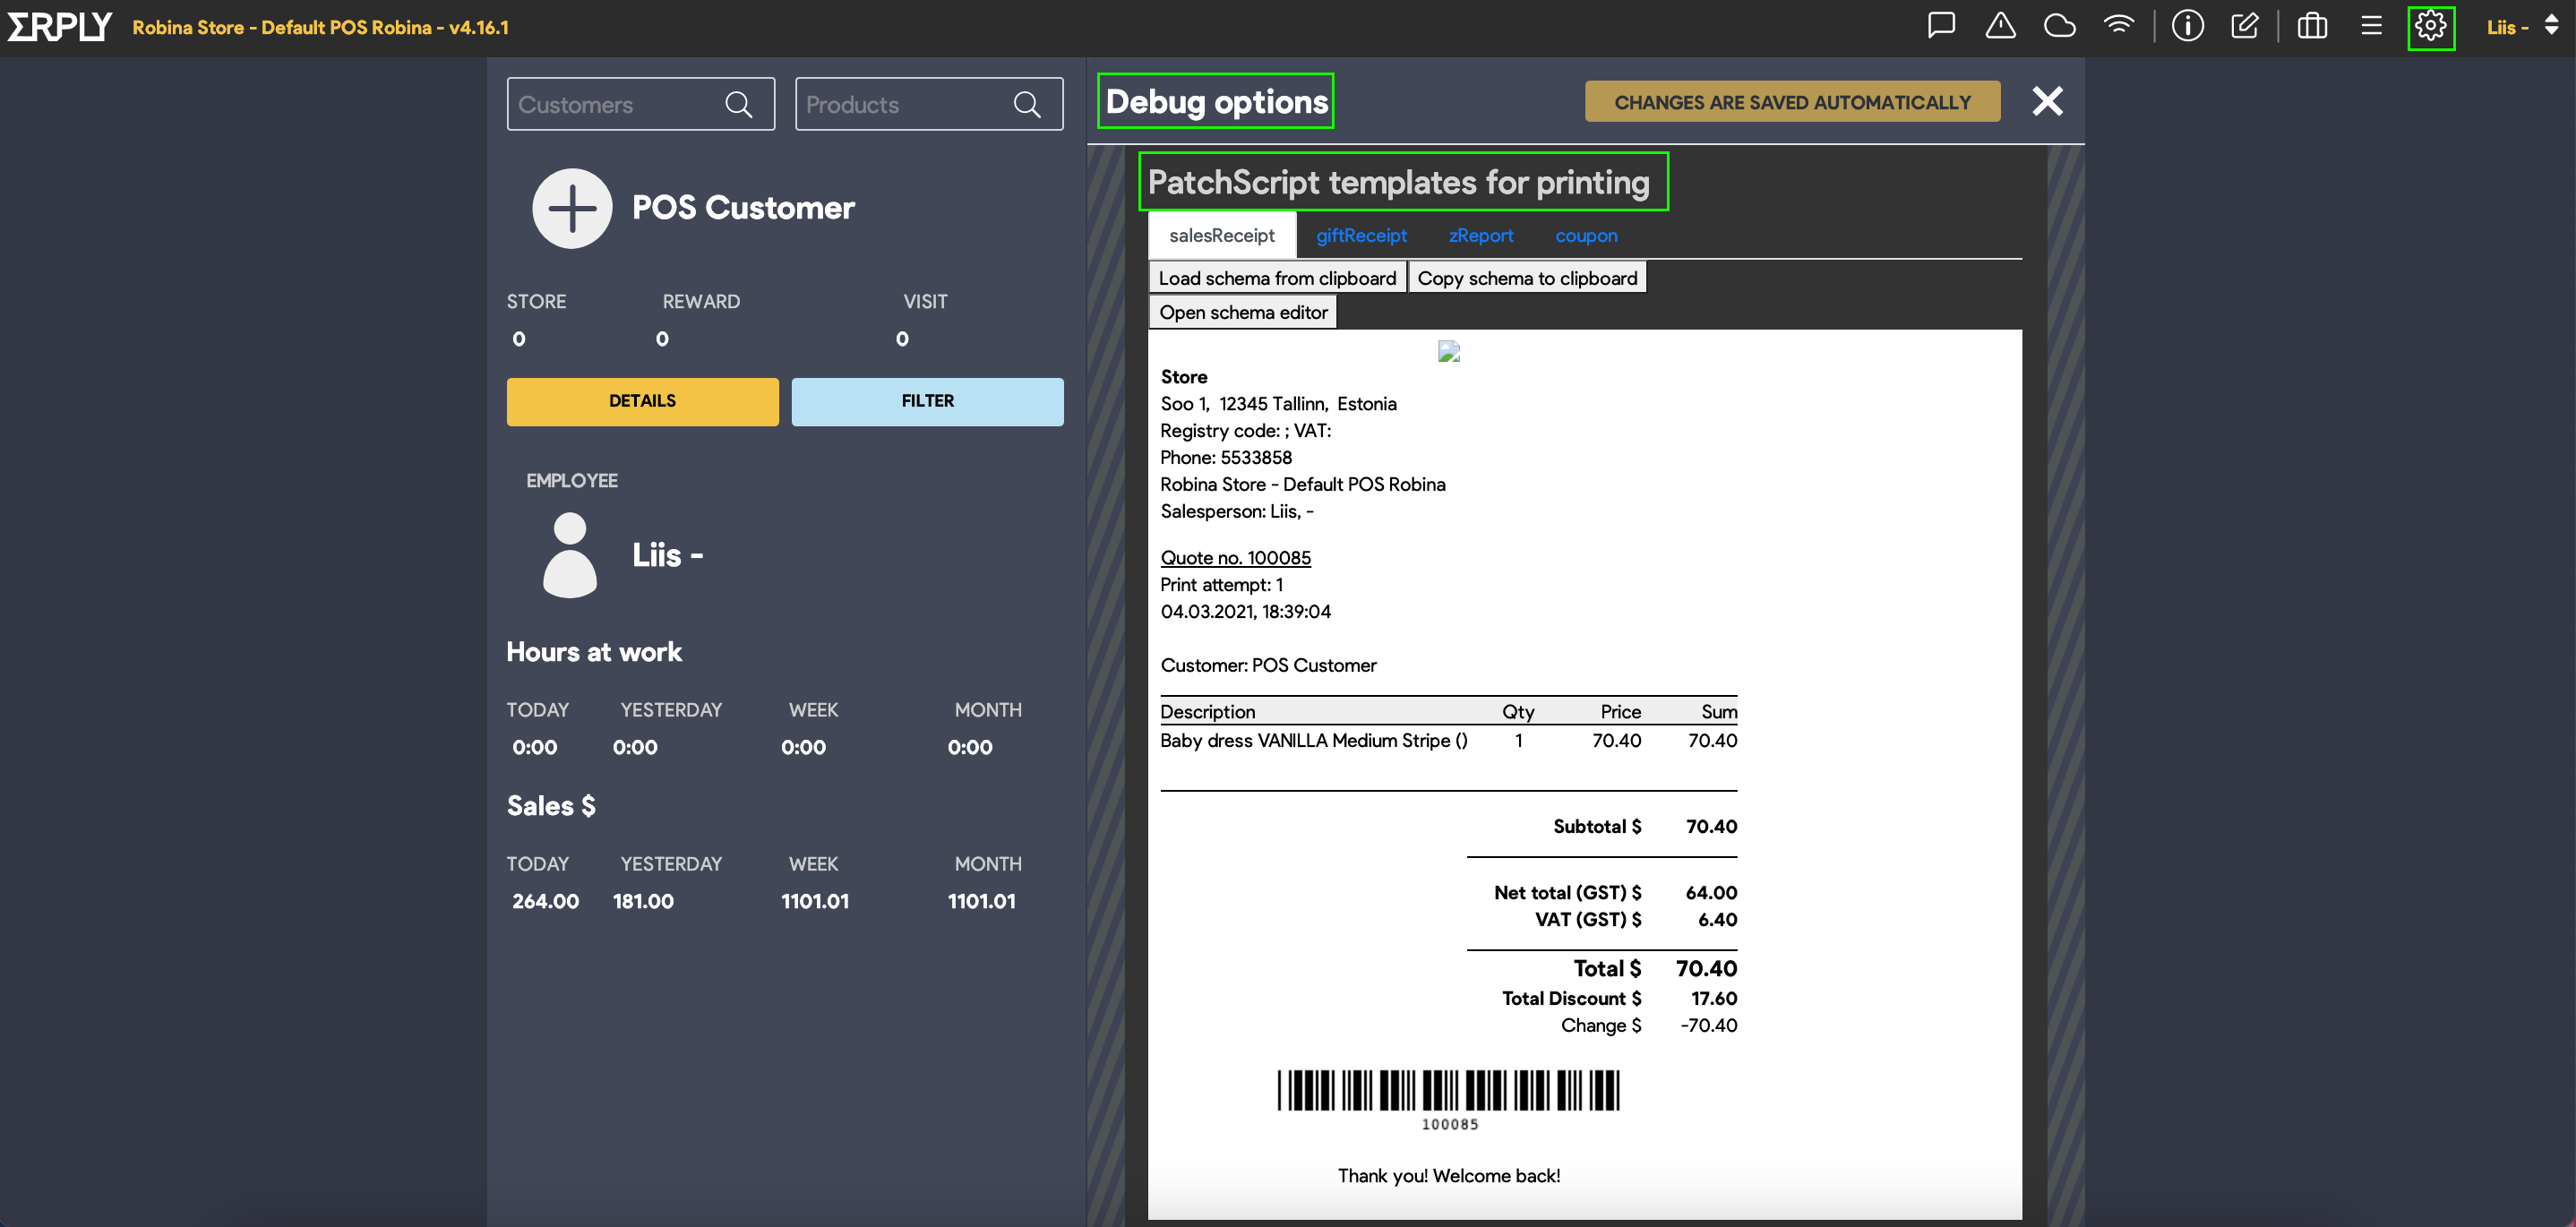
Currently, it is possible to edit sales receipts and gift receipts. You can switch between the templates by selecting either a salesRceipt or giftReceipt tab.
If you haven't made any changes to the default template, you would see the default schema loaded on the screen. Please note that when you configure POS receipt via POS and/or back office configuration settings, that affects the default template, and once you have used the patch script templates, the configuration settings won't be applied on the receipt. In that case, it is still possible to apply changes, but these need to be done through the schema editor.
If you select Open schema editor, you can start editing the POS receipt. All the changes can be seen on the template at the time of editing.
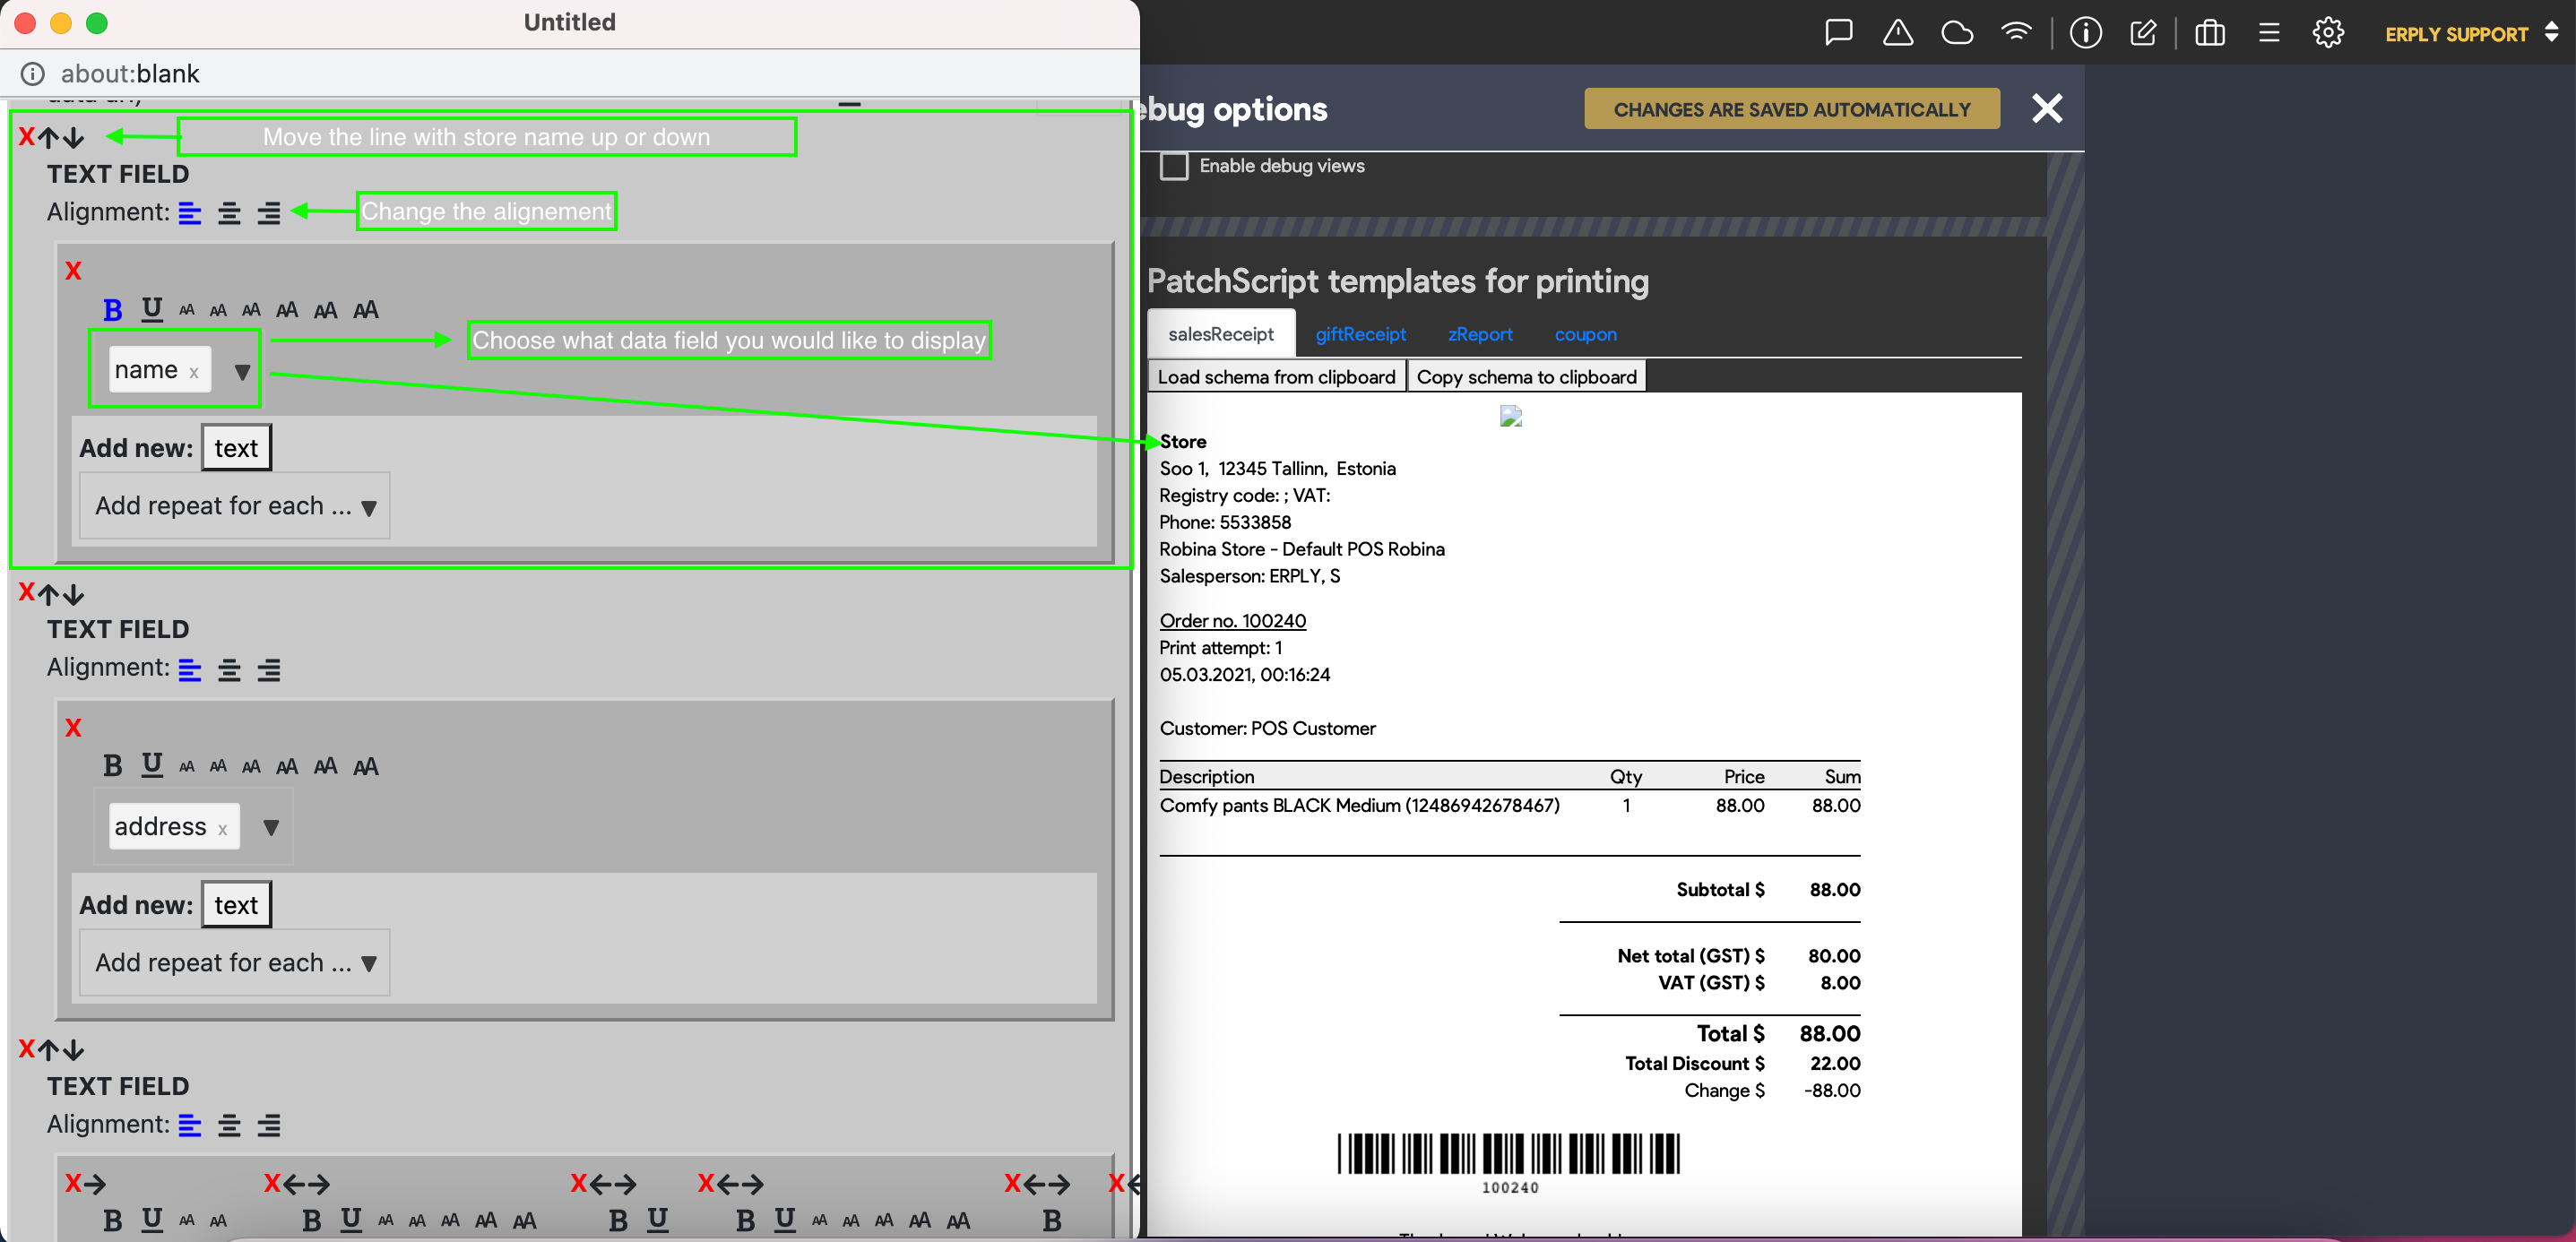
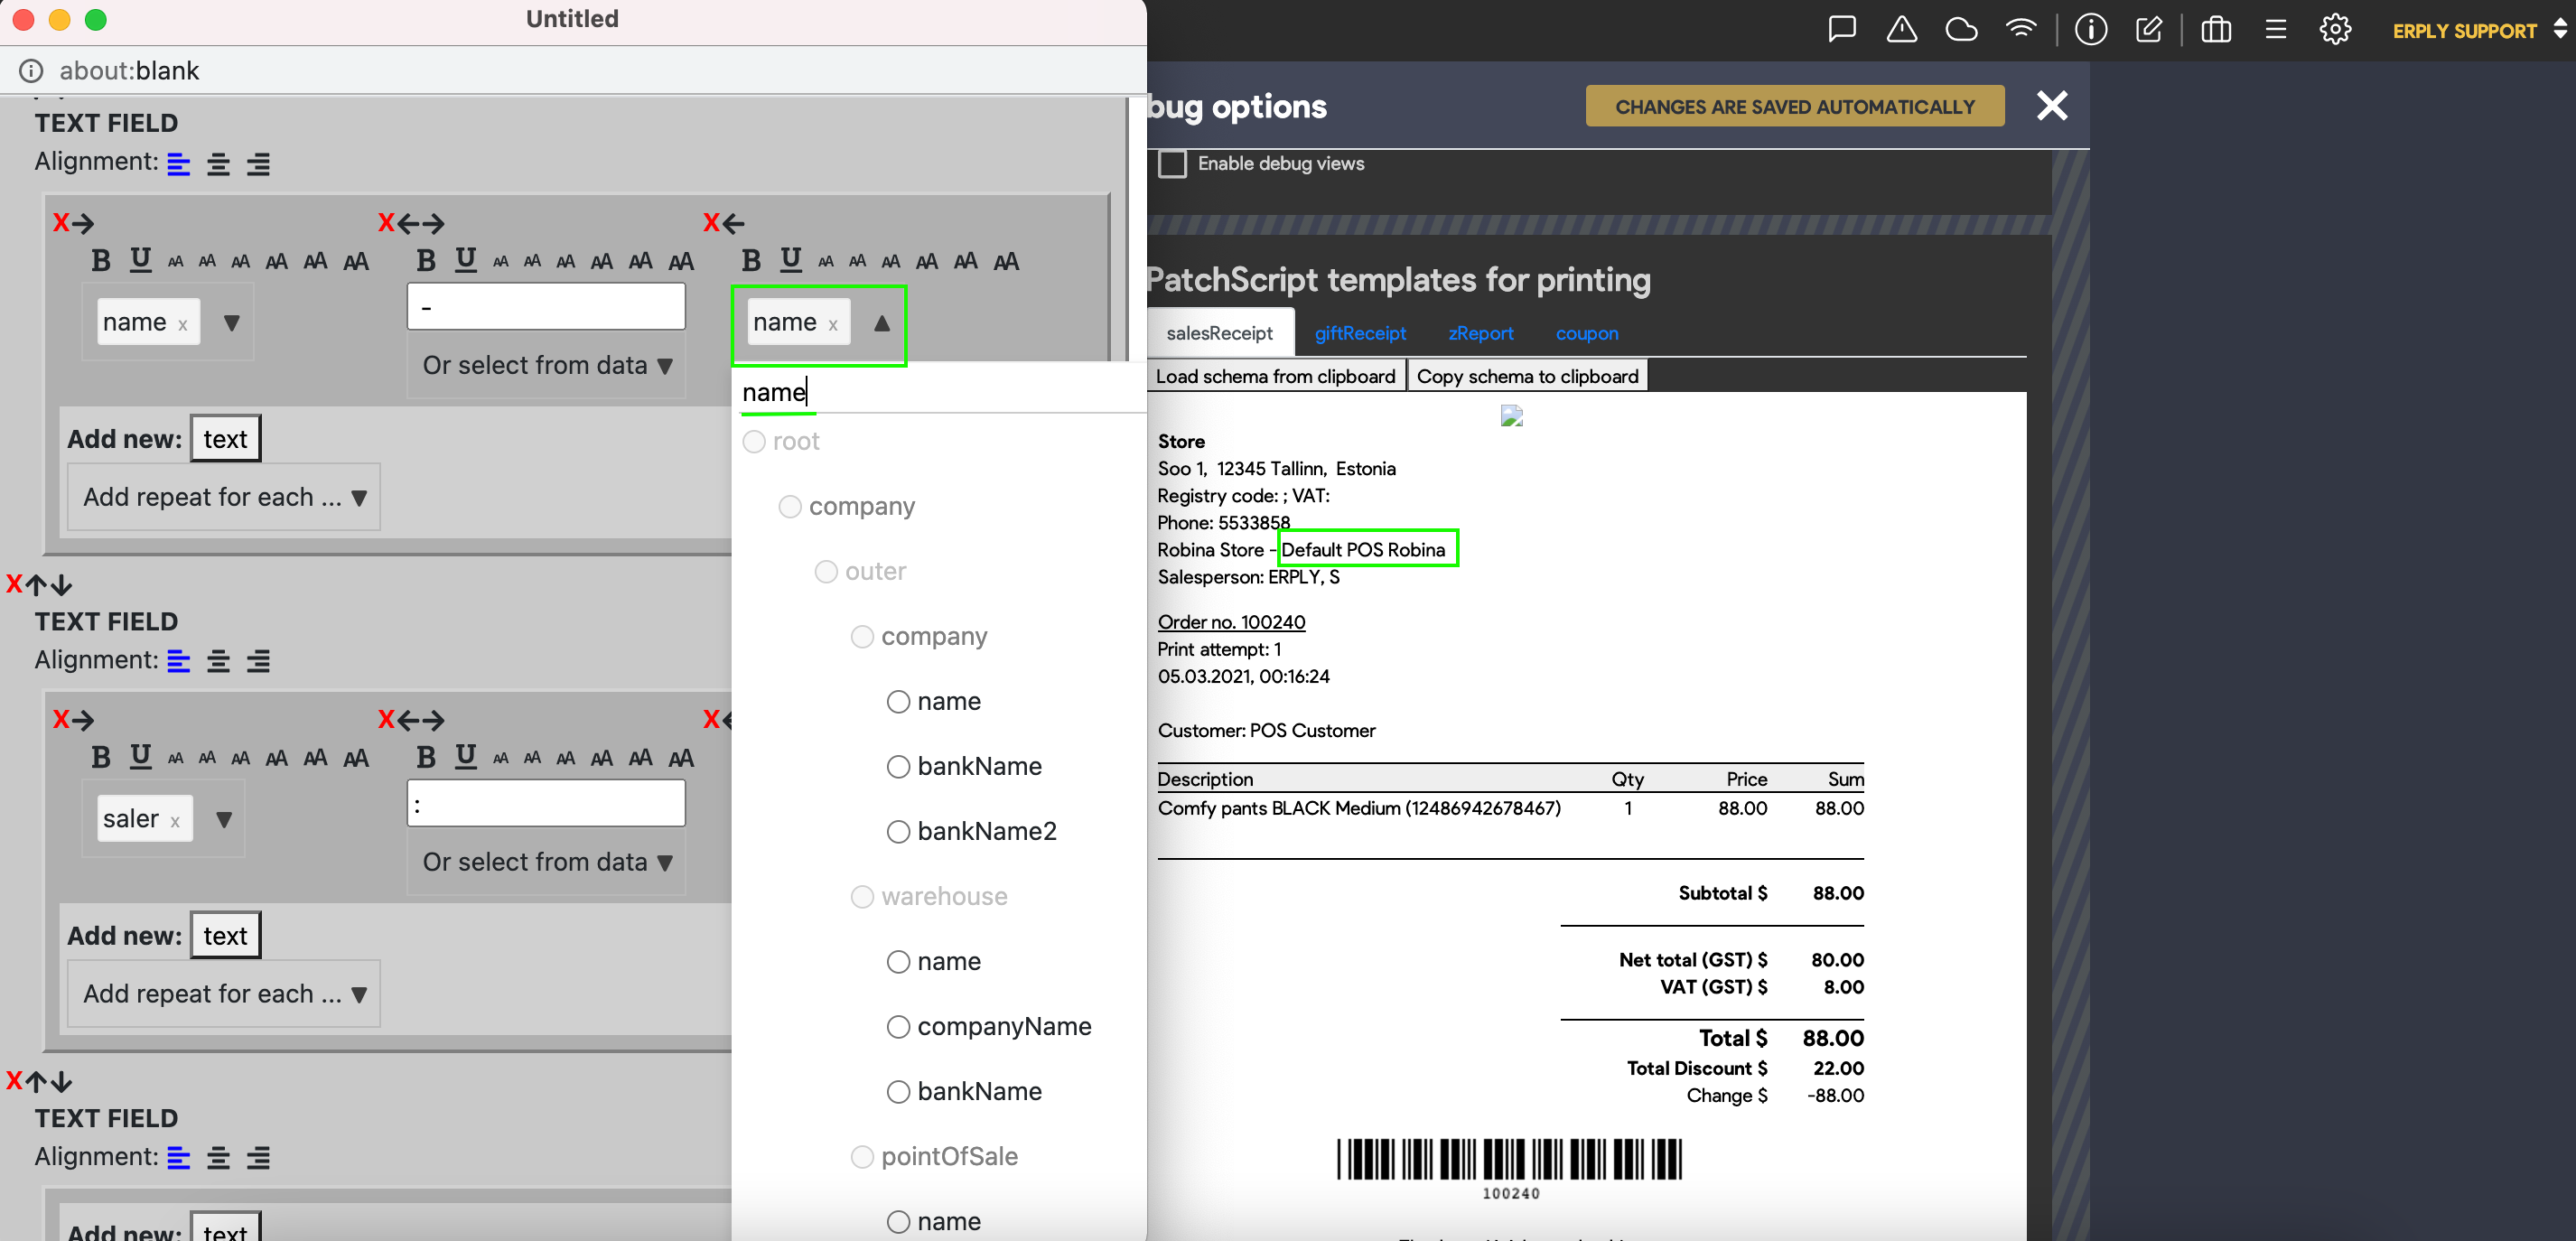
Schema editor consists of blocks of data fields, and it's possible to add text, image, barcode and table fields. In order to do so, please scroll to the very bottom of the schema editor and choose Add New.

It is possible to move the order of the data fields. Please use the arrows on the top left corner of each data field. In order to delete the data filed, please select X.
When using the text field, it's possible to change the text alignment and font size.
See below how to edit data fields:
After making any changes to the schema, a "save" button appears under the patch script templates section. Please save all the required changes before you close the debug menu.
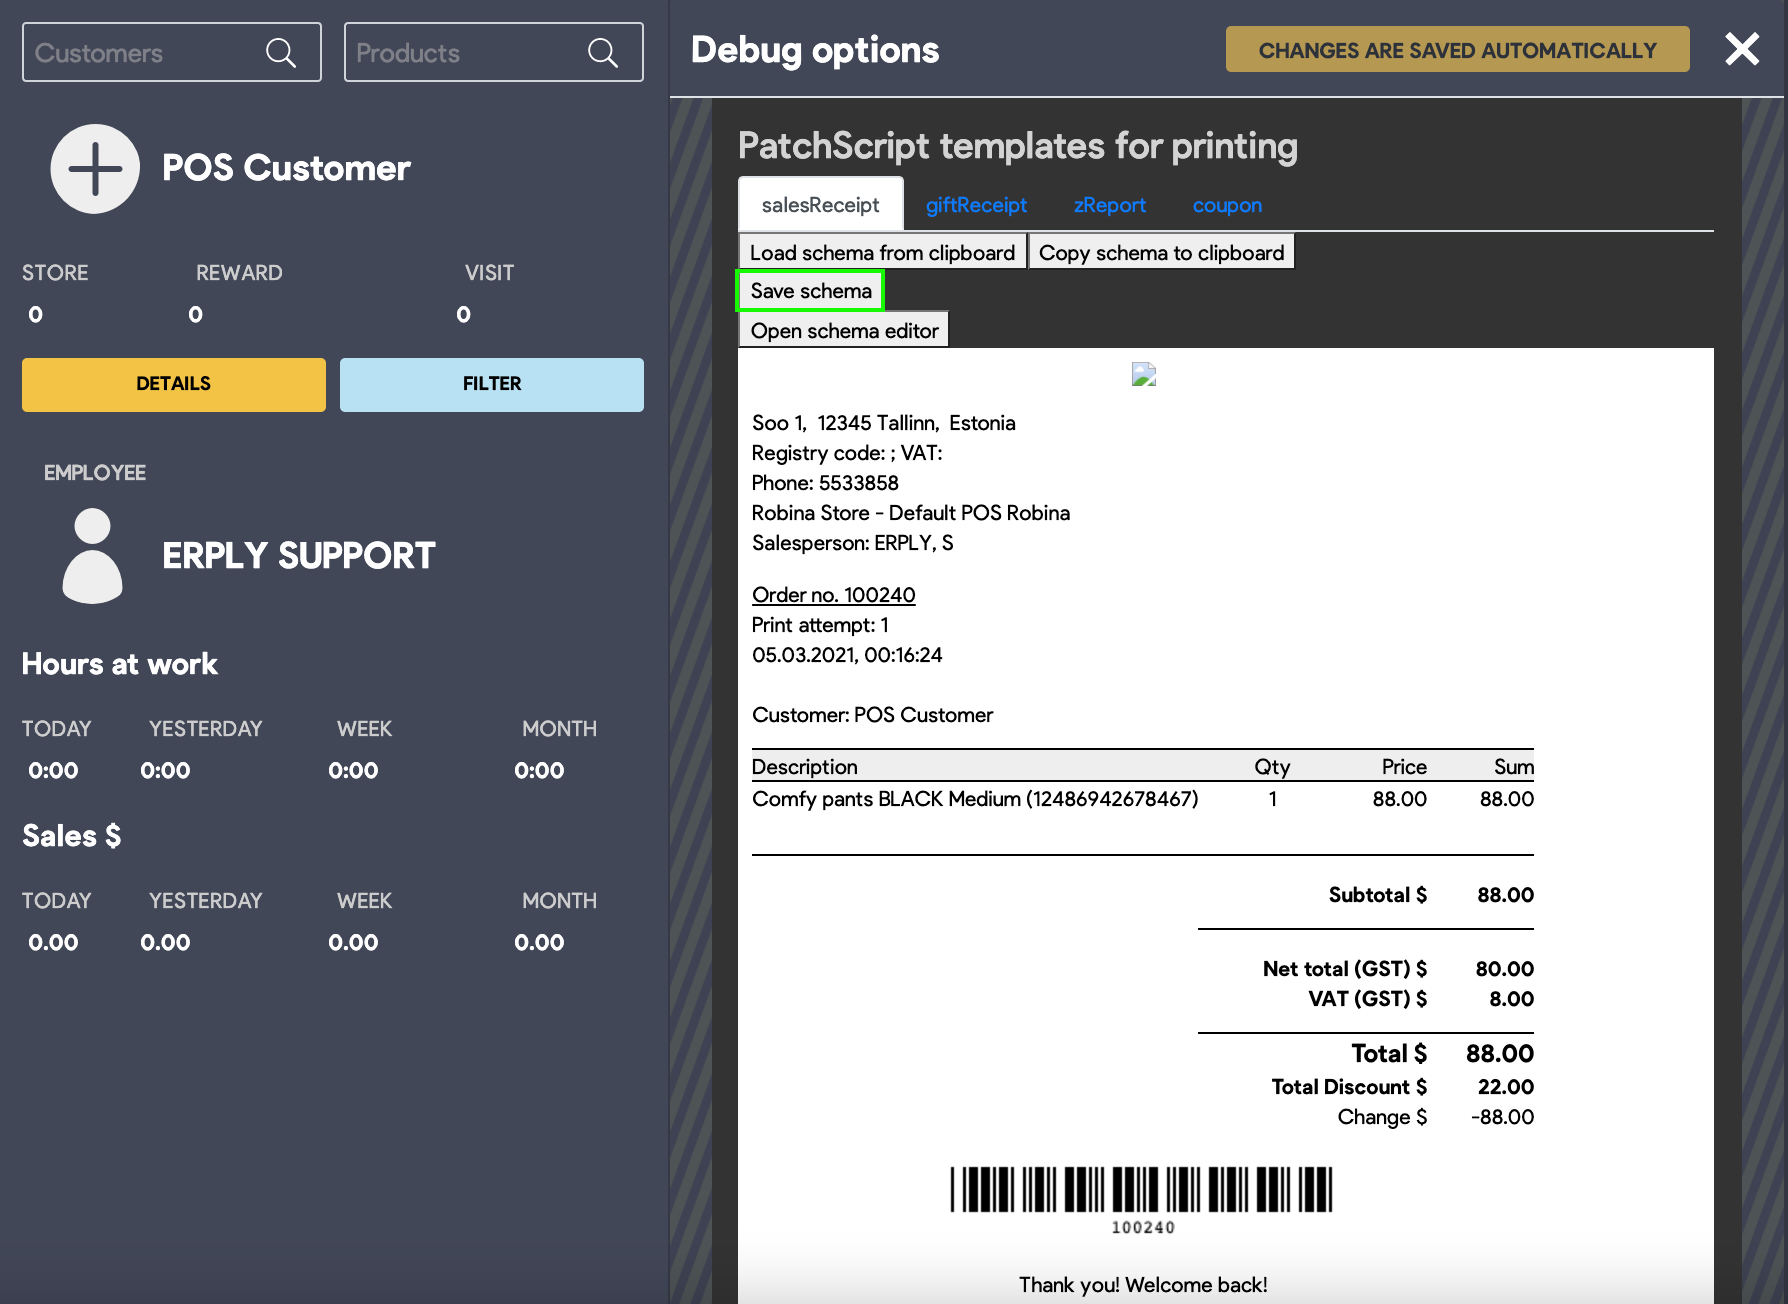
Instead of editing the receipt with the schema editor, it's possible to copy schema to clipboard and make changes in the text editor.
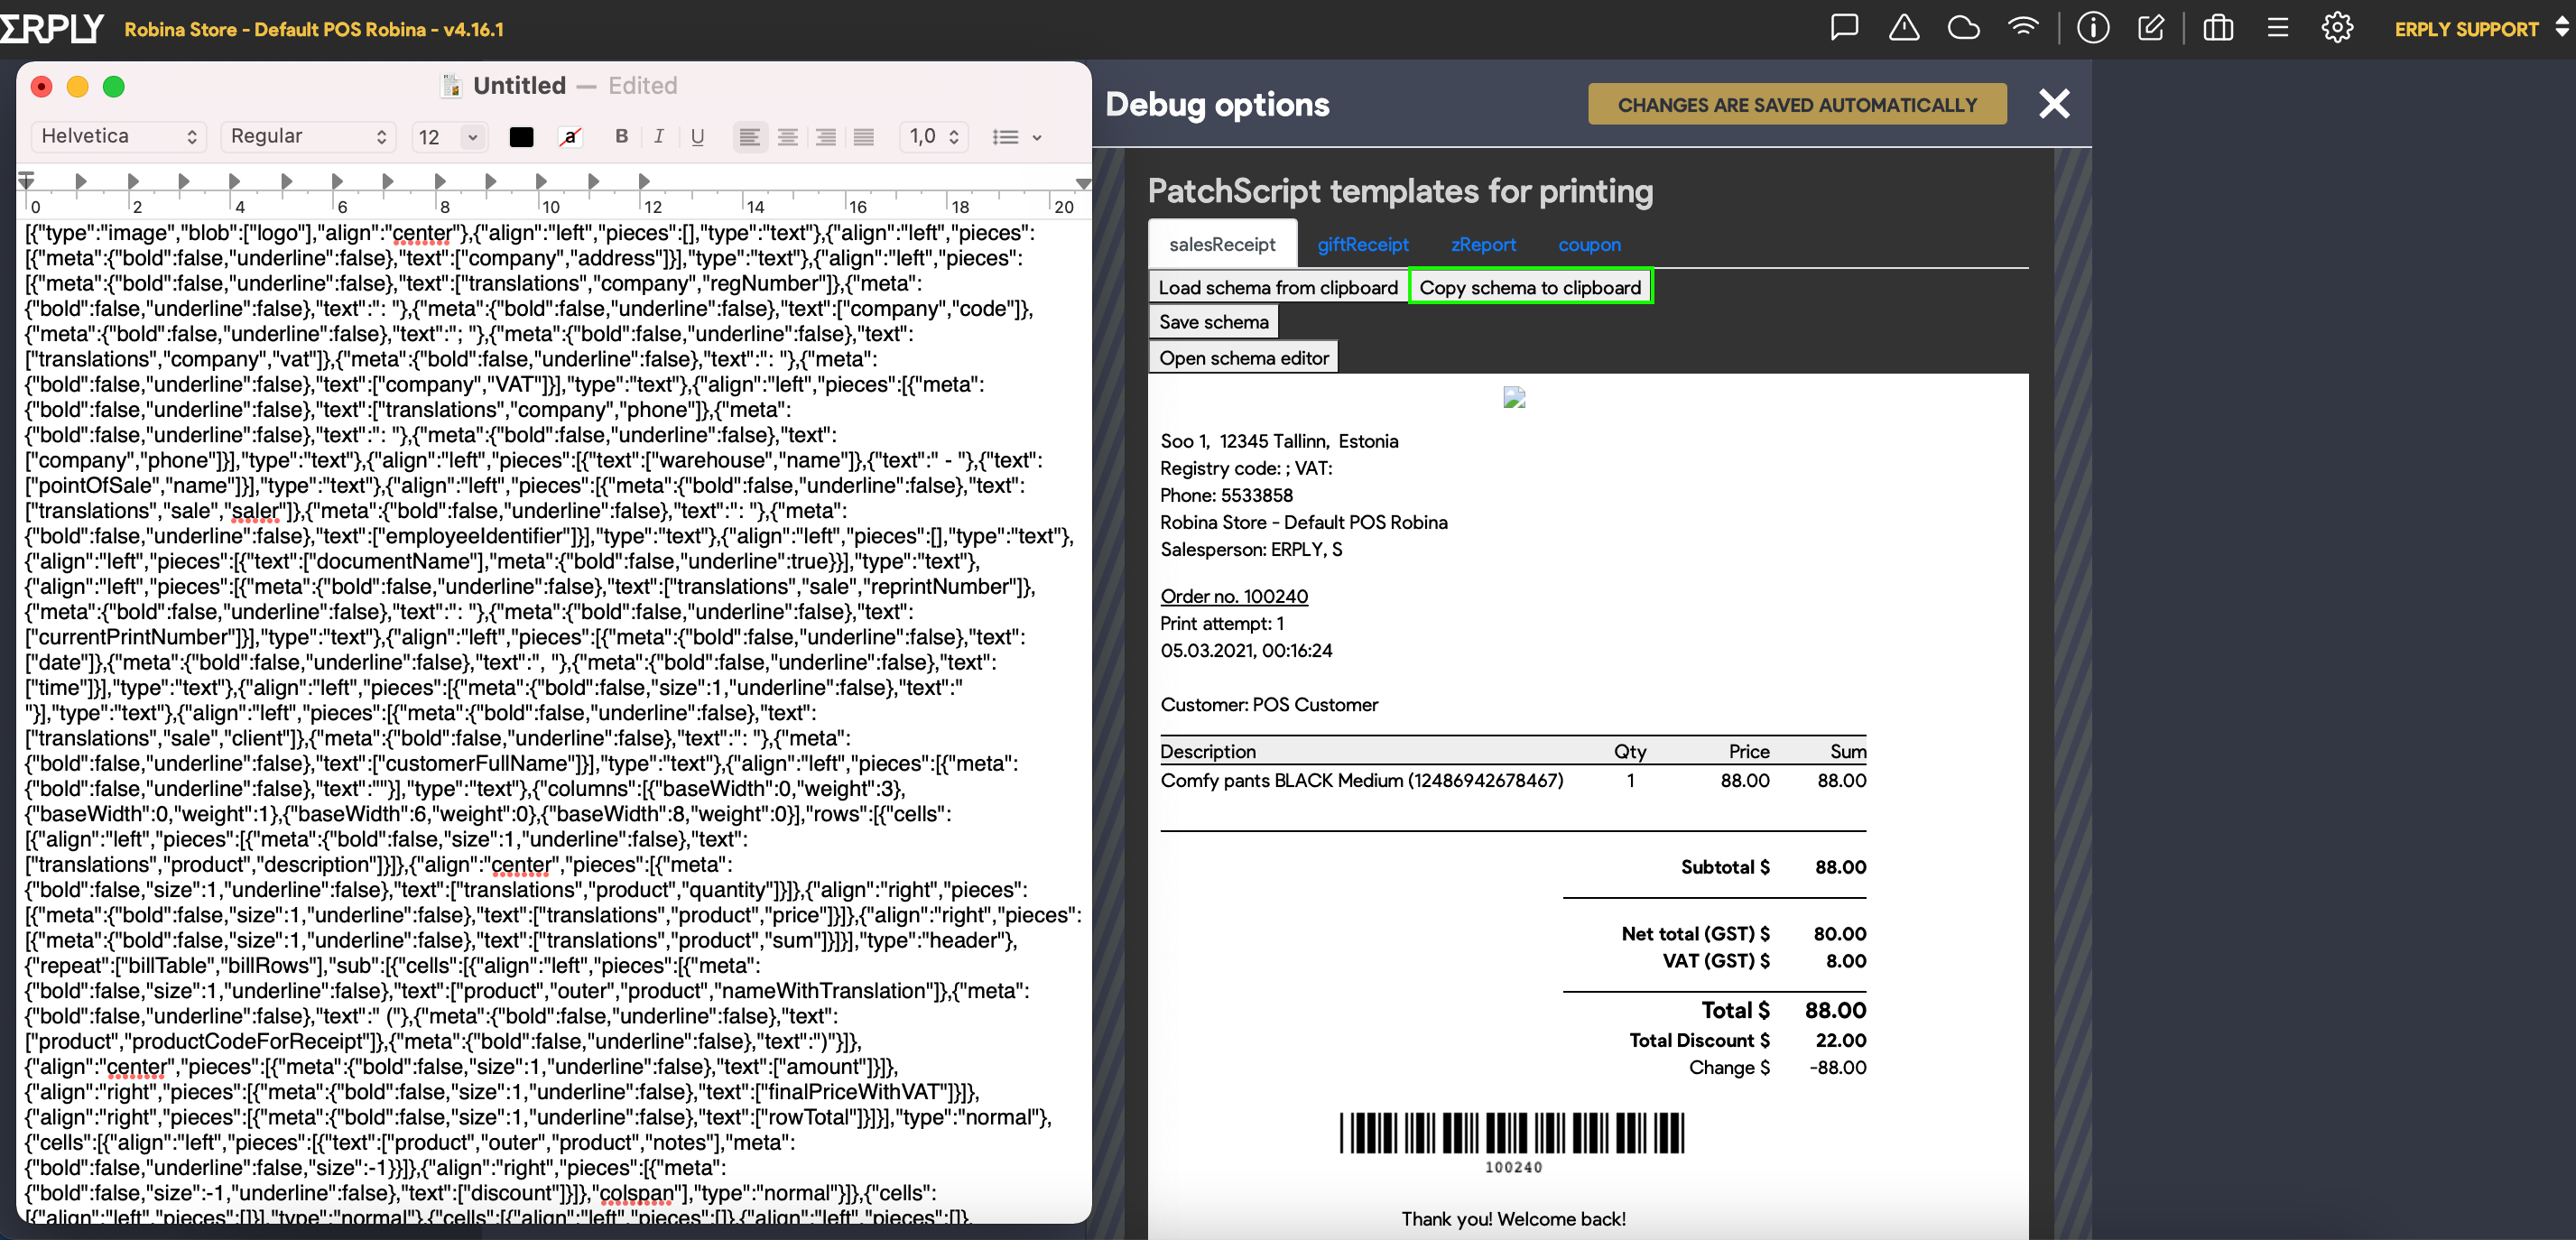
After making relevant changes, you can select "load schema from clipboard" and update the POS receipt.
Note! Enabled options in the POS Configuration -> Receipt will not be applied to the custom receipt template.
Actual Reports Template Editor
Enabling custom receipts
The Brazil POS has a feature where users are able to associate each document type with an appropriate default Actual Reports template.
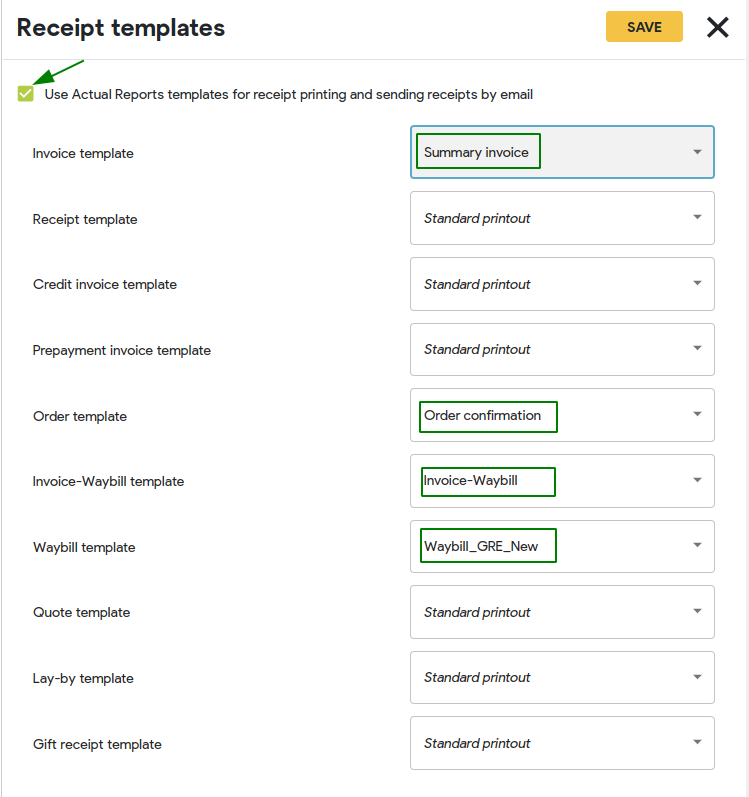
It can be enabled in POS Settings -> Configuration -> Receipt -> Receipt templates.
Tick the Use Actual Reports templates for receipt printing and sending receipts by email to enable the option. Now all dropdowns become available and you need to select a needed template for any of documents.
Afterwards the POS will print different types of receipts in a special form according to the selected template.
If the template is chosen in Configuration, but user wants to print the document in some other template, it can be done also here — just choosing the template from the list and printing in that template. It is not necessary to make any changes in Configuration.
Making custom receipts
We recommend making a copy of an existing template.
This ensures:
Datasets are already loaded into the template
You do not permanently overwrite an existing template
To copy an existing template, navigate to the Sales module and press Invoices.
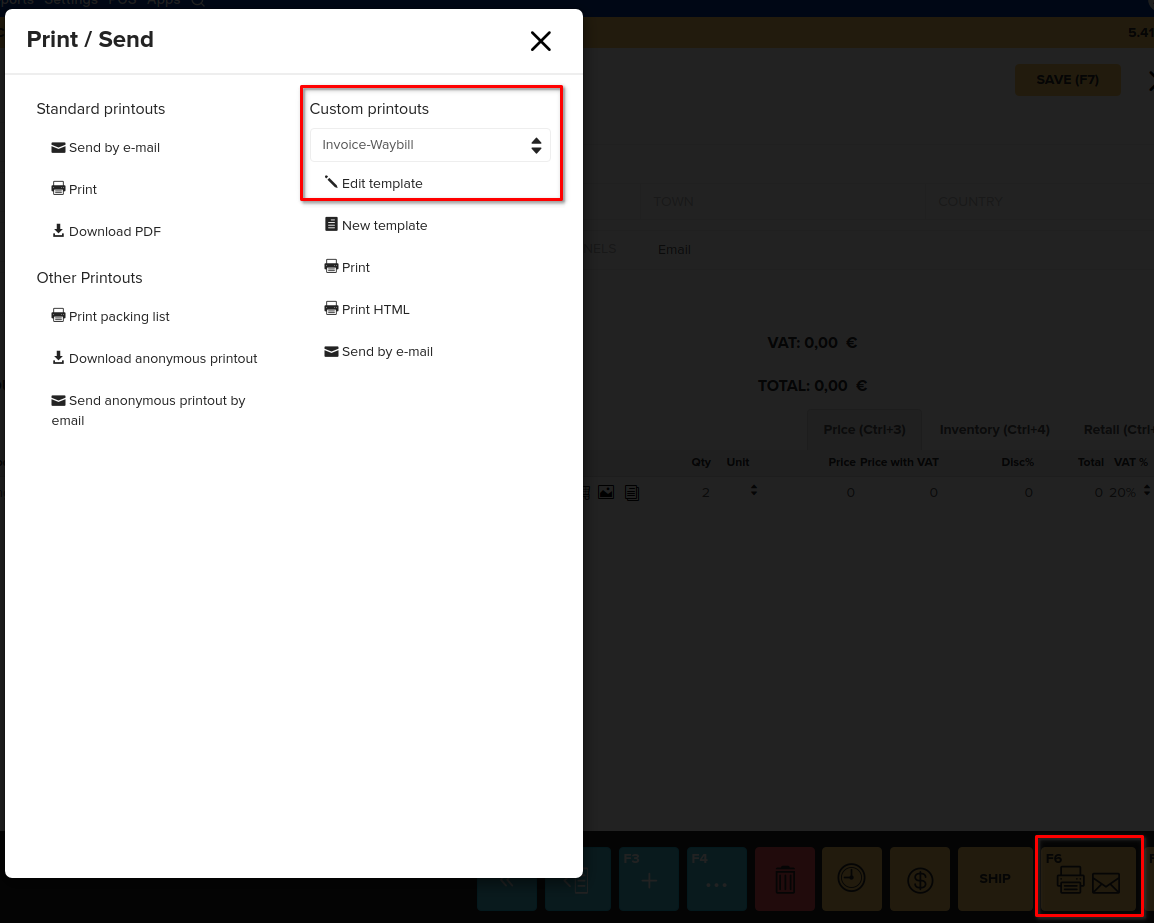
Click on any invoice, then click the Print/email button on the bottom menu bar.
In the Custom printouts section, click the dropdown menu bar and select Invoice-waybill. Press Edit template to open the template in Actual Reports.
Click File from the top menu bar and select Make a copy. This will allow you to create and rename a new copy of this invoice template.
Recommended gift receipt format
A gift receipt shows proof of purchase but leaves out the amount spent. It can be used to return goods given as a gift.
If you have bought someone a present, you can give them the gift receipt in case they don't like it, and then they can take it back to the store and exchange it for something else.
Click File in the top menu bar and select Page setup to adjust the page size.
The following recommended dimension values work with most conventional receipt printers:
Page setup:
Width: 10
Height: 25
Unit: Centimeter
Orientation: Portrait
Margin:
Top: 1
Left: 0.5
Right: 0.5
Bottom: 0.3
Rotation: 0
Add and rearrange elements in your new receipt template until you create a layout that you’re satisfied with. Learn more in our Actual Reports guide.
Note: If you're using the Open Sans font, try to keep your font size within the range of 12 to 16. Anything below 12 might look too small and anything above 16 might look too big.
Assign Your New Receipt Template to a Store Location and Register
In the back office, navigate to Retail and select Locations. Open the POS location where you wish to add your custom receipt template.
Scroll down and click on the Attributes tab. Select New to create a new attribute.
Enter the following values in exactly as they appear on this guide:
Attribute name: “actual_report_id”
Attribute type: int
Attribute value: The template ID #, instructions for finding it are below.
Save when you are done.
Back on the location card, locate the Points of sale tab and click on the Register that you would like to have your custom receipt template print out on.
Create a new attribute using the same values as above.
Finding the Template ID
To locate a receipt’s Actual Reports template ID, look at your web browser’s URL.
The Actual Report’s template ID is the number located after the “/editor/” line. Save this number, you will need it later!

Reloading Your POS
Depending on your cache settings, your computer might still remember the old receipt ID. If your new receipt does not print out, you’ll need to clear your cache for Erply.
Open your POS, right-click on a blank space and select Inspect. It will open new menu on the right side of the screen.
Locate the reload icon on the left side of the address bar in your browser. Hold down a right-click on the reload button and select Empty cache and Hard reload.

Your POS will reload. Close the inspect tool by clicking the X icon on the right side of the POS as shown below:
You’ve successfully created a custom receipt! After following all the steps above, you should now be able to provide your customers with customized receipts that better reflect your business.
List of Common Values Added to Receipts
Click the Text button to add a new text field to your receipt template.
You can click and drag the text field to move it anywhere on your receipt template.
Click on the text field to select it, then click Insert data field on the right-hand Properties menu bar.
Data values commonly added to custom receipts:
Data field name | What is added: |
| {payerName} | Customer name |
| {documentDate} | Date of sale |
| {title} | Name of item purchased |
| {warehouseName} | Store location |
| {registerName} | Register name and store location |
| {documentNumber} | Sales document number (orders, invoices, receipts, etc) |
| {referenceNumber} | Document reference number (orders, invoices, receipts, etc) |
| {attribute source-uuid} | Gift card serial number |
Also check our guide on adding loyalty points and customer credit on your receipts!
Printing a Gift Receipt
After a sale has been completed, and a gift receipt needs to be printed, simply navigate to the Recent Sales button.
You will then find a list of your recent sales and can initiate printing the gift receipt by clicking on the Gift button on the necessary row.