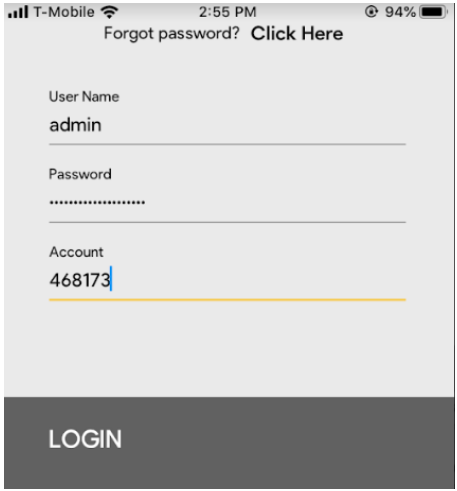
Log into the Stocktaking app
Login with your Erply username, password, and account code. Contact support@erply.com if you forgot your credentials.
User rights
Users must have the right to view “Physical stocktakings” in order to use the Stocktaking app.
To create a new stocktake, user must have “adding” rights enabled in “Physical Stocktakings” module
To count items, the user must have “editing” rights enabled in “Physical Stocktakings” module.
Using the Stocktaking app
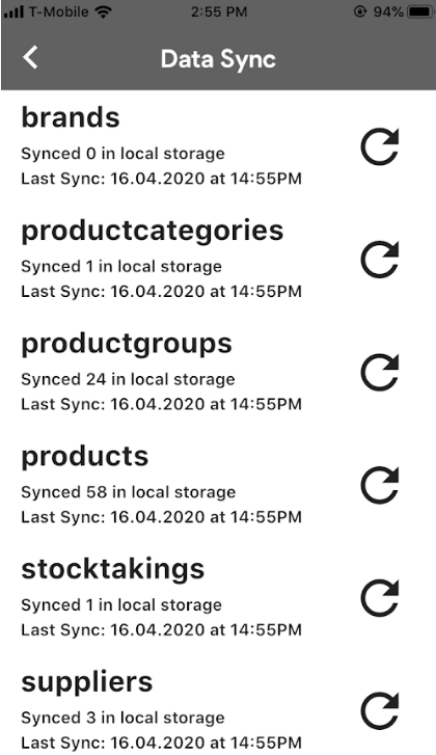
Data Sync
The app will automatically sync your product catalog upon login. This is to support offline counting.
- New products will be added
- Archived and deleted products will be removed
- Existing products will be updated if there are changes in products' data
For large product catalogs, the product sync after the very first login (upon installing the app) might take some time.
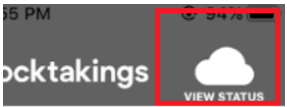
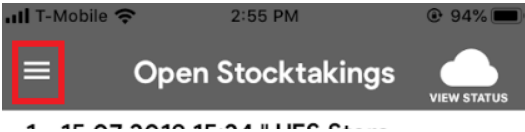
You can view the status of synced data at any time by tapping the cloud icon.
In the report you will see how many records are saved in local storage and when was the local database last updated. If needed, you can start the sync manually.
In-progress stocktakings
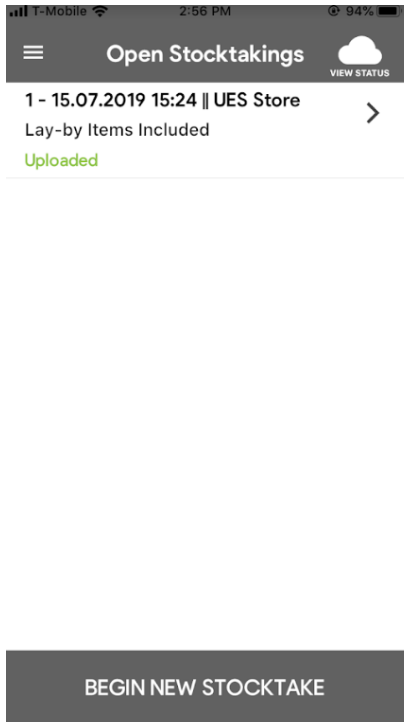
After daya sync, list of “in progress” stocktakings is displayed, including:
- Stocktaking ID
- Creation time
- Filter information (location, product group, brand, category, supplier)
- Stocktake document status:
- Draft - Stocktakings that contain counted items that are not uploaded yet
- Uploading - Stocktakings which counted items are being currently uploaded
- Uploaded - Stocktakings which counted items have been uploaded successfully
Creating new stocktake documents
Tap on the Begin New Stocktake button at the bottom of the app homepage. Users can also tap on an existing stocktaking to start counting or create a new stocktake.

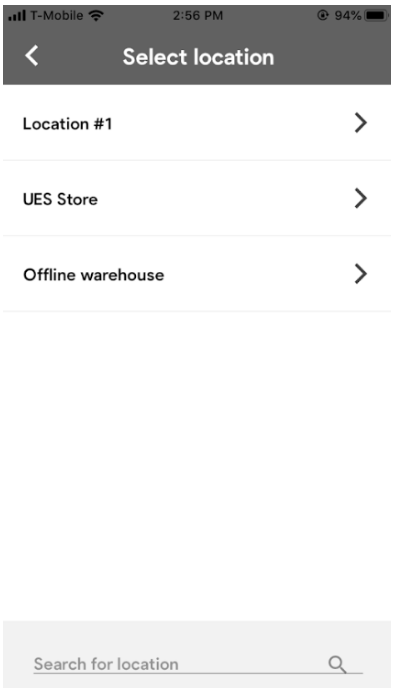
Specify the warehouse/location where the stocktake is taking place.
If you have several locations in your Erply account, you can search for a specific location using the search bar at the bottom of the screen.
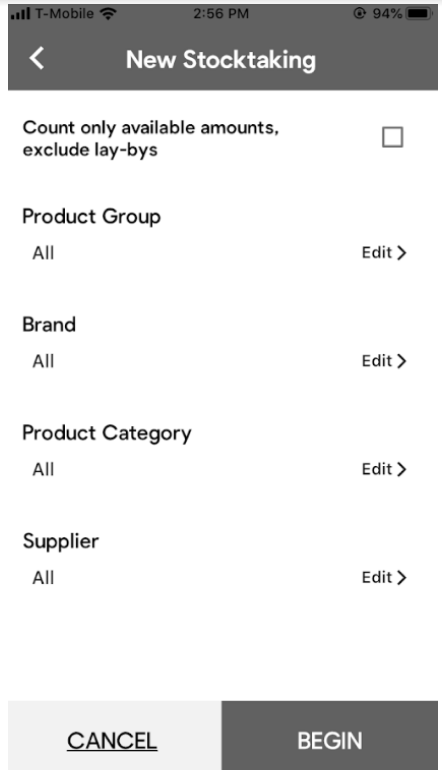
Add additional filters if you plan to do partial stocktakes of specific sections, then select Begin when you’re ready to start your stocktake.
Count only available amount, exclude" layaways:
When a new inventory report is completed, Erply will record the current quantity of all products so that later (Back Office, dispersion report) lists can be compared to this number.
Selecting this option excludes "reserved products" from the calculation, which means that the products listed are compared to "free" products.
A new stocktake document will be saved and synced with Erply Back Office.
If your device is not connected to the internet, a new stocktake document is saved locally (marked with a star "*" in the list of stocktakings) and synced with Erply when uploading counts.
Counting items
Select a stocktake from the Open stocktakings screen. The main counting screen is displayed.
Start counting items:
- Pair your Bluetooth scanner and start scanning or tap the barcode icon to use the device camera. You can also insert code manually.
- Tap on Count (no need to tap the “count” button if your paired scanner is configured to send “enter key” or if you use device camera)
- When a product is found from the product catalog, then the app saves the count locally into the device and plays the sound of successful count.
If multiple results are found, then the app automatically selects either the oldest or latest modified item (the rule can be changed in Settings).
Products not found
When no product is found, there can be various reasons:
- Non-stock product code was entered
- Archived product code was entered
- Bundle products and matrix parent product code was entered
- Product catalog is not synced
- Product has multiple codes (i.e 1234567,87654321) but a special conf parameter (use_product_fulltext_in_index=1) is missing from account conf that enables search in the middle of the code with full-text index search support (contact Erply Support to configure)
List of counted items
All counted items are displayed as a list with name, EAN/UPC, and code.
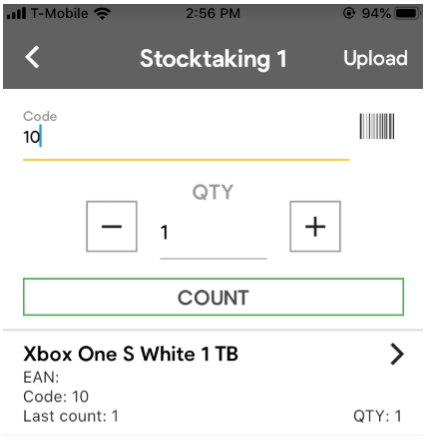
Last count - quantity counted during the last scan
QTY - total quantity counted
The latest scanned item shows up at the top of the list.
The app allows you to take breaks, if needed - you can navigate away from the "counting screen" or even log out. After returning, the list of locally scanned items is still there. You won't lose your work and can pick up from where you left off.
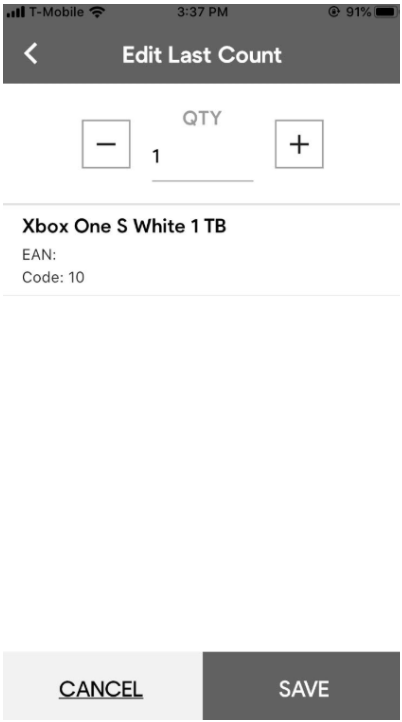
Edit last count
You can edit the last count quantity by tapping the product in the last scanned product list.
This feature helps to make adjustments to counted quantities, such as:
- If you scan the wrong product or make another similar error.
- If you want to count items with the same code at once without physically scanning them one by one.
Upload to Erply
After items are counted, tap the Upload button at the top right of the stocktaking page.
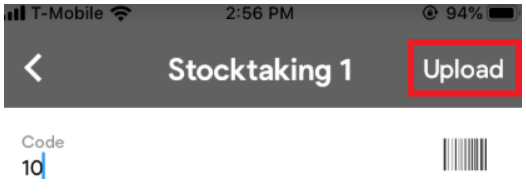
This will send and save counts in Erply. You can use multiple devices for stocktaking and upload quantities simultaneously.
After successful upload, the screen will be cleared from counted items.
App Settings
To open the app settings, press the button with 3 horizontal lines at the top left of the main app screen.
From here, you can log out of the app and toggle multiple settings, which are described below:
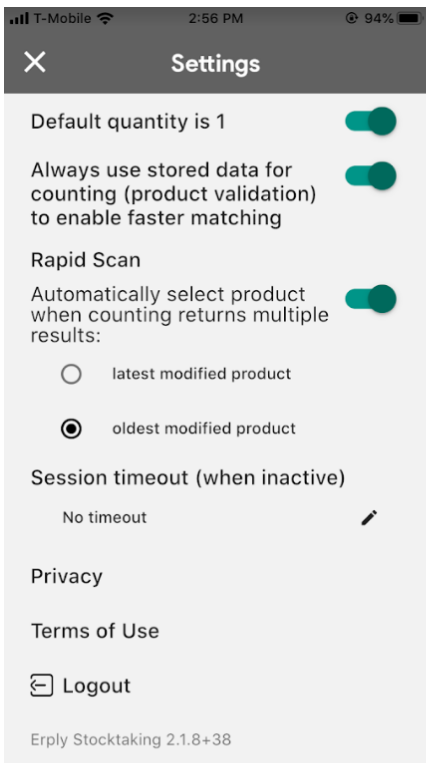
| Default quantity is 1 | Specifies whether the "QTY" field should be pre-populated with amount "1" on each scan, or should it be empty and require a value from the user. |
| Always use stored data for counting | If enabled, then product lookup is done against local product database only. Optionally you can disable this setting - the app will then sync product info with Erply on every scan |
| For multiple search results, automatically select latest/oldest modified product | If enabled, then in case multiple items are found as a scan result, the app selects and saves product automatically according to the selected rule. If disabled, then in case of multiple search results, user must pick the item manually. This is account level setting - changing the rule will change settings in all devices. You must have “Configuration” right enabled in Back Office to change this setting. |
| Session timeout (when inactive) | Select the session timeout that will take effect when the app is inactive. NOTE: do not set any timeout when working offline - the app doesn’t support offline login. This is account level setting - changing the rule will change settings in all devices. You must have “Configuration” right enabled in Back Office to change this setting. |