The purpose of this plugin is to add a URL button(s) or Product button(s) in the function and sale options area.
Plugin Activation
To enable the plugin, navigate to POS Settings -> Plugins, search for Custom POS buttons and tick the checkbox to enable it.
Click on the ‘Configure button'.
Create custom button with link
In order to create a custom button with a link, click on the ‘Add new link button’.
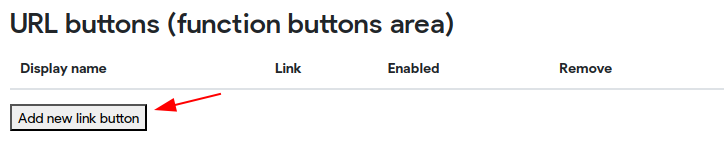
Enter the custom buttom name into the ‘Display name’.
Copy the link of the website and paste it to the ‘Link’ field.
Mark the ‘Enabled’ checkbox.
There is also ‘Remove’ button if you do not need the custom button anymore.
Do not forget to click ‘Save’.
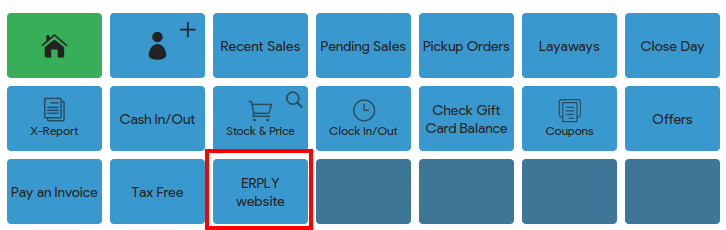
Custom button with link will be added to the end of function buttons area. Expand the function buttons area by clickin gon the ‘three dots’ button to see a new custom button:
Create custom button for exact product
First of all, add the product you wanted to have a custom button in the cart.
Then navigate to the POS Settings -> Plugins -> Custom POS buttons plugin.
Click ‘Configure plugin’.
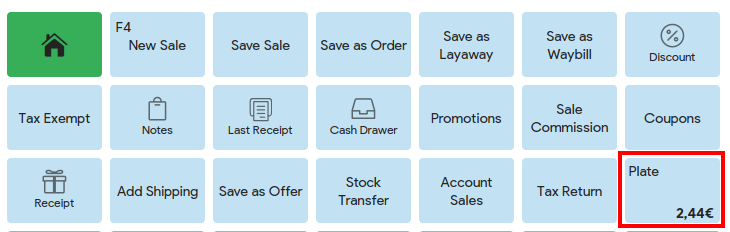
Under the "Product buttons"(saleoptios area)" there will be a button with product name and ‘add as button’:

Click on it and new field for product will be added with ‘Enabled’ check mark and ‘Remove’ button.
Do not forget to click ‘Save’.
The custom product button is added to the end of option buttons area. Click on the ‘three dots’ button to expand option buttons: