Which operating system to choose?
We support all the major operating system with a good range of latest versions. See the full list here:
- Windows (10/11)
- MacOS (since Yosemite)
- Linux (Ubuntu)
- Android (since 12)
- iOS (since 17.0)
Supported hardware for the POS
- Regular computers with Windows/Mac/Linux Ubuntu
- Android tablets and mobile phone since 12 OS version.
- iOS tablets and mobile phones since 17.0 OS version.
- Sunmi POS station since Android version 9.
Note: in Europe region the possible variants of POS system hardware is listed HERE. All of them are compatible with Erply Point of Sale system.
Sunmi POS station
Supported device model: Sunmi T2
Implemented payment integrations: external payments, Nets Finland, Adyen.
Minimum system requiremets:
- Android version: 9.0 and higher.
- Sunmi OS version 3.3.5 and higher.
What hardware options do we have?
Erply supports a wide range of hardware, from the most common to very specific and detailed solutions. This is point of sale hardware that we have integrated and know will provide seamless day-to-day work:
- Printers
- Scanners
- Cash drawers
- Customer Displays
- Card Terminals
- Fiscals
- Scales
- POS Computers
Printers
| PRODUCER | EXACT MODEL | PICTURE | SETUP | OS SUPPORT |
|---|---|---|---|---|
| Star Micronics | mC-Print2 (MCP21LB BK) | 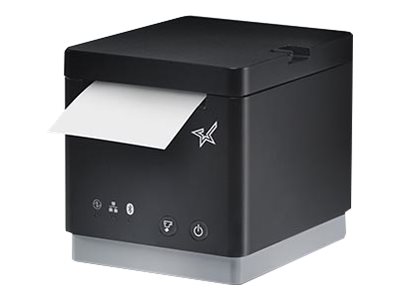 |
| Works on:
|
| TSP100III (TSP143III-LAN) | 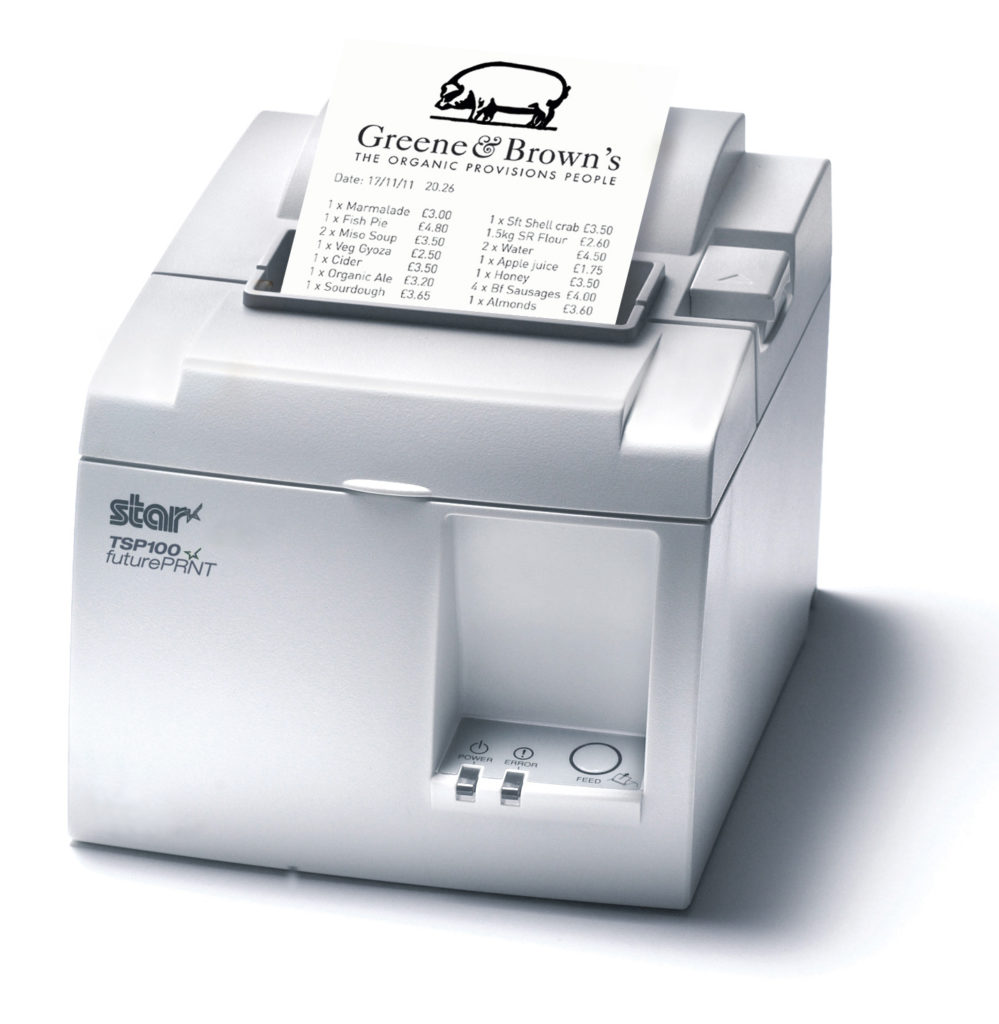 |
| Works on:
Note: printer name is TSP143III-LAN while using LAN connection. | |
| TSP650 (TSP654--STR_T-001-) | 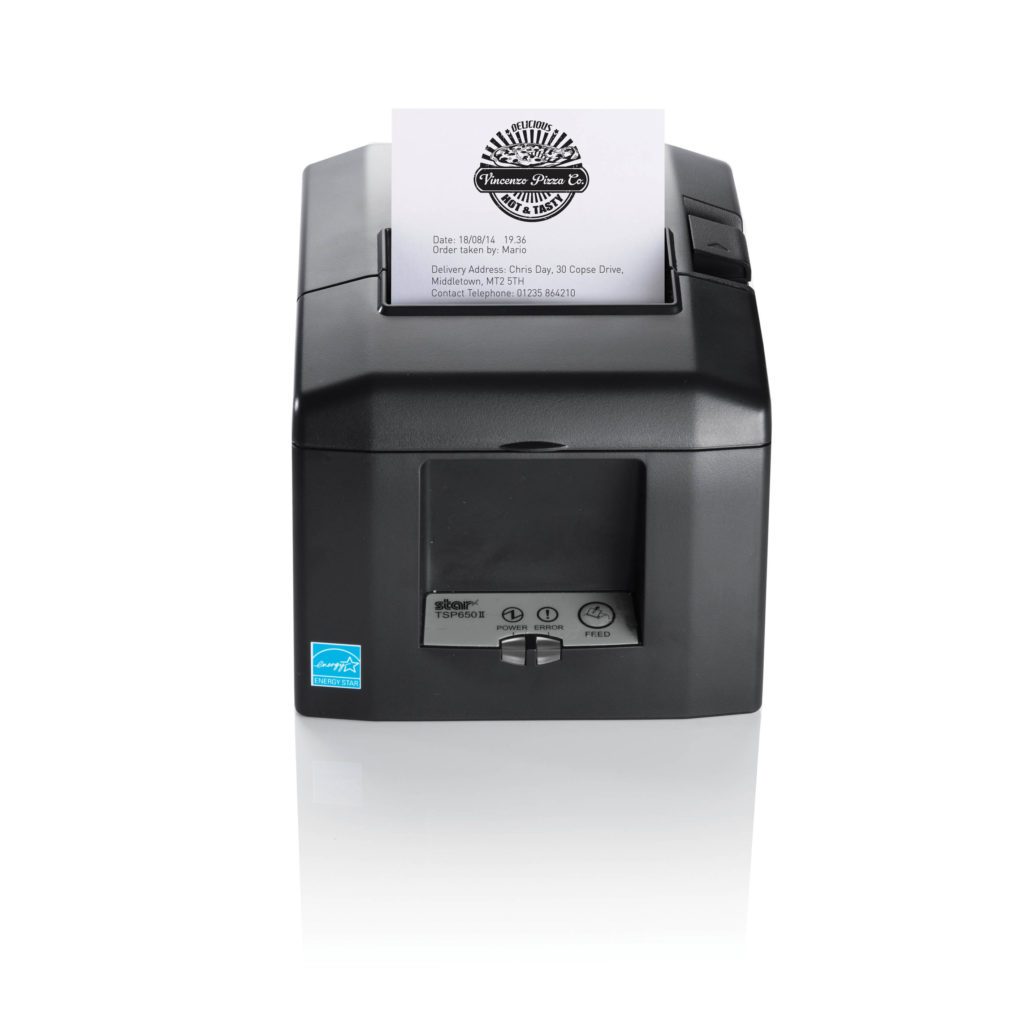 |
| Works on:
| |
| SM-L300 | 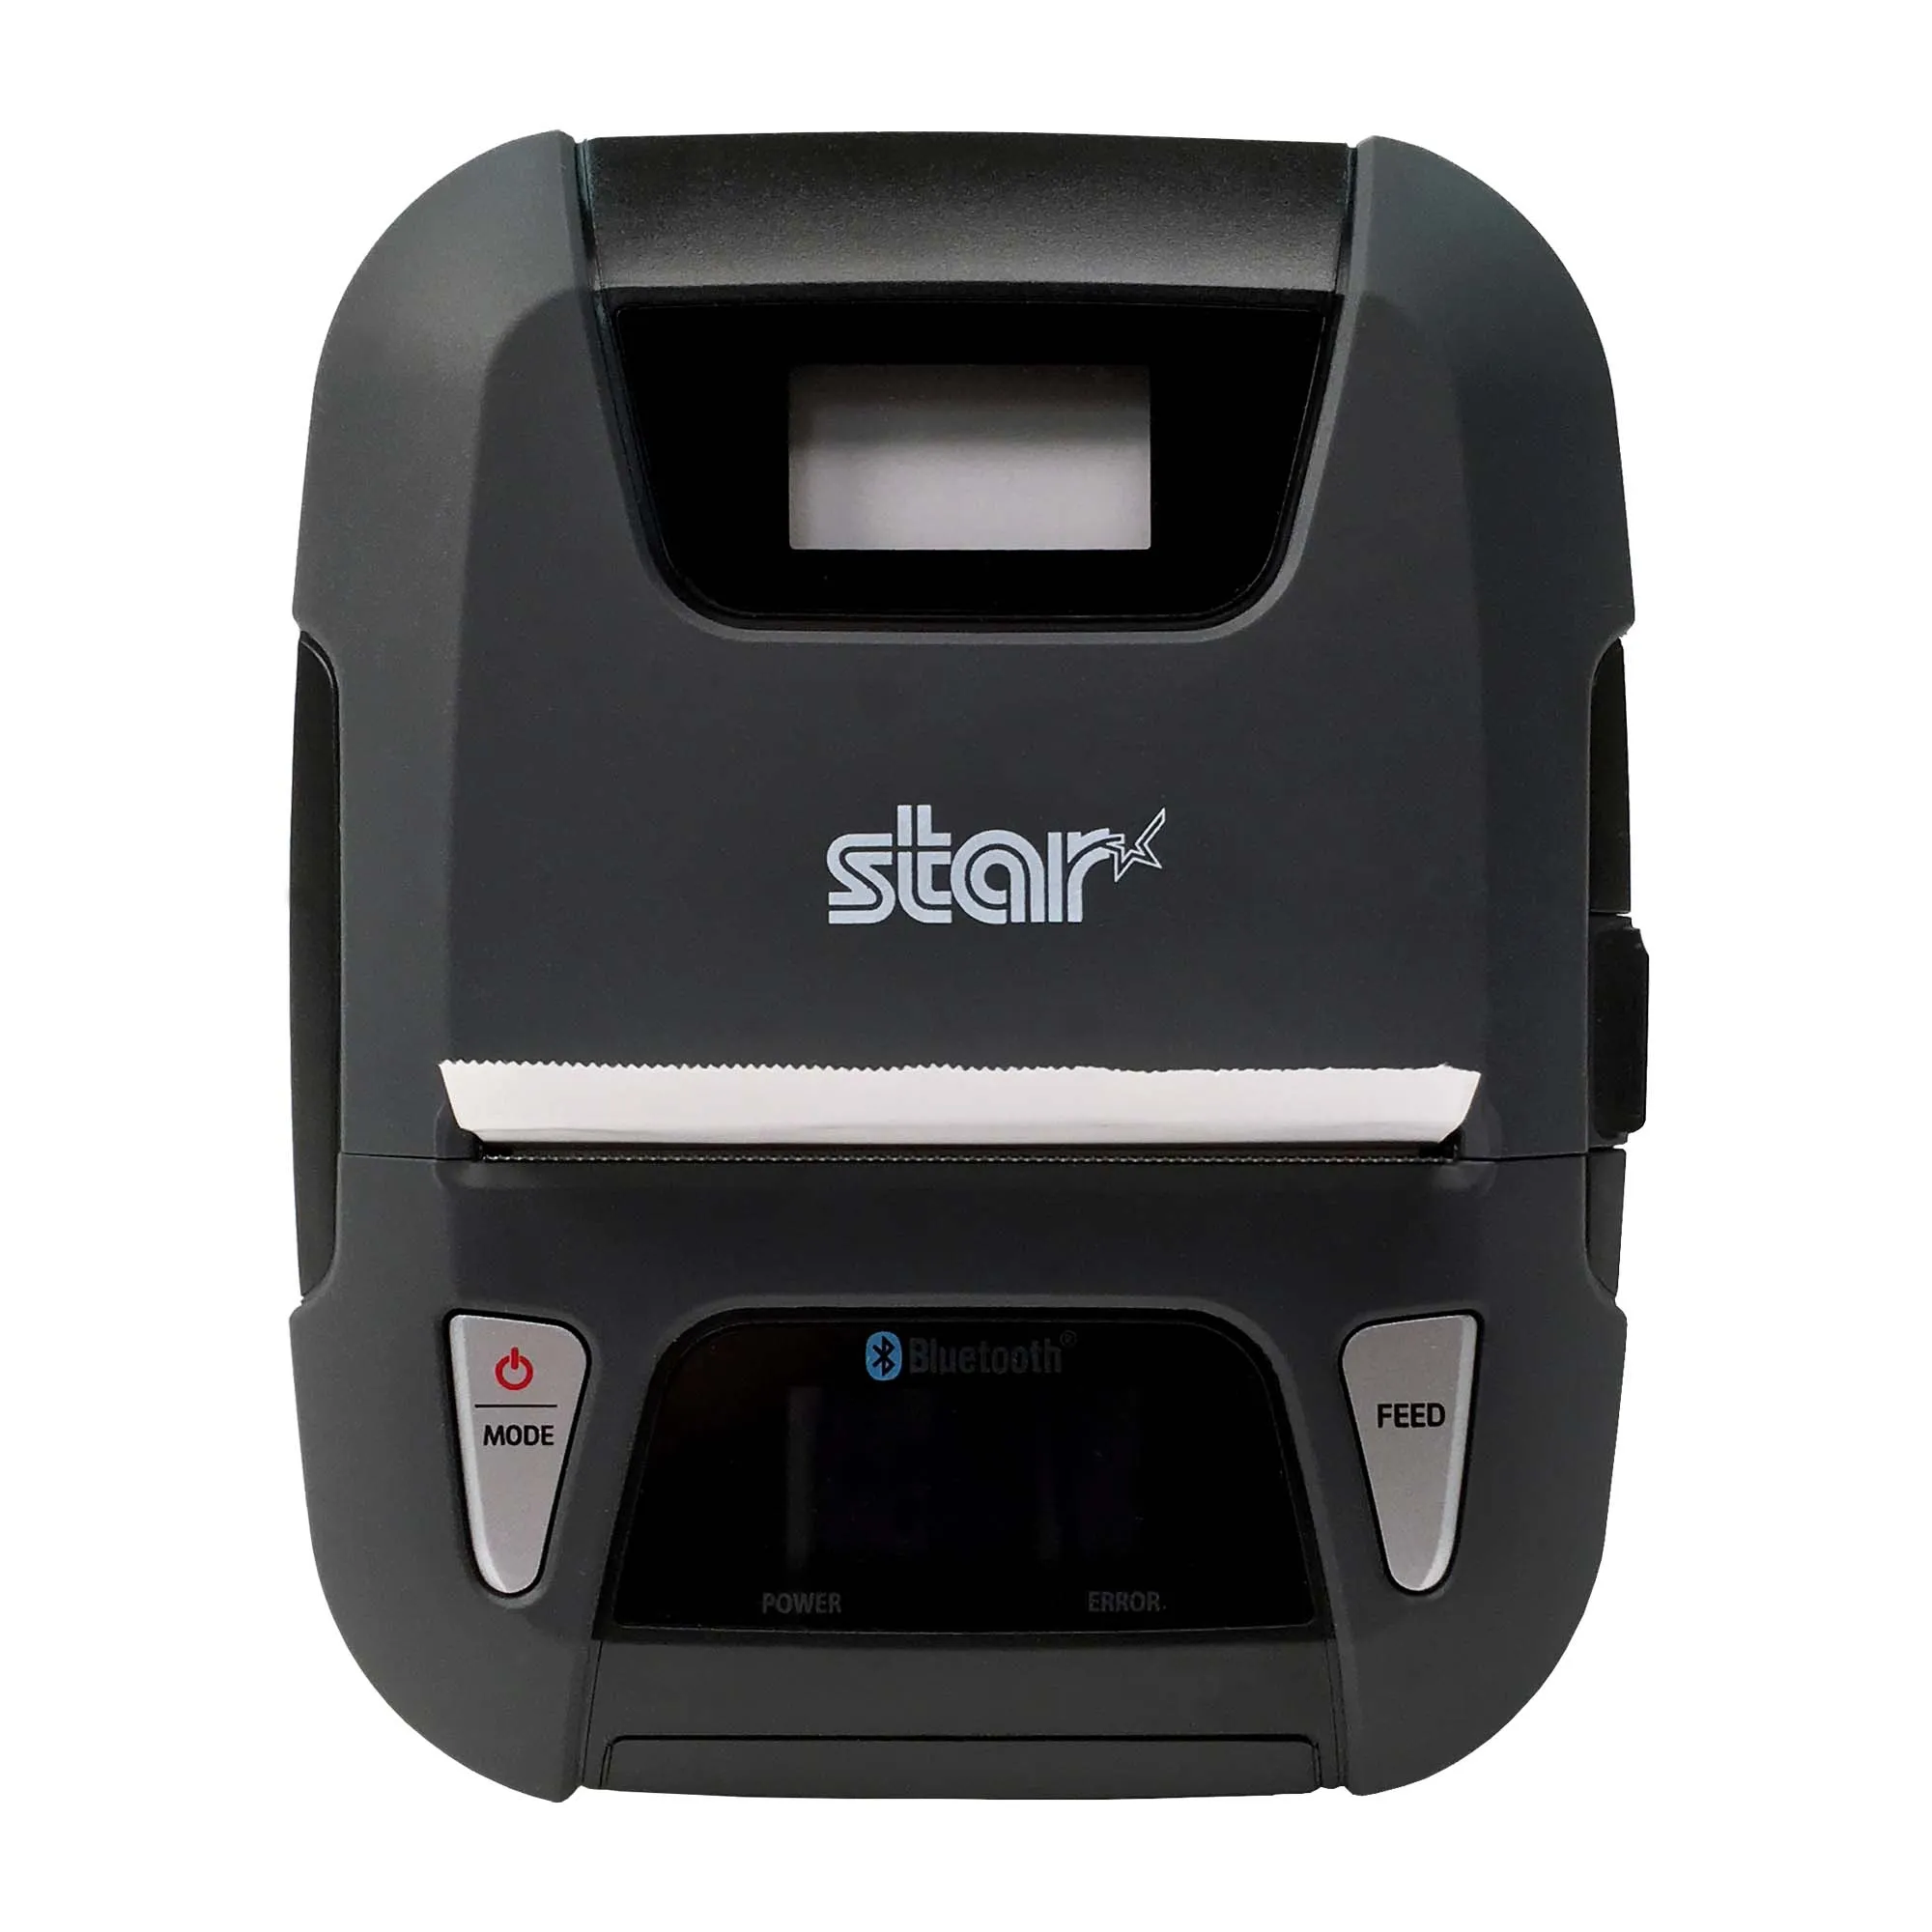 | Works via Bluetooth, no need to connect in the tablet settings.
| Works on iOS. Use application called ERPLY - Point of Sale. | |
| Epson | TM-T20III | 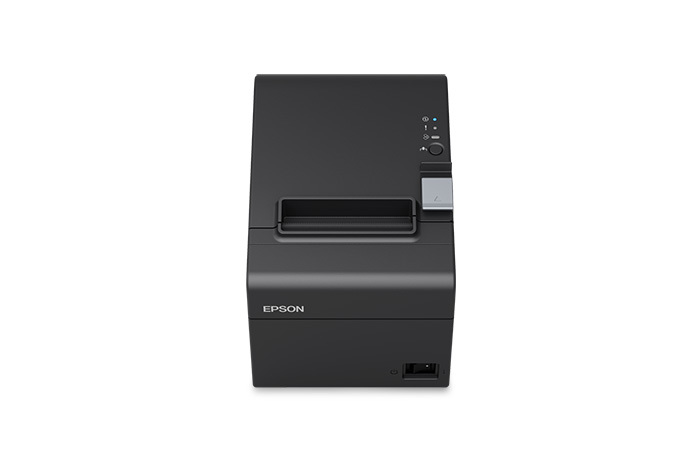 |
| Works on:
|
| TM-m30 | 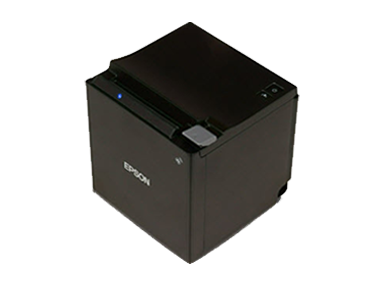 |
| Works on:
| |
| TM-m10 |  |
| Works on:
| |
| TM-T88IV | 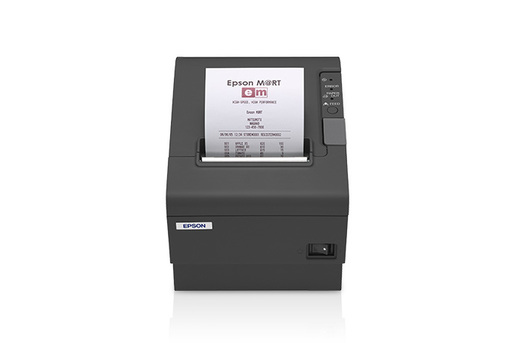 |
| Works on:
Check this guide to configure on Linux: https://www.usb-drivers.org/usb-serial-port-adapter-rs-232-in-ubuntu-linux.html
| |
| Citizen | CT-S651 | 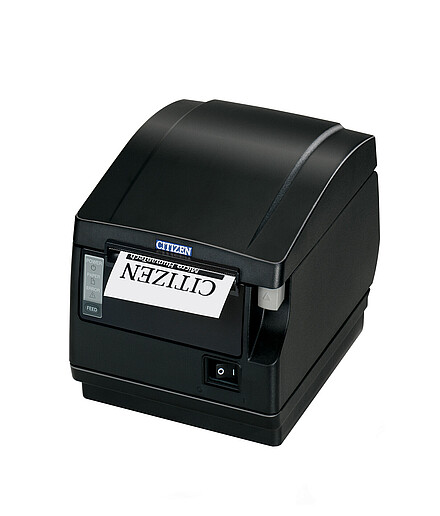 |
| Works on:
|
| Diebold Nixdorf | TH250 | 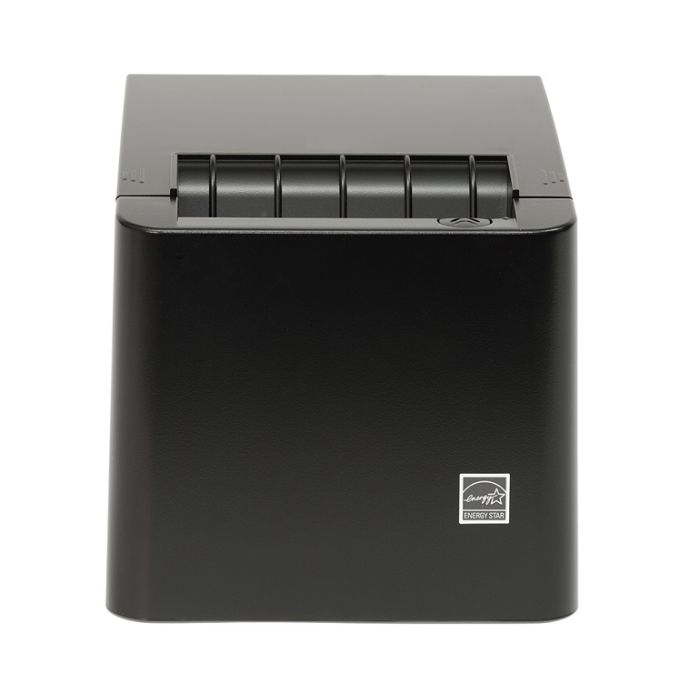 | Has a special USB power cable. Once plugged in configure through Wizard and POS.
| Works on:
|
| Partner Tech | RP-330 | 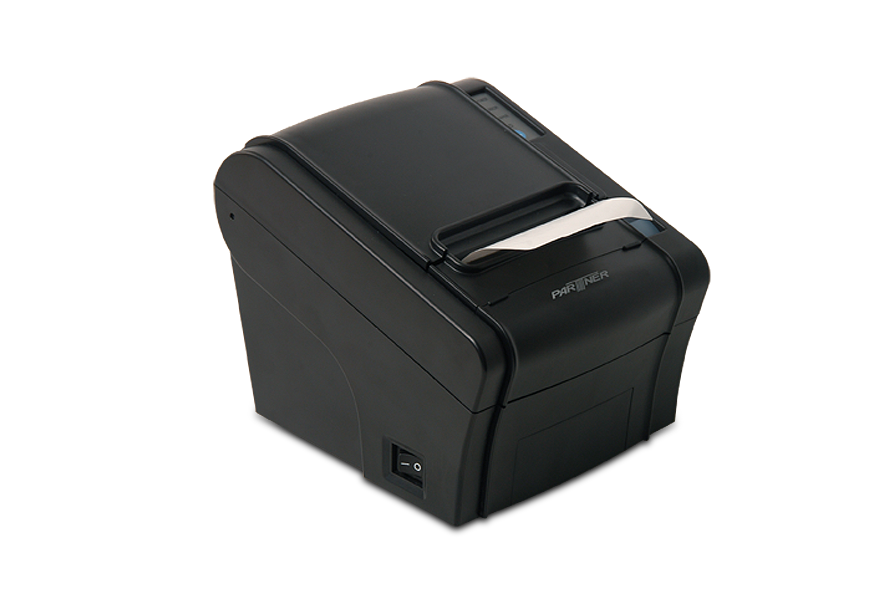 | Works on Windows/Linux.
| Works on:
|
Scanners
| PRODUCER | EXACT MODEL | PICTURE | SETUP | OS SUPPORT |
|---|---|---|---|---|
| Newland | NLS-HR22 | 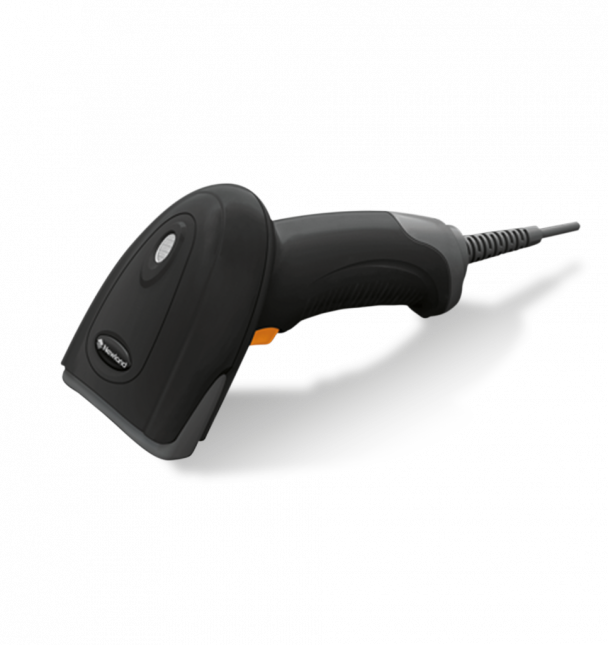 | Plug in scanner. Set up a barcode with barcode generator. Open POS. Open product search on POS and scan. | Doesn't work for iOS. Works on Windows, Linux and Android. |
| Star Micronics | BCR-POP1 | 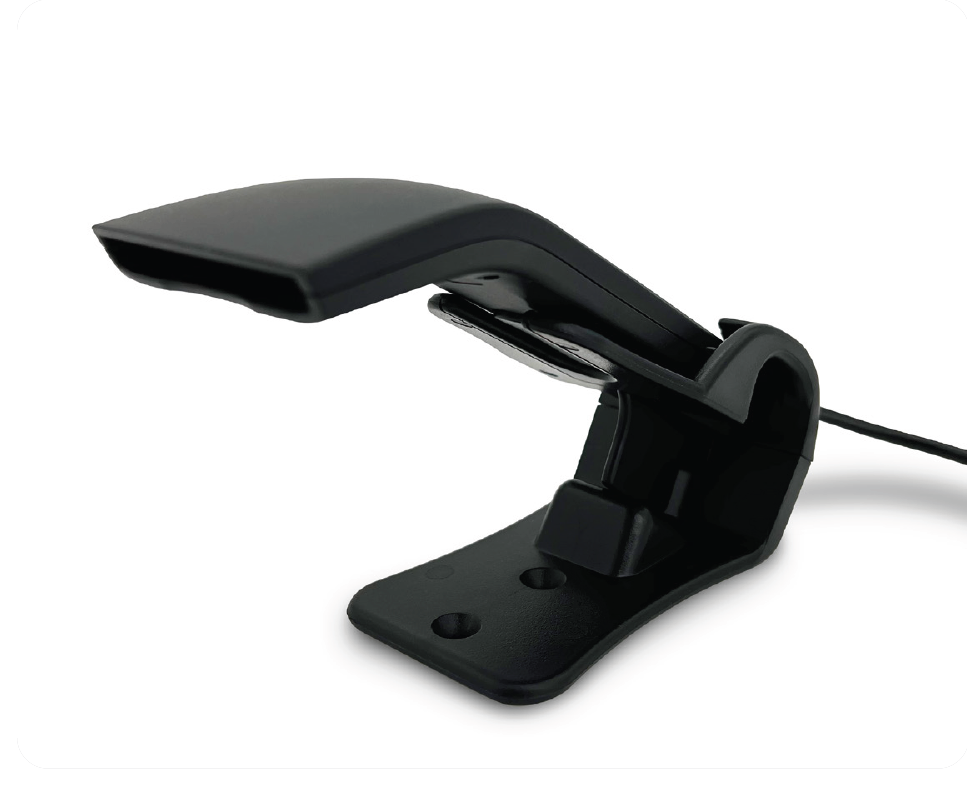 | Needs to be connected to mPOP. | Works through mPOP. Just plug in under the mPOP unit and check scanner connection through Star Quick Setup Utility app. |
| Sunmi | NS021 | 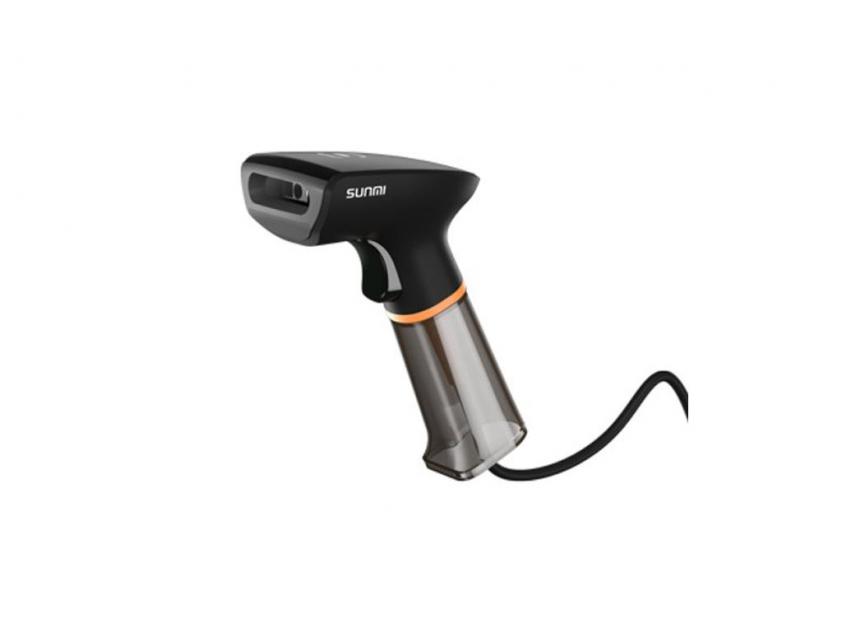 | Plug in scanner. Set up a barcode with barcode generator. Open POS. Open product search on POS and scan. | Doesn't work for iOS. Works on Windows, Linux and Android. |
| Datalogic | QW2120-BK | 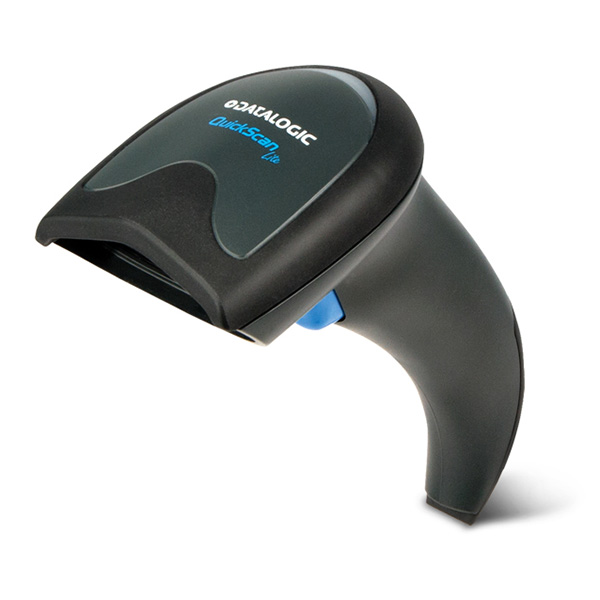 | Plug in scanner. Set up a barcode with barcode generator. Open POS. Open product search on POS and scan. | Doesn't work for iOS. Works on Windows, Linux and Android. |
| Zebra | DS2278 | 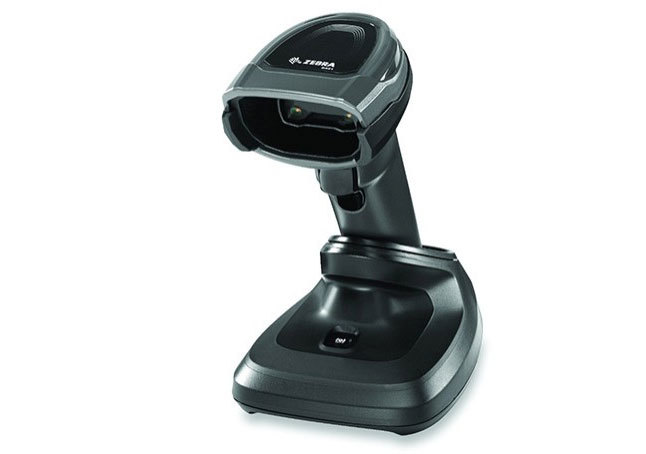 | ||
| Magellan | 8300/9300i | 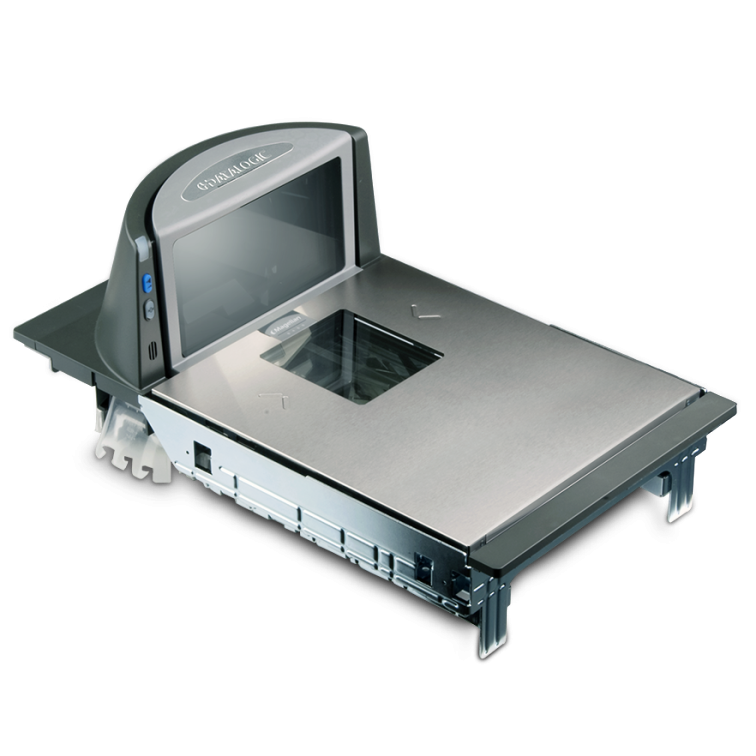 |
Customer Displays
| PRODUCER | EXACT MODEL | PICTURE | SETUP | OS SUPPORT |
| Glancetron/Jarltech | 8035 series | 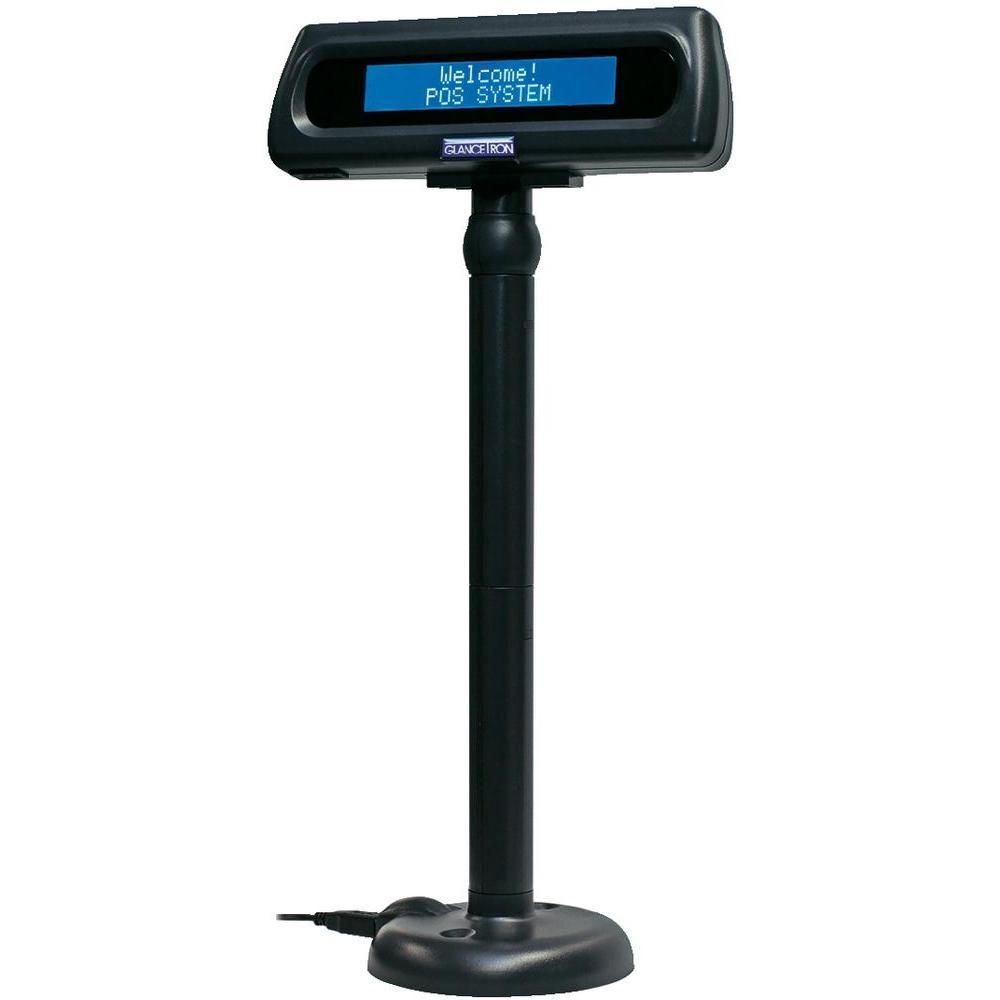 | https://wiki.erply.com/article/1107-glancetron-8035-8036-hp-lm940 Has 2 USBs, both need to be plugged in. Install driver from link under required drivers. In the wizard check that the microservice is installed and running and check the device name. Make sure that all the credentials are correct. | Works on Windows after installing the driver. For the Linux, in order to find port name, enter ls -l /dev/tty* in the Linux terminal window. Example of what should be added under port name in Wizard looks like this: /dev/ttyUSB0. Make sure all the other credentials are correct. Baud rate: 9600. |
| 8036 series | 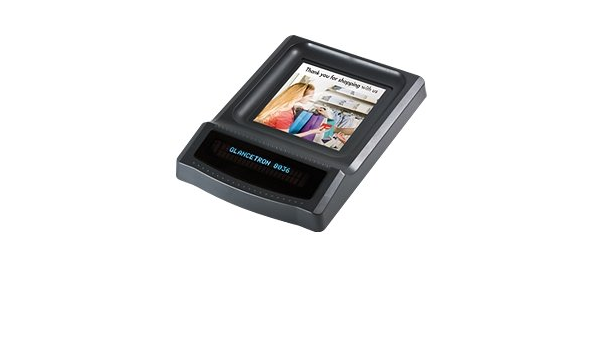 | https://wiki.erply.com/article/1107-glancetron-8035-8036-hp-lm940 Plug in USB. In the wizard check that the microservice is installed and running and check the device name. Make sure that all the credentials are correct. | Works on Windows and Linux. To find port name, use the same method as above. Baud rate 19200. | |
| HP | LM940 | 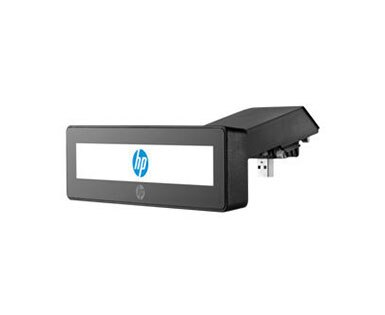 | ||
| Clientron | PM1000 | 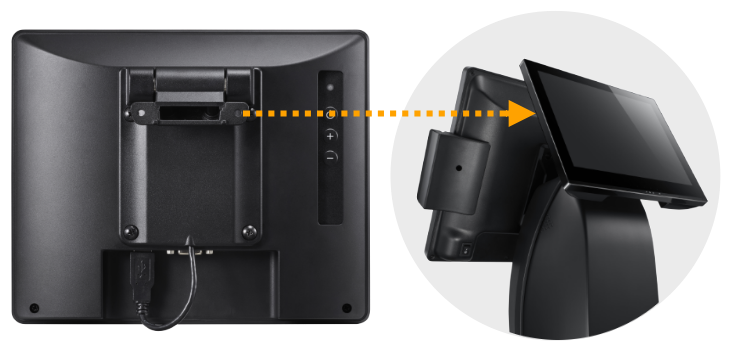 | ||
| Partner Tech | CD-7220-UN-G | 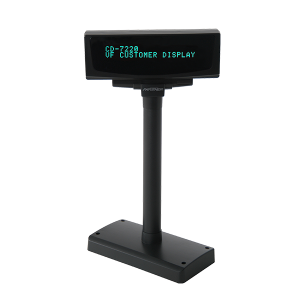 | Works on Windows and LInux. Requires Microservice of external devices. |
Scales
| PRODUCER | EXACT MODEL | PICTURE | SETUP | OS SUPPORT |
| Kern & Sohn | KIB-TM | 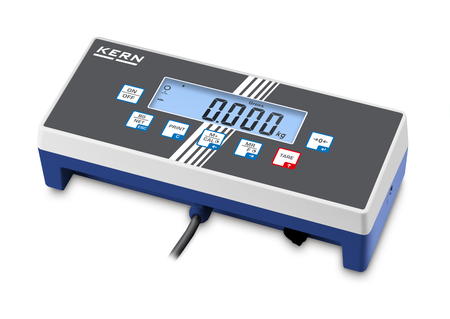 | https://wiki.erply.com/article/2084-kern-sohn-kib-tm-setup-with-brazil-pos?searchRedirect=true | |
| Sunmi | S2 | 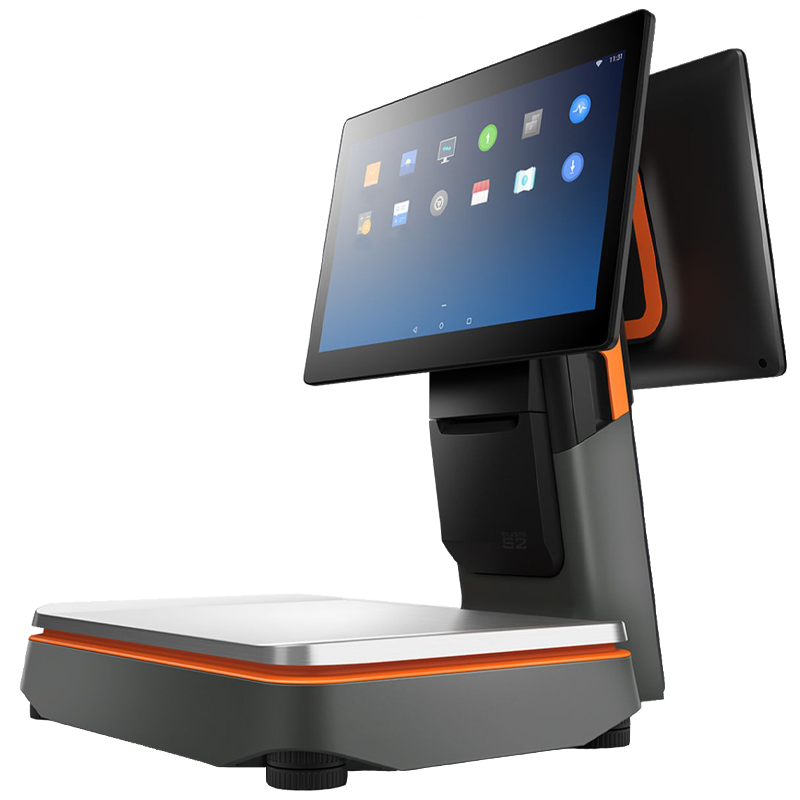 | Plug in power cable. Turn on. Control through Android screen. Open Erply Point of Sale application | Doesn't apply, it's a multifunctional system consisting of Android tablet, scale and a customer display. |
| OHAUS | Ranger 3000 | 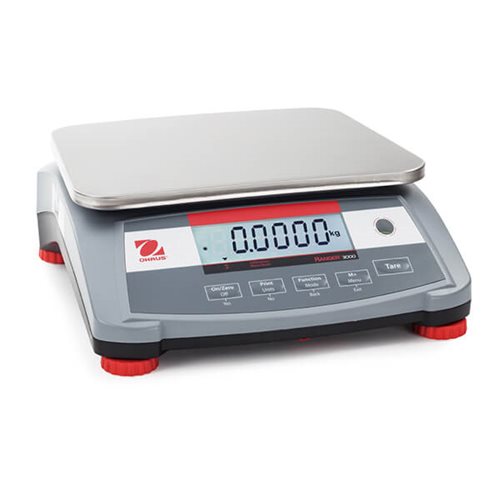 | https://wiki.erply.com/article/2083-ohaus-ranger-3000-setup-with-brazil-pos?searchRedirect=true | |
| CAS | PD-2Z(PD-II)(series) | 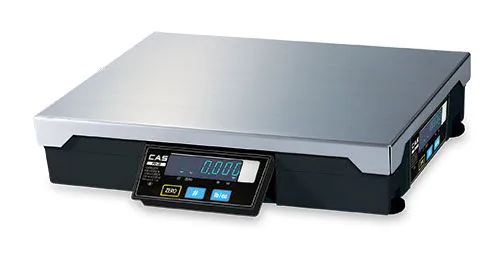 | Type-5 scales setup guide can be found here. | |
| CAS | PDN(series) | 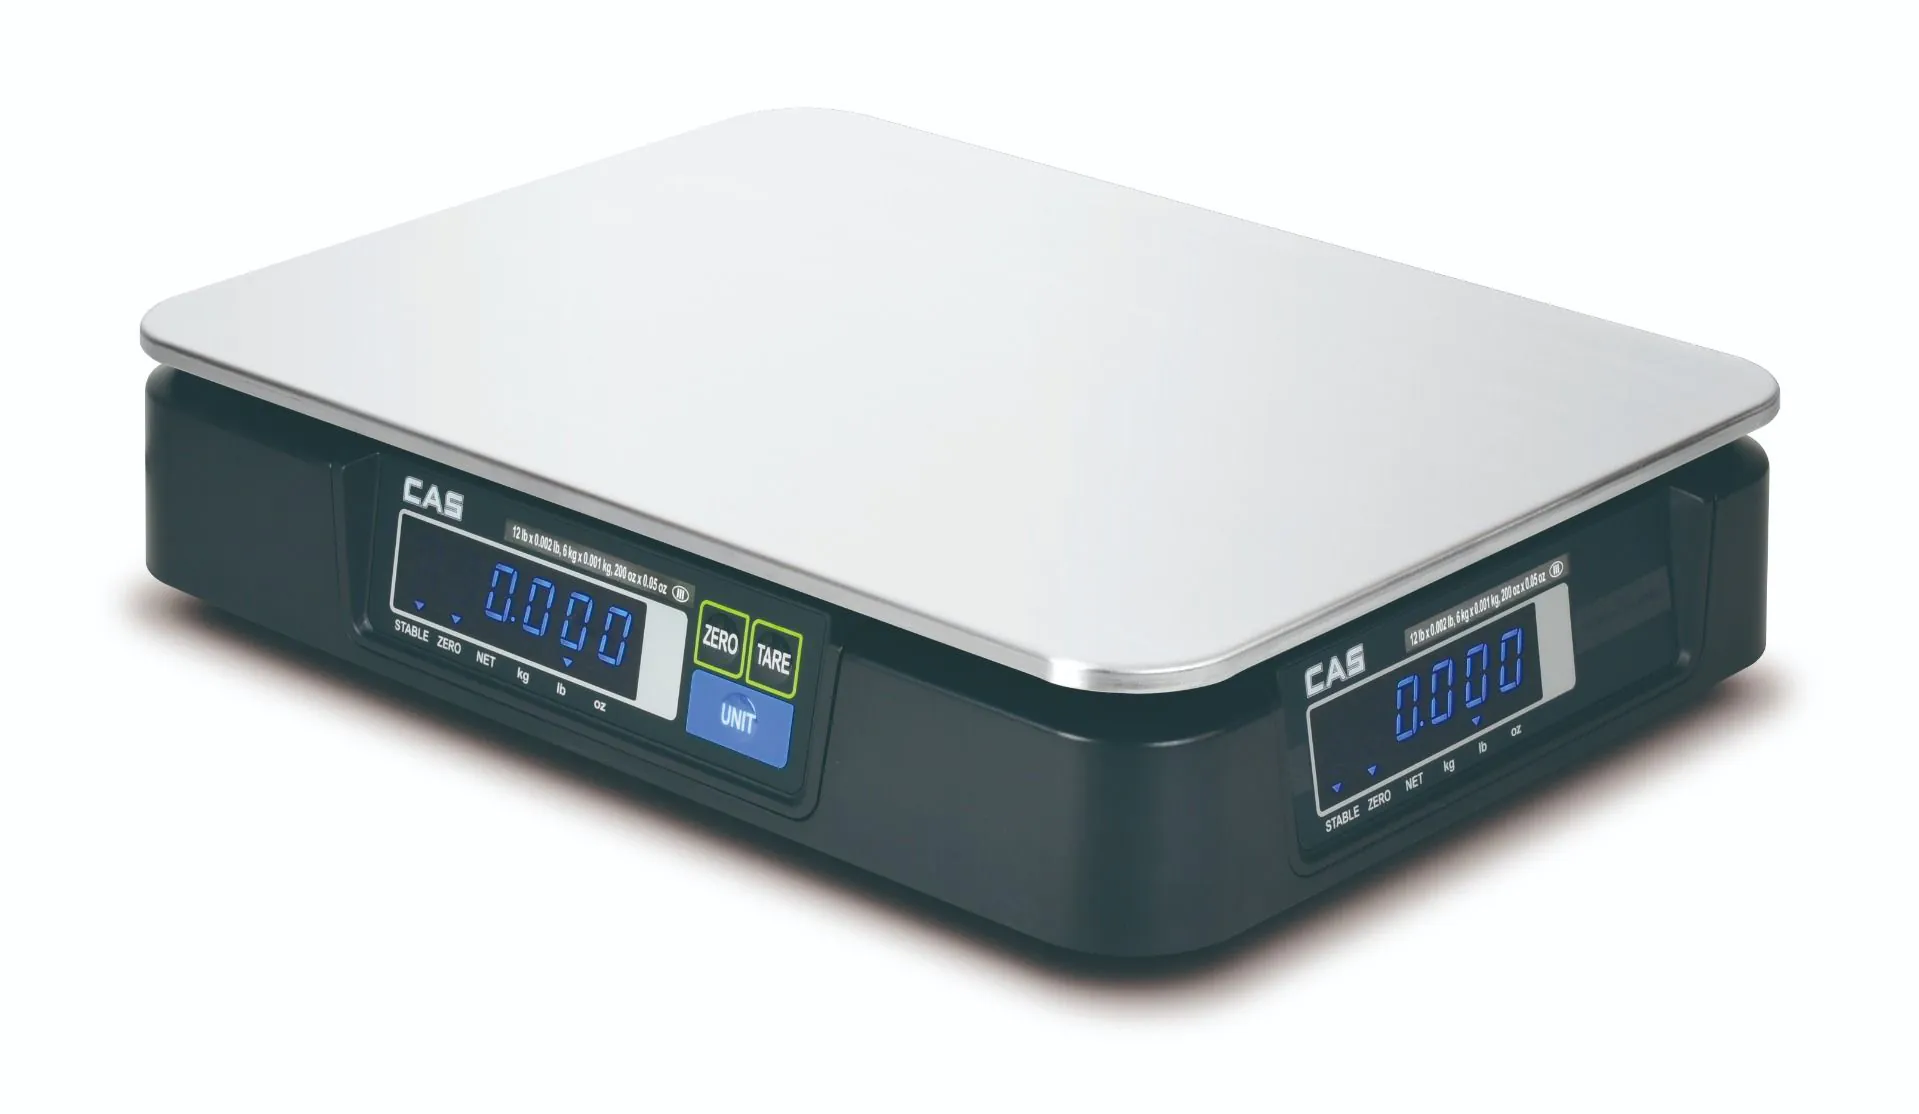 | Type-5 scales setup guide can be found here. | |
| CAS | ER Jr | 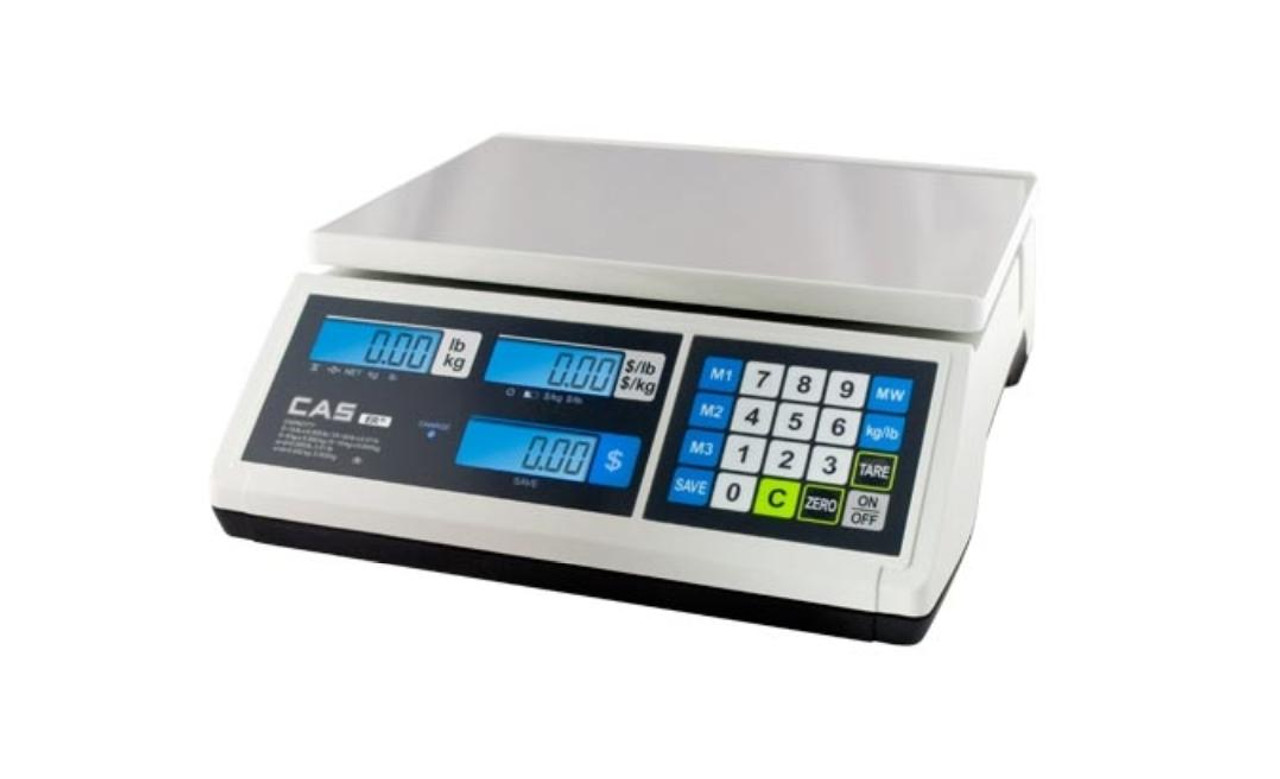 | Type-6 scales setup guide can be found here. | |
| CAS | PD PLUS PDi 15 | 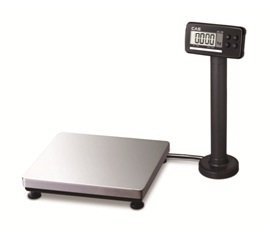 | Type-6 scales setup guide can be found here. | |
| Dibal | DPOS-400 | 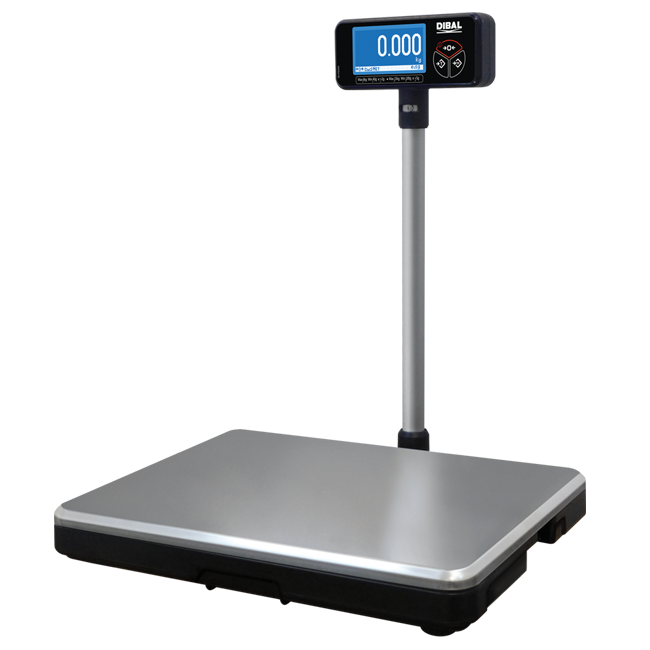 | Dibal scales are using NCI-ECR protocol. Setup guide can be found here. | |
| Dibal | G serie | 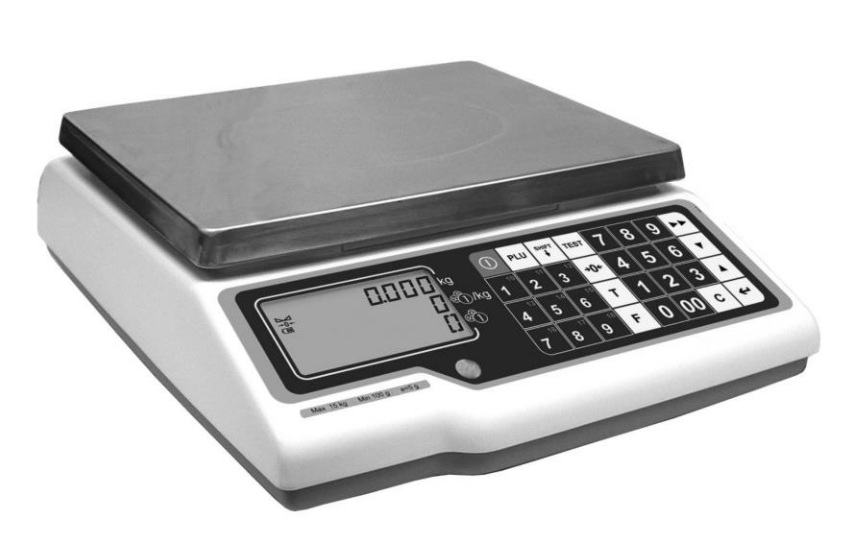 | Dibal scales are using NCI-ECR protocol. Setup guide can be found here. |
Cash Drawers
| PRODUCER | EXACT MODEL | PICTURE | SETUP | OS SUPPORT |
| Star Micronics | mPOP | 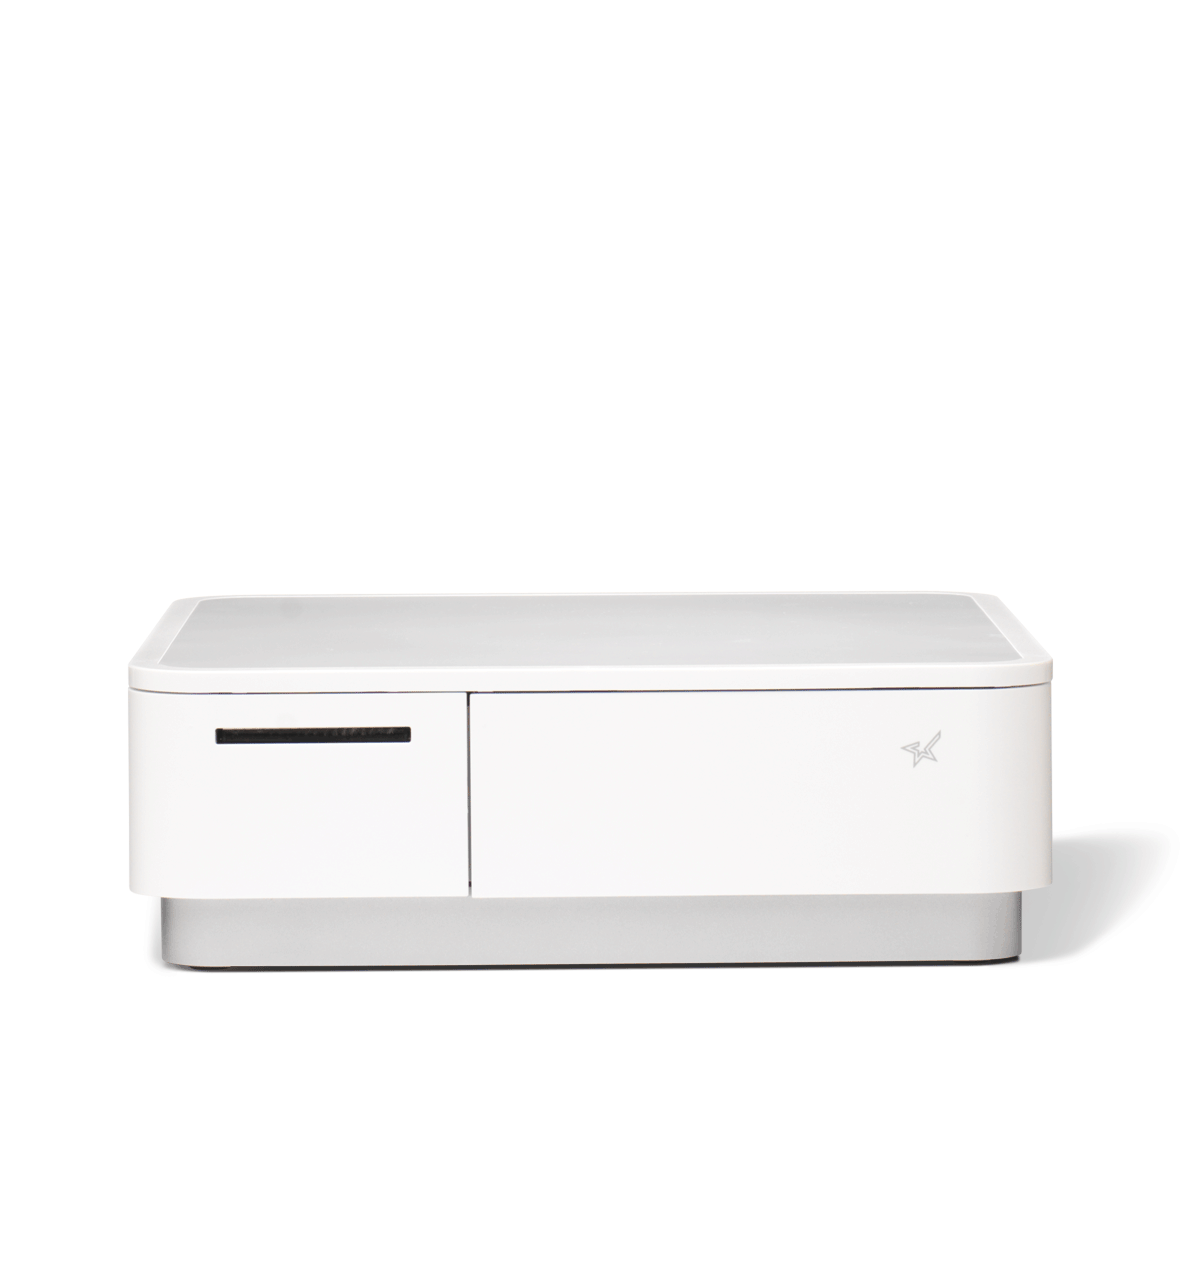 | https://wiki.erply.com/article/565-star-mpop-printer-ipad Plug in mPOP. Connect via Bluetooth to iPad. Check iPad settings according to Erply Wiki article. Use Star Quick Setup Utility application in order check that mPOP is connected. Use POS Super Wrapper app. Set up through printing configuration --> Bluetooth connection --> Printer name STAR-POP10 WHT | Tested and works on iOS/Android. |
| Any | 24V Cash Drawer | 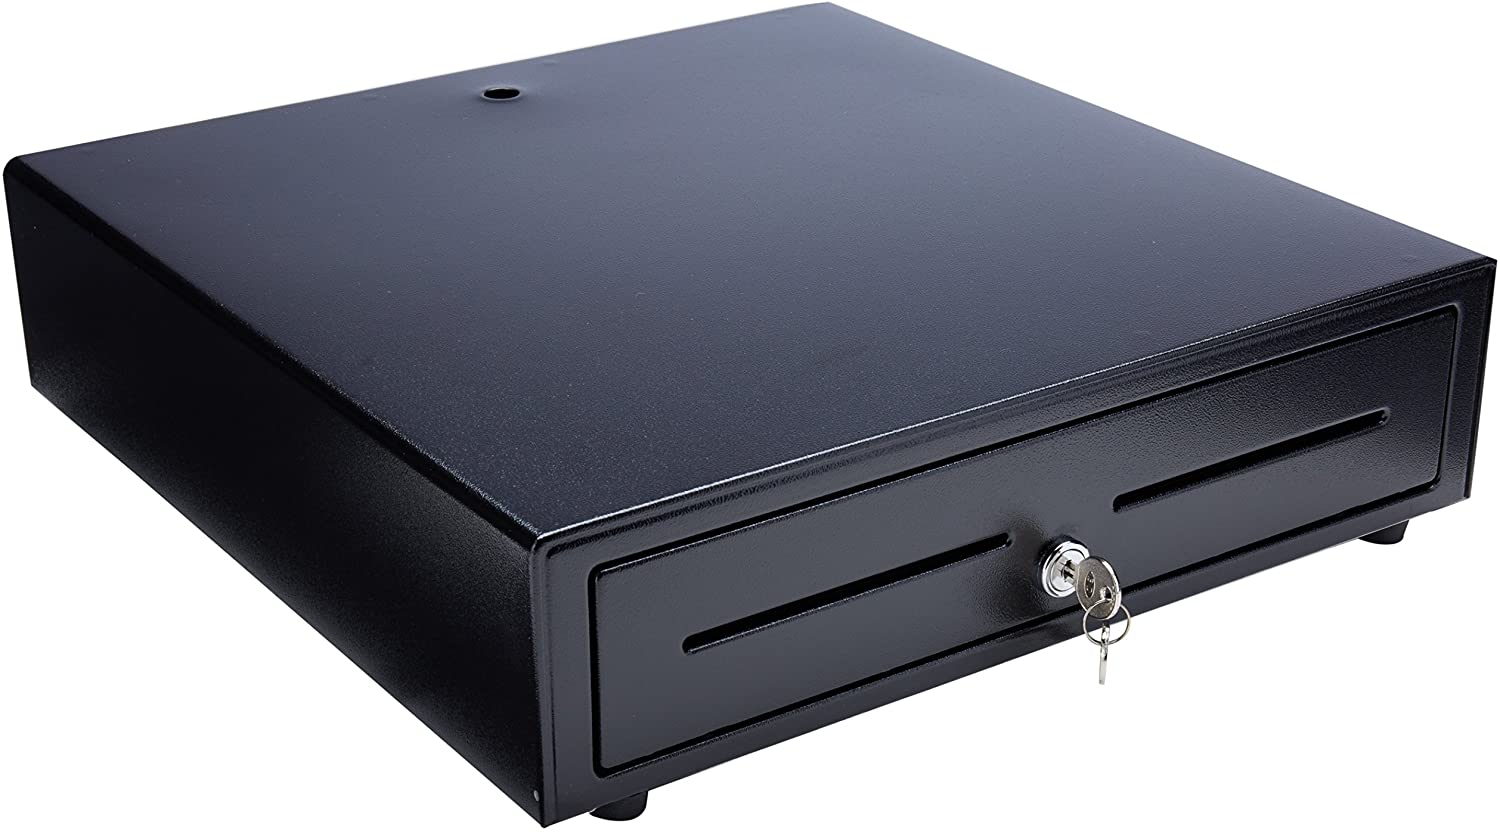 | https://wiki.erply.com/article/128-set-up-a-cash-drawer |
Card Terminals
| PRODUCER | EXACT MODEL | PICTURE | SETUP | RELATED MICROSERVICE |
| Verifone | e285 (Genius) | 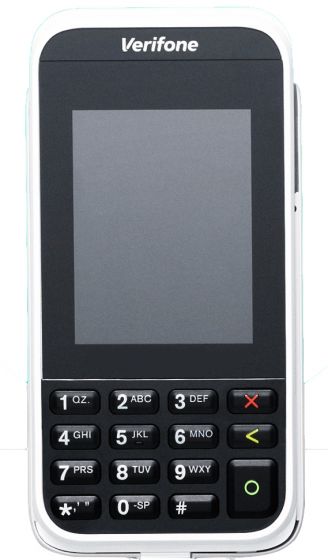 | https://help.globalpaymentsintegrated.com/1/payment-devices/genius/e285/how-do-i-set-up-my-genius-e285/ | Cayan |
| V400M | 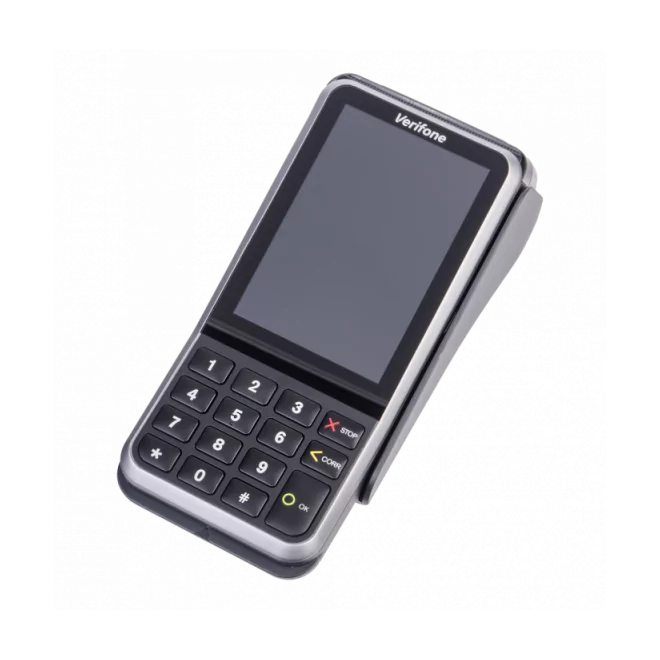 | https://wiki.erply.com/article/1238-adyen-integration-pos-setup Plug in power cable and connect with Ethernet cable. | Adyen | |
| MX915 (Cayan) G1 & G2 | 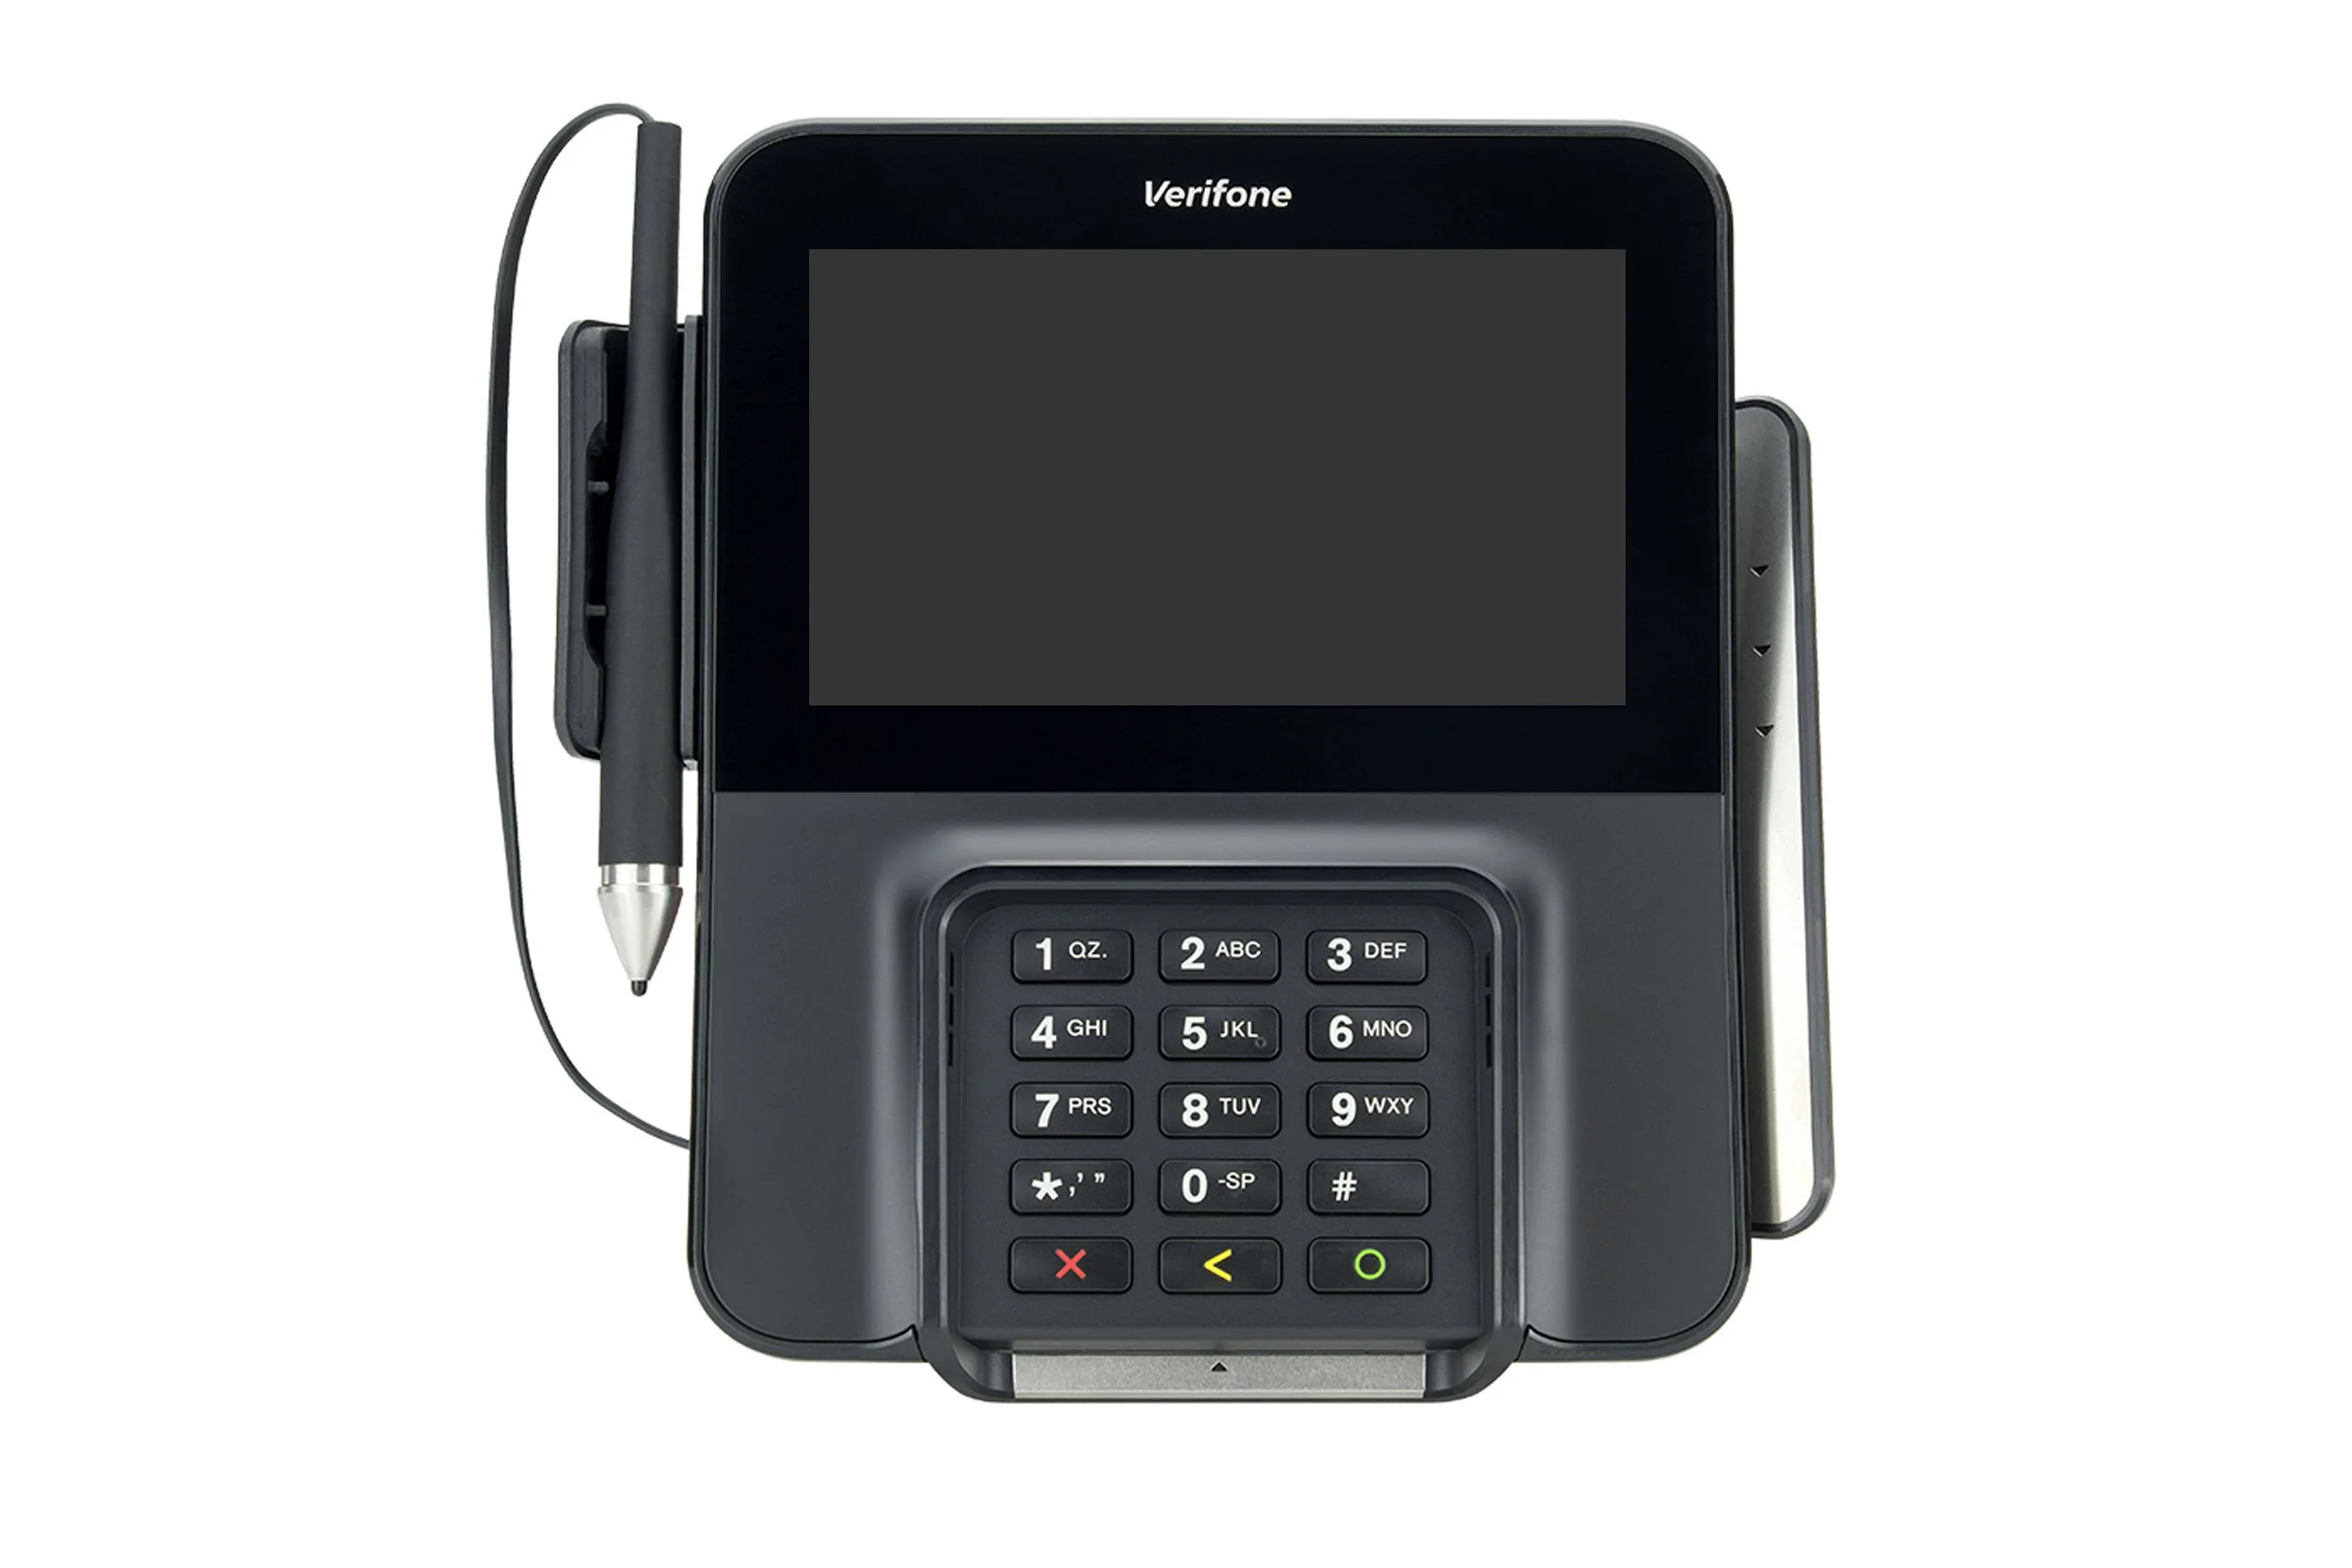 | https://wiki.erply.com/article/1887-cayan Plug in power cable and connect with Ethernet cable. | Cayan | |
| MX925 (Tripos) | 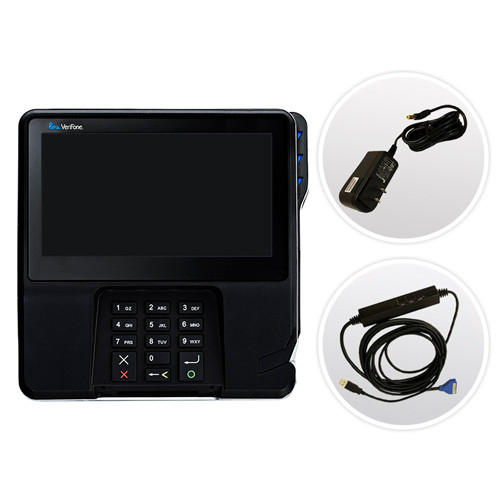 | Tripos | ||
| M400 (Cayan) | 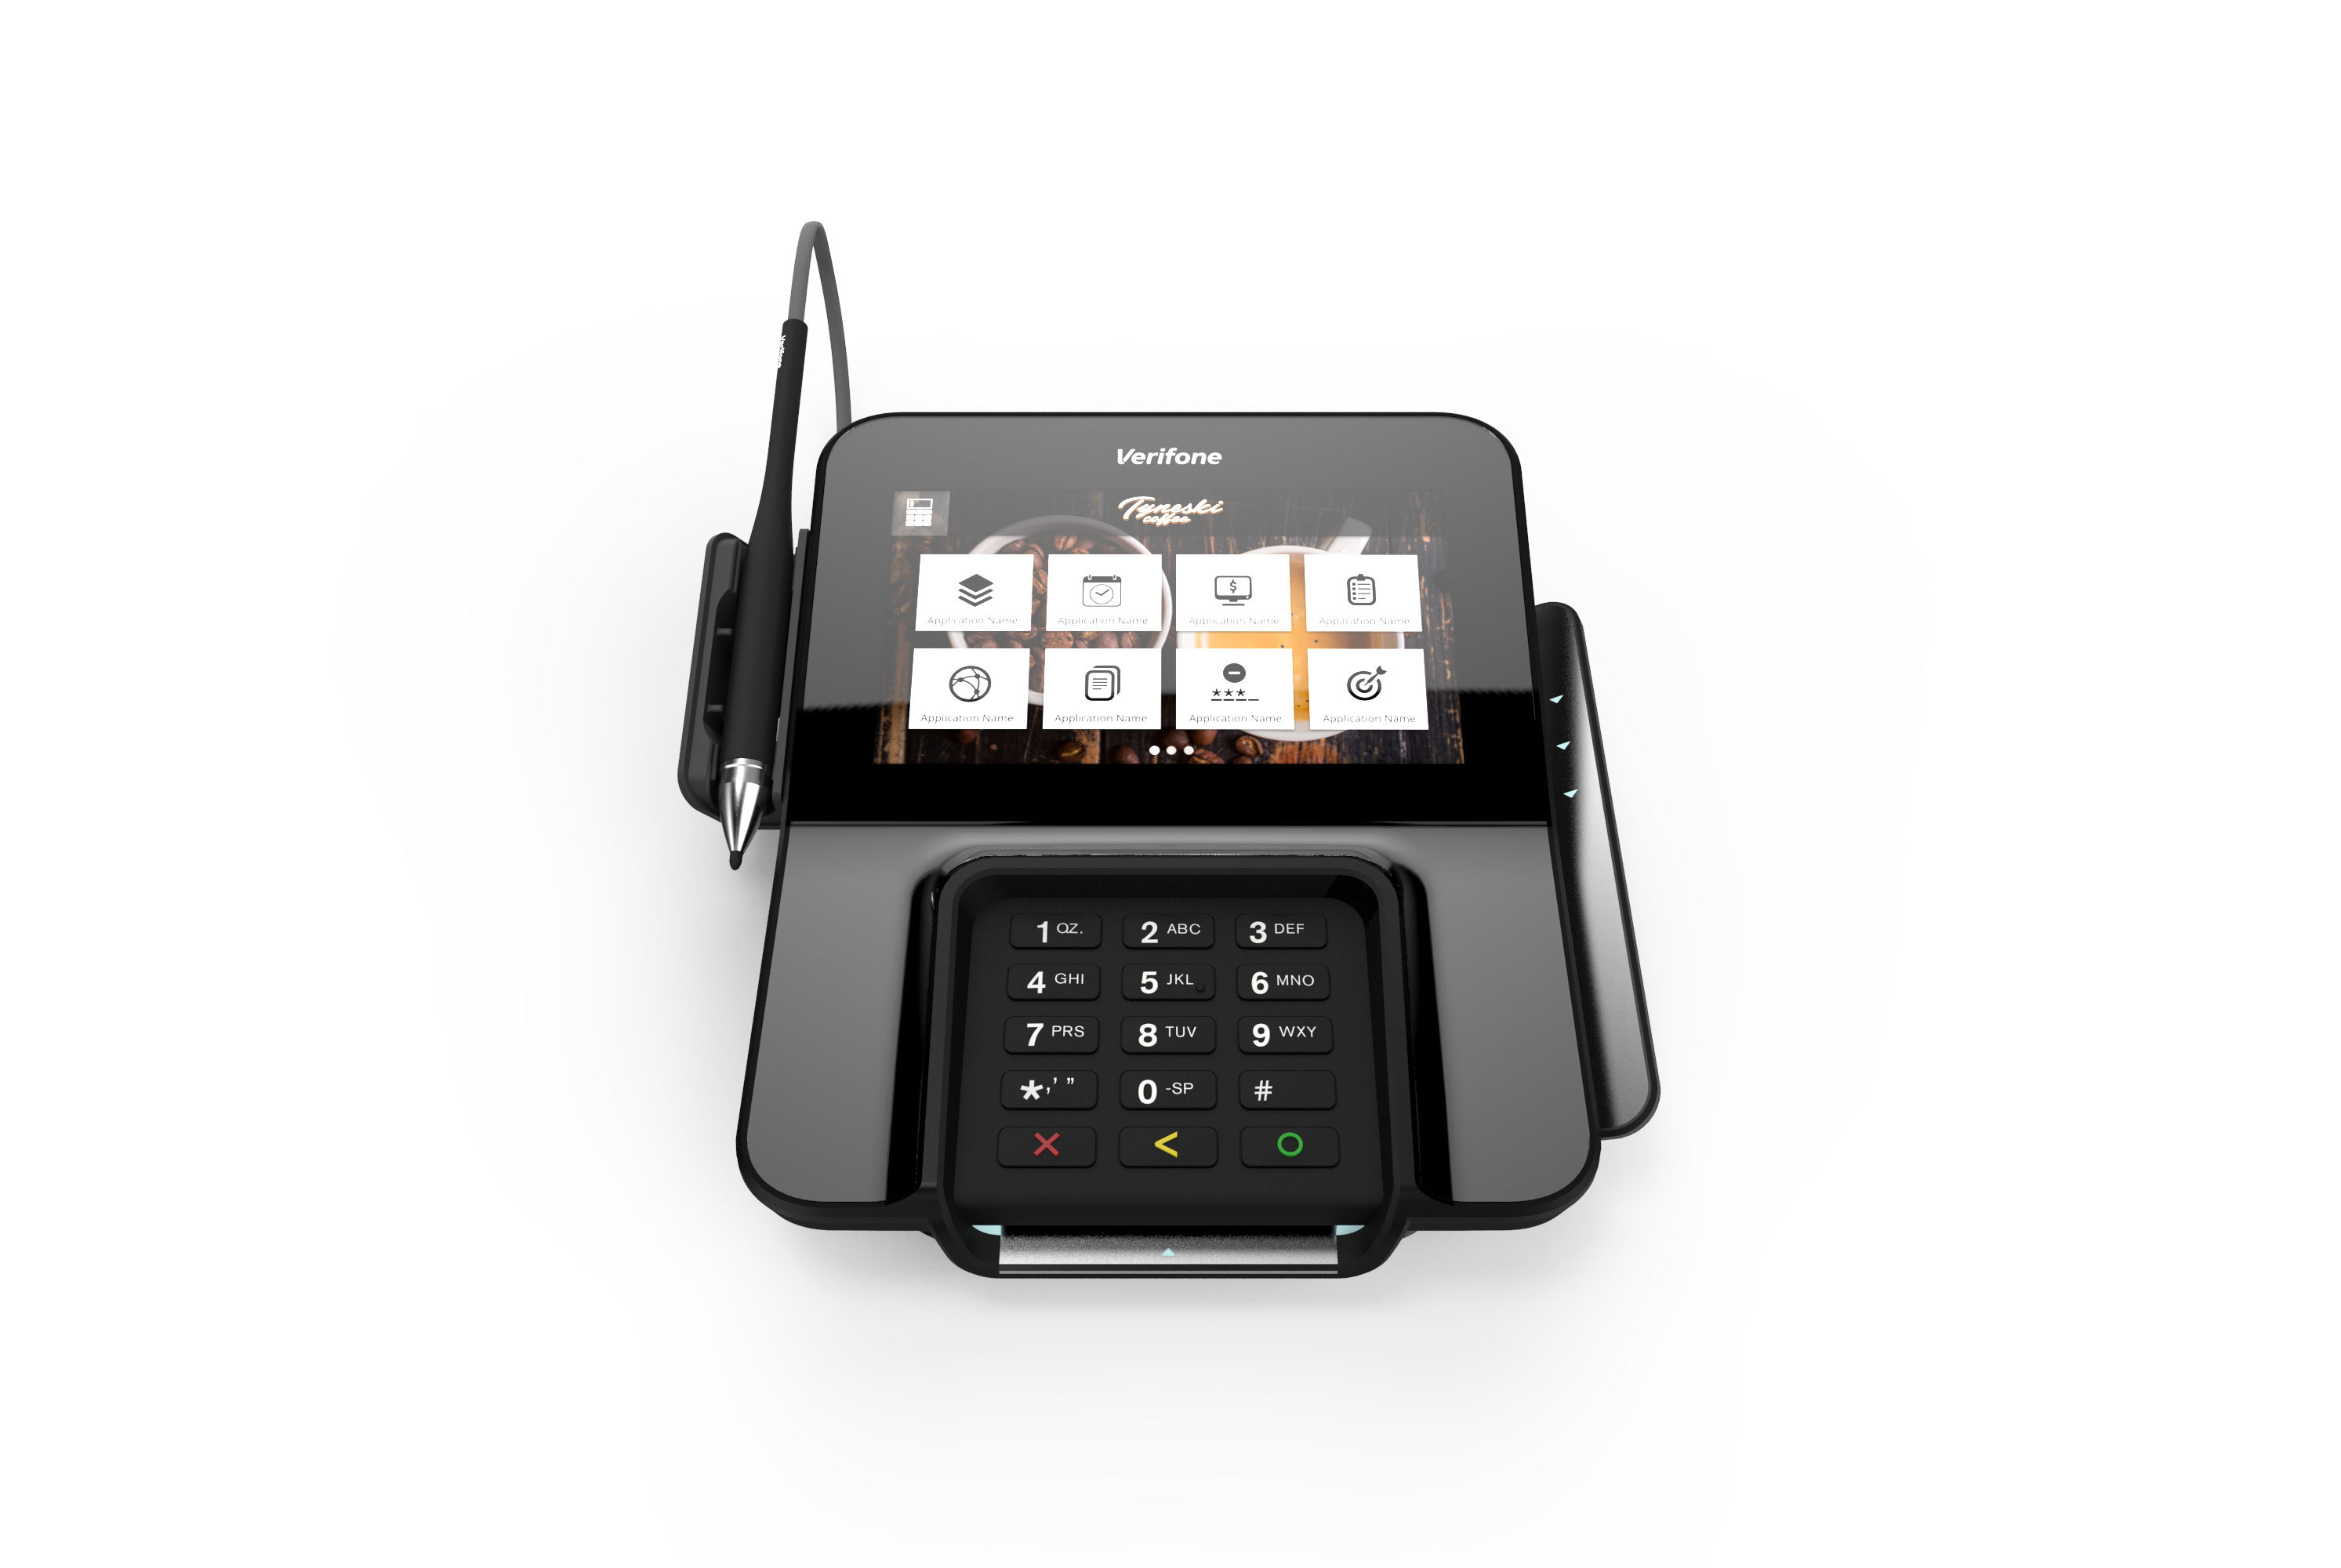 | https://wiki.erply.com/article/1887-cayan Plug in power cable and connect with Ethernet cable. | Cayan | |
| P400 Plus | 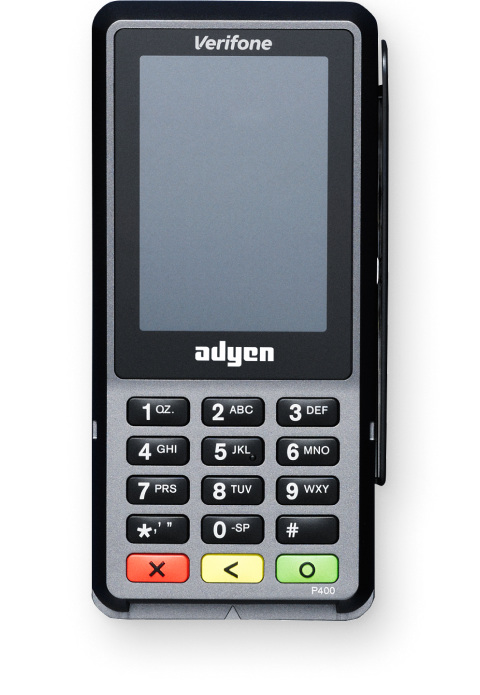 | https://wiki.erply.com/article/1238-adyen-integration-pos-setup - for Adyen https://wiki.erply.com/article/1888-moneris - for Moneris.
| Integrations: Moneris, Adyen. | |
| TSYS | Genius mini |  | https://wiki.erply.com/article/529-genius-mini Bluetooth | / |
| Ingenico | Move/3500 | 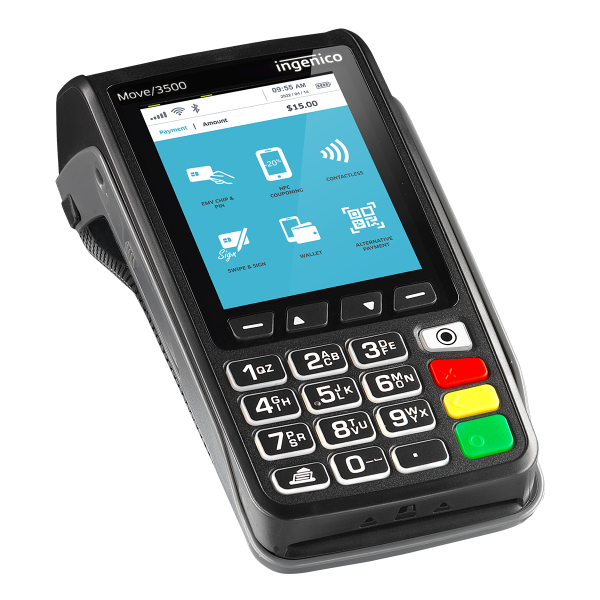 | https://wiki.erply.com/article/1099-estonia-ingenico-terminals Plug in power cable and connect with Ethernet cable. | Swedbank-ingenico (depends on the terminal) |
| Move/3500 & iPP 315 | 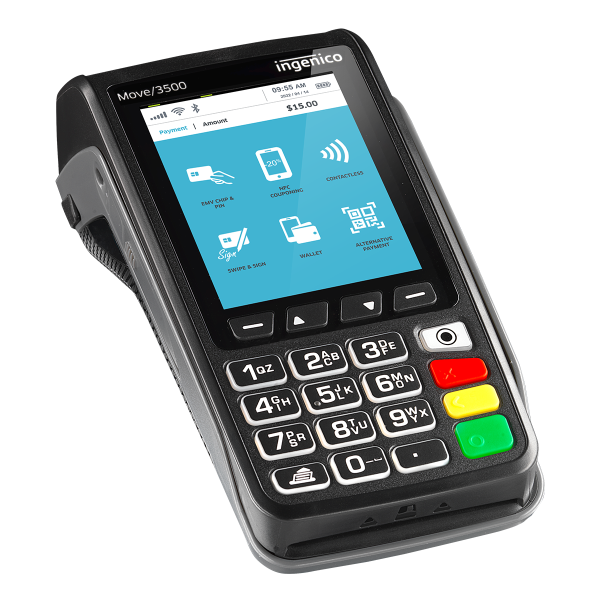 | / | / | |
| Desk/3200 & Desk/1500 | 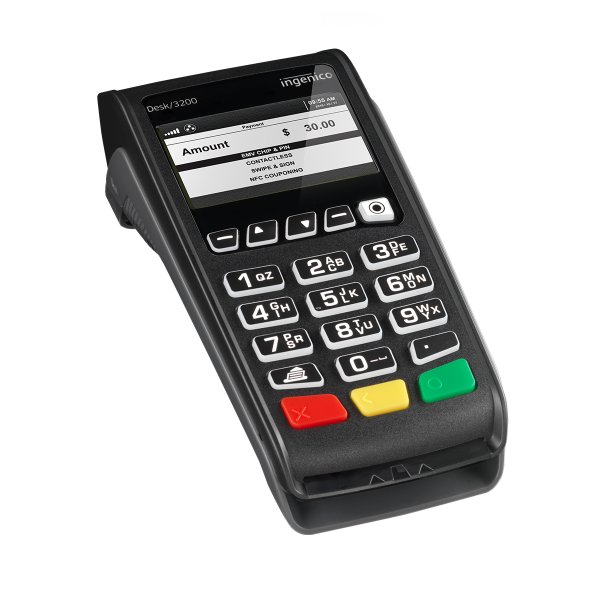 | https://wiki.erply.com/article/1099-estonia-ingenico-terminals Plug in power cable and connect with Ethernet cable. | Swedbank-ingenico | |
| Desk/5000 | 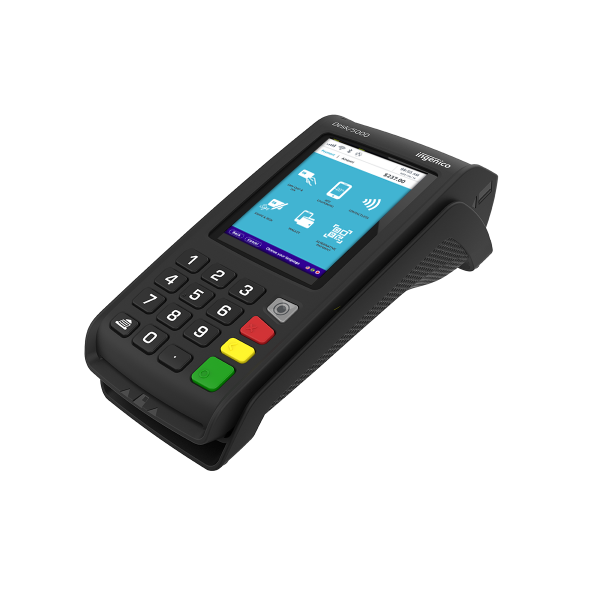 | Plug in power cable and connect with Ethernet cable. | Chase | |
| Lane/3000 / | 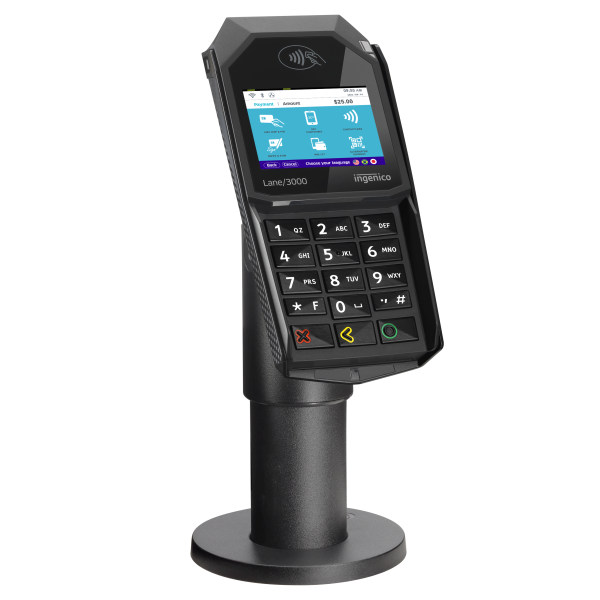 | / | Shift4/Chase | |
| Lane/5000 | 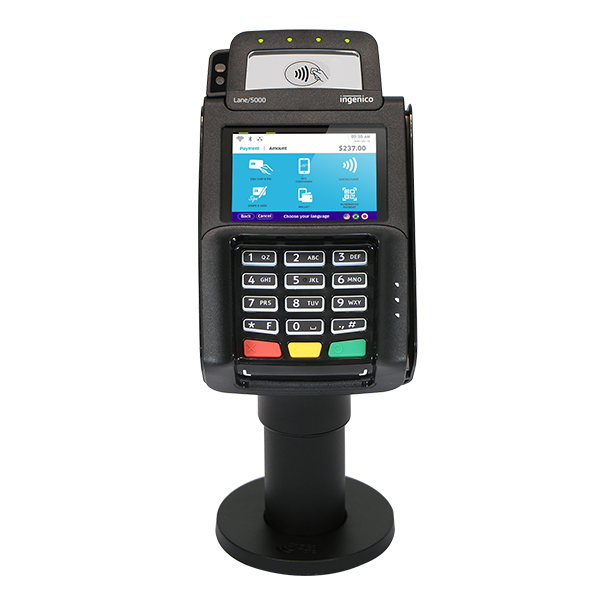 | / | / | |
| Lane 7000 (Worldpay) |  | Worldpay | ||
| iCT220 & iPP 310 | 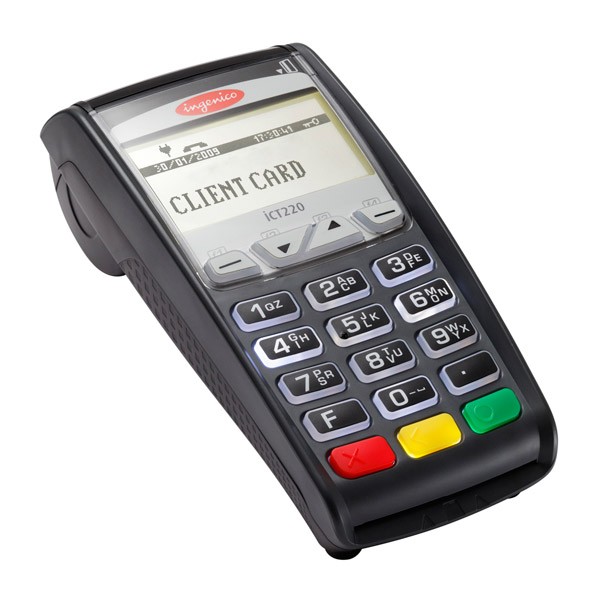 | https://wiki.erply.com/article/1099-estonia-ingenico-terminals Plug in power cable and connect with Ethernet cable. | Swedbank-ingenico | |
| iPP 320 | 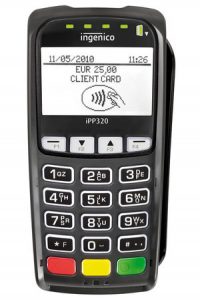 | In order to use iPP 320, OpenEdge RCM software is needed. The app is used to connect the terminal to the PC. Plug in USB to the PC and configure through the RCM software. | TSYSCanada | |
| iSC Touch 250 | 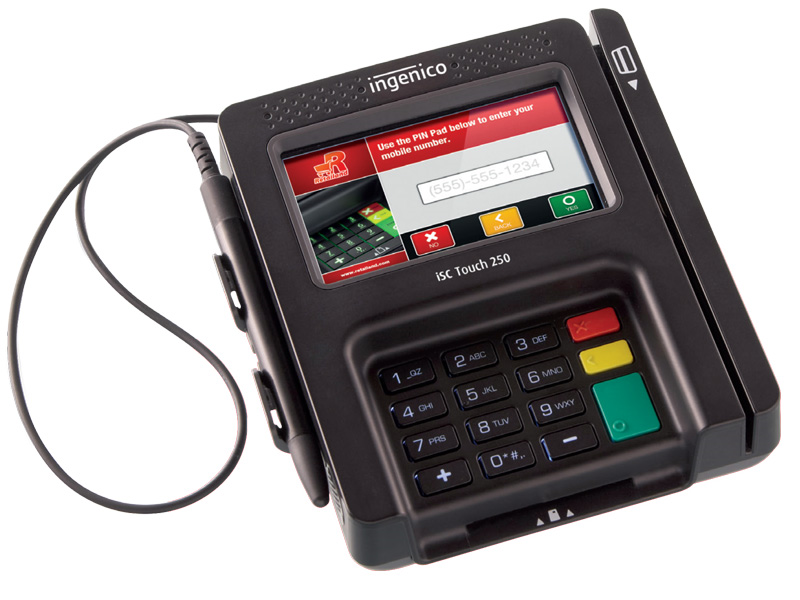 | See Integration credentials Google Docs for exact steps to setup | Tripos | |
| Pax | S300 | 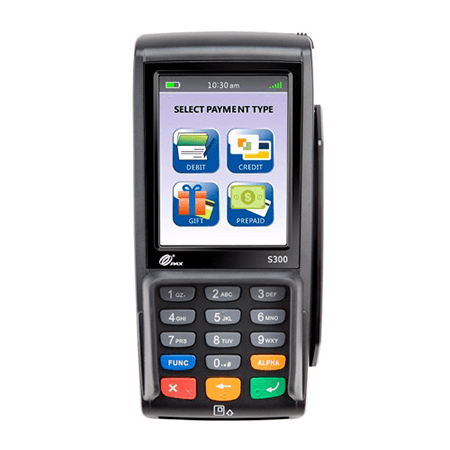 | https://wiki.erply.com/article/1889-pax-heartland-pos-web-app-setup Plug in power cable and connect with Ethernet cable. | PAX Heartland |
| A35 | 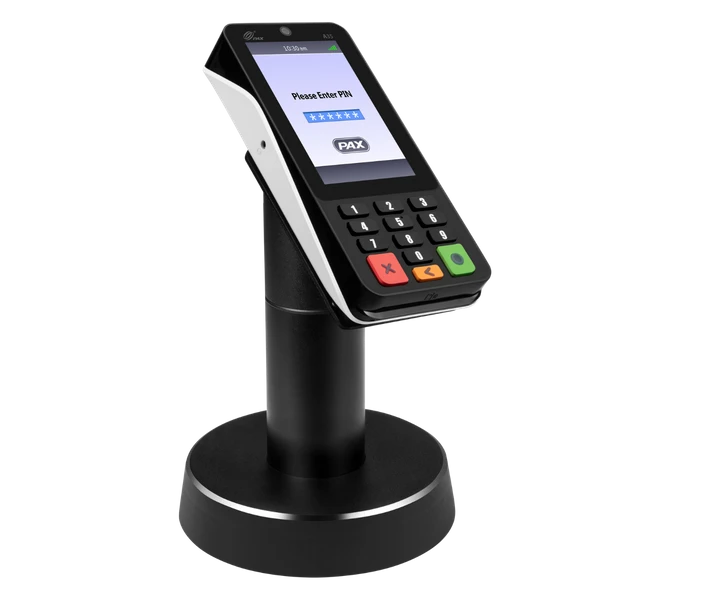 | https://wiki.erply.com/article/1889-pax-heartland-pos-web-app-setup Plug in power cable and connect with Ethernet cable. | PAX Heartland | |
| A80 | 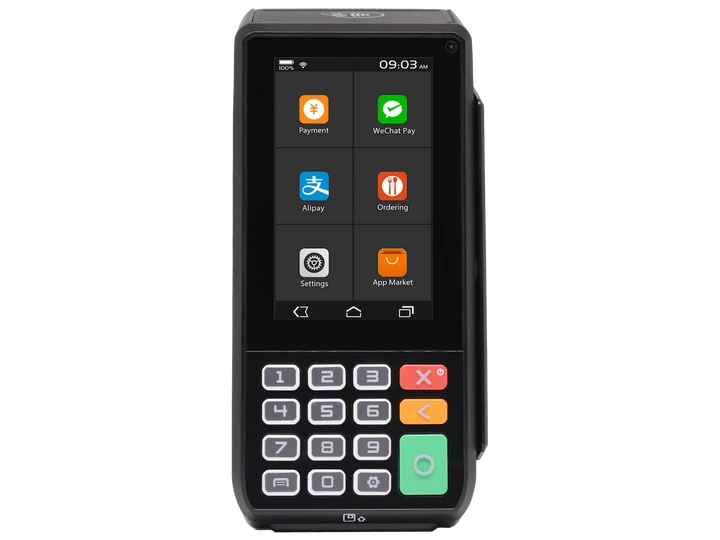 | https://wiki.erply.com/article/1889-pax-heartland-pos-web-app-setup | PAX Heartland | |
| A930 | 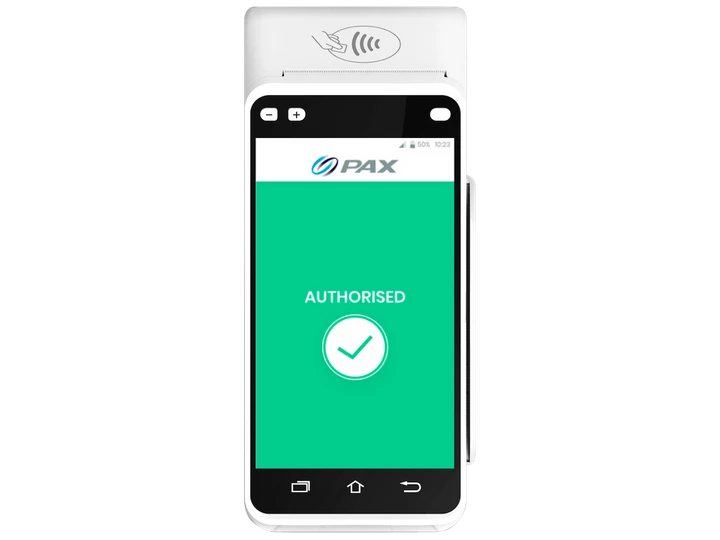 | / | / | |
| A920 | 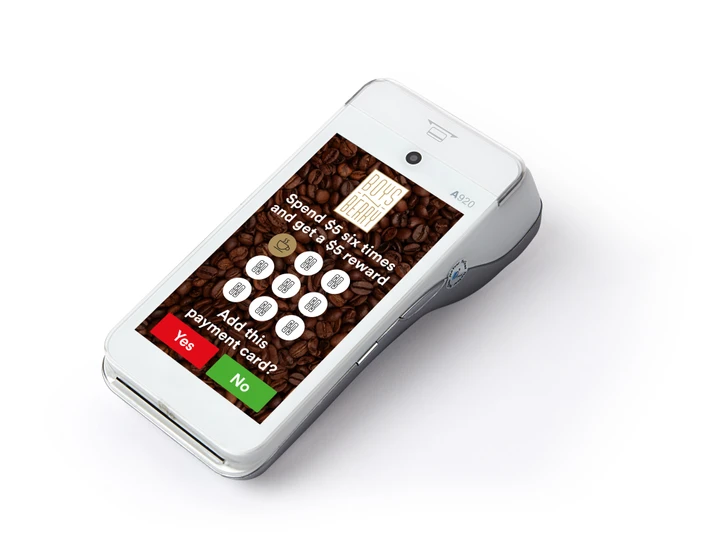 | / | / | |
| A920 Pro | 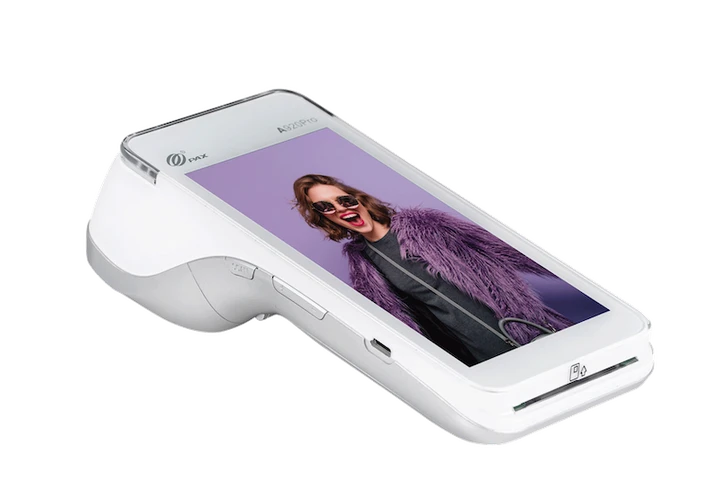 | / | / | |
| E600 Mini | 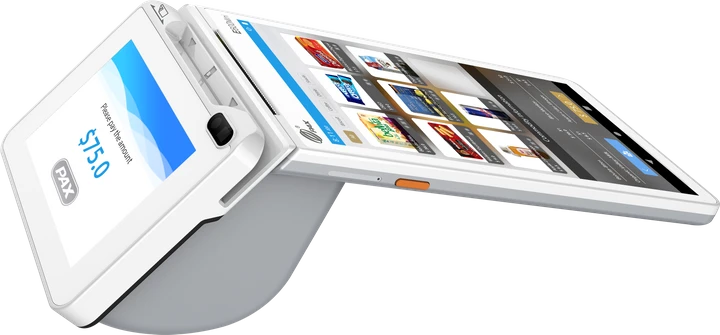 | / | / | |
| D210 | 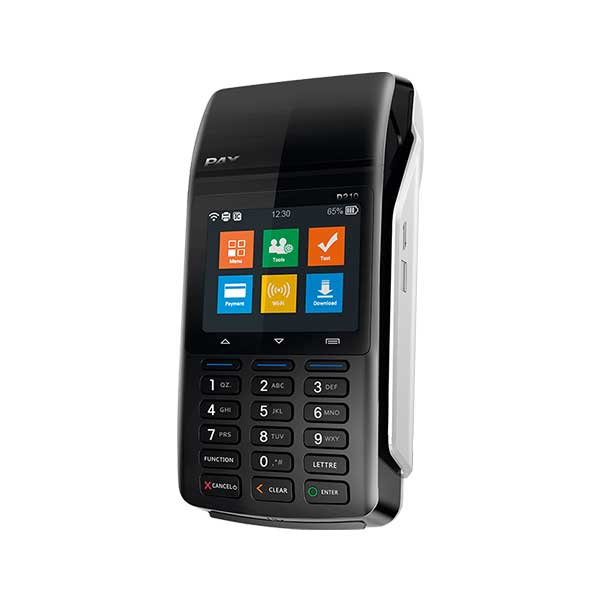 | https://wiki.erply.com/article/526-pax-d210-wifi-setup | / | |
| Worldline | Yomani XR | 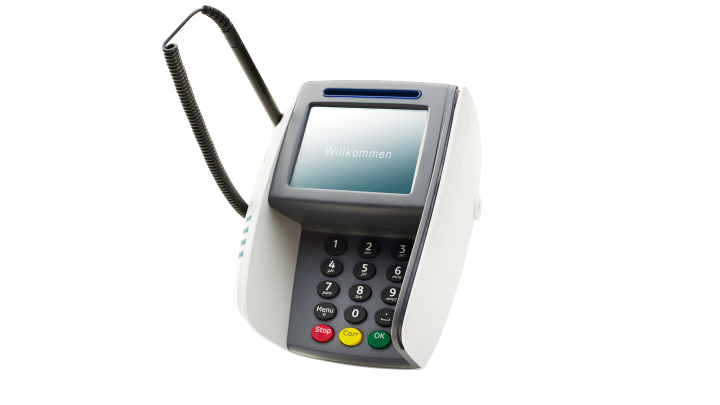 | Plug in USB cable to PC and connect with Ethernet cable. | Verifone |
| Elo | M60 | 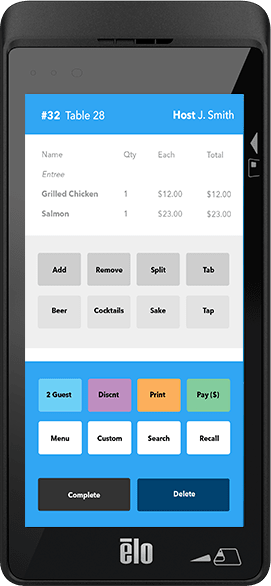 | / | / |
Fiscal Devices
| Posnet-Poland | 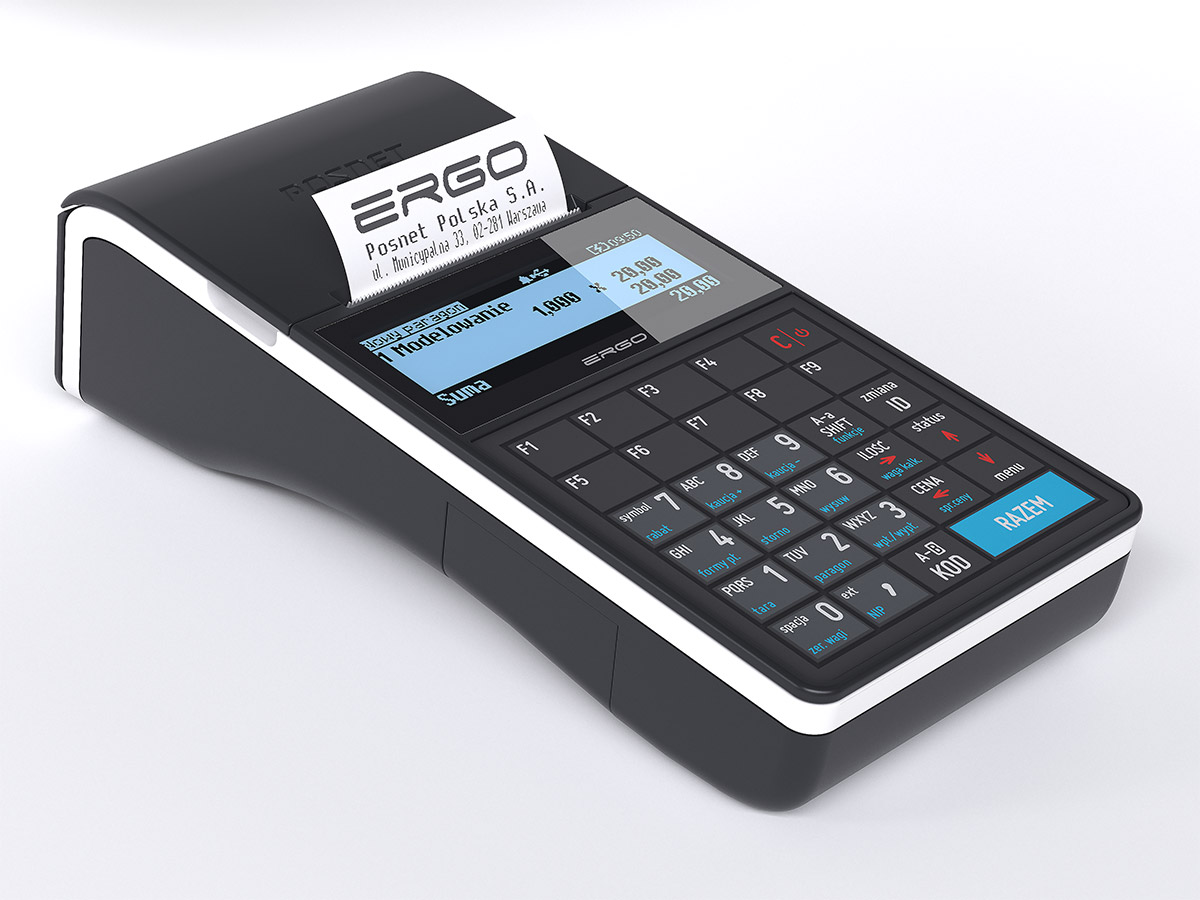 |